Sign In
Upload
Download
Table of Contents
Contents
Add to my manuals
Delete from my manuals
Share
URL of this page:
HTML Link:
Bookmark this page
Add
Manual will be automatically added to "My Manuals"
Print this page
×
Bookmark added
×
Added to my manuals
Manuals
Brands
swissonic Manuals
Electronic Keyboard
ControlKey 49
User manual
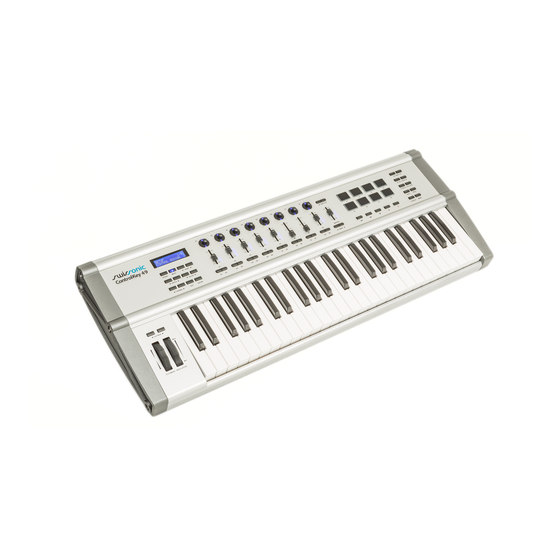
swissonic ControlKey 49 User Manual
Midi keyboard
Hide thumbs
1
2
Table Of Contents
3
4
5
6
7
8
9
10
11
12
13
14
15
16
17
18
19
20
21
22
23
24
25
26
27
28
29
30
31
32
page
of
32
Go
/
32
Contents
Table of Contents
Troubleshooting
Bookmarks
Table of Contents
Table of Contents
General Information
Further Information
Notational Conventions
Symbols and Signal Words
Safety Instructions
Features
Installation and Starting up
Connections and Operating Elements
Functions
MIDI Routing
Factory Defaults
Other Presets
Note Values
Technical Specifications
Troubleshooting
Protecting the Environment
Advertisement
Quick Links
1
Table of Contents
2
General Information
3
Installation and Starting up
4
Connections and Operating Elements
5
Functions
6
MIDI Routing
7
Factory Defaults
8
Technical Specifications
Download this manual
ControlKey 49, ControlKey 61, ControlKey 88
MIDI keyboard
user manual
Table of
Contents
Previous
Page
Next
Page
1
2
3
4
5
Advertisement
Table of Contents
Need help?
Do you have a question about the ControlKey 49 and is the answer not in the manual?
Ask a question
Questions and answers
Related Manuals for swissonic ControlKey 49
Electronic Keyboard Swissonic ControlKey 61 User Manual
Midi keyboard (32 pages)
Electronic Keyboard Swissonic ControlKey 88 User Manual
Midi keyboard (32 pages)
Electronic Keyboard swissonic EasyKey 25 User Manual
Midi keyboard (24 pages)
This manual is also suitable for:
Controlkey 61
Controlkey 88
Table of Contents
Print
Rename the bookmark
Delete bookmark?
Delete from my manuals?
Login
Sign In
OR
Sign in with Facebook
Sign in with Google
Upload manual
Upload from disk
Upload from URL


Need help?
Do you have a question about the ControlKey 49 and is the answer not in the manual?
Questions and answers