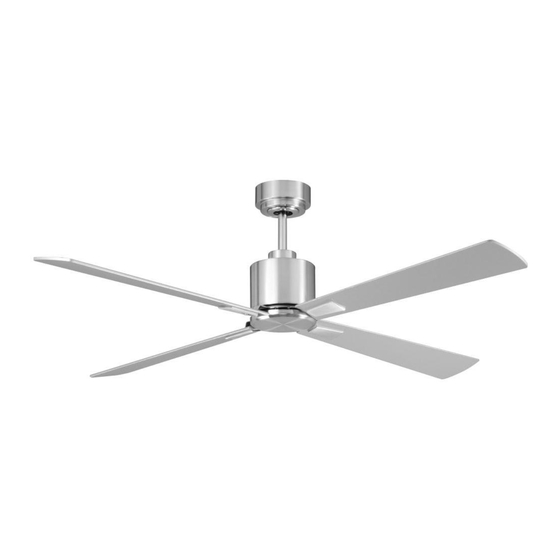
Summary of Contents for AIRFUSION LD-CD52BN/BC
- Page 1 CEILING FAN MANUAL INSTALLATION OPERATION MAINTENANCE WARRANTY INFORMATION LUCCI AIRFUSION CLIMATE CEILING FAN CAUTION READ INSTRUCTIONS CAREFULLY FOR SAFE INSTALLATION AND FAN OPERATION. V1.1...
-
Page 2: Congratulations On Your Purchase
CONGRATULATIONS ON YOUR PURCHASE Congratulations on purchasing the latest in energy saving ceiling fans. This fan runs on DC (direct current) power which gives it the benefit of being super energy efficient whilst still maintaining high volume air-movement and silent operation. Energy Saving - The DC motor is the latest technology in fan design. -
Page 3: Important Notes
IMPORTANT NOTES Your warranty will be void if a solid-state dimmer fan controller or other brand wall CONTROL controller is used. ONLY use the remote control supplied. Under our warranty terms, this ceiling fan must be installed by a licensed electrician. -
Page 4: Before Installation
BEFORE INSTALLATION Unpack your ceiling fan carefully. Remove all parts and hardware. Place fan motor on a cloth or soft surface to avoid damage to the finish. Do not lay motor housing on its side –the decorative housing may become bent or damaged. -
Page 5: Tools Required
TOOLS REQUIRED TOOLS REQUIRED: Phillips / Flat head screw driver Pair of pliers Adjustable Spanner Step ladder Wire cutter Wiring, supply cable as required by AS/NZS 3000 wiring code. INSTALLING THE MOUNTING BRACKET The ceiling fan must be installed in a location so that the blades are at least 2.1 meters above the floor, and 300mm spacing from the tip of the blade to the nearest objects or walls. -
Page 6: Hanging The Fan
HANGING THE FAN INSTALLING THE FAN Installing Down rod Lift fan assembly onto mounting bracket. Fig.4 Ensure the notch of ball joint is positioned on the stopper of mounting bracket to prevent fan from rotating when in operation. Fig. 5 Fig. - Page 7 Fig. 7 Fig. 8...
-
Page 8: Finishing The Installation
FINISHING THE INSTALLATION Loosen 2 screws from the bottom of the mounting bracket. Slide the canopy up to the mounting bracket and place the key hole on the canopy over the screw on the mounting bracket, turn canopy until it locks in place at the narrow section of the key holes, secure it by tightening the two set screws. - Page 9 USING YOUR CEILING FAN WITH REMOTE CONTROL Pairing Transmitter and Receiver – when 2 or more DC ceiling are installed in one location When two or more fans are located near each other, you may desire to have the receiver/transmitter for each fan set to a different code, so that the operation of one fan does not affect the operation of the other fans.
- Page 10 Note: The pairing of Transmitter and Receiver is not required if only one Ceiling fan is installed. When more than two ceiling fans are installed near each other, please refer to the instruction above. Fig. 13. Remote Control Buttons ○ 1 FAN SPEED CONTROL BUTTON: press the button to turn on the fan and control the ceiling fan ○...
- Page 11 BALANCING / WOBBLYING TROUBLE SHOOTING INSTALLING THE FAN Please note that all ceiling fans are not the same, even in the same model—some may move more or less than others. Movement of a couple of centimetres is quite acceptable and does not suggest the fan will fall down. Even though all blades are weighted and grouped by weight, it is impossible to eliminate wobble altogether.
- Page 12 FAN CARE AND WARRANTY INFORMATION CARE & CLEANING Periodic cleaning of your ceiling fan is the only maintenance required. Use a soft brush or lint free cloth to avoid scratching the paint finish. Please turn off electricity power when you do so. ...
-
Page 13: Troubleshooting Checklist
WARNING The fan must be installed so that the blades are more than 2.1 meters above the floor. According to law in Australia, all electrical connections & disconnection must be installed by licensed electrician. This ceiling fan fall within this requirement. ... - Page 14 Fan lights can rattle, but are not covered under warranty Fan wall controller make slight buzz and get warm especially on lower setting These occurrences are not covered by the manufacturer’s warranty. TECHINCAL INFORMATION AIRFUSION CLIMATE SERIES DC FAN Rated Voltage Rated power (motor) Battery for remote...
-
Page 15: Warranty Conditions
WARRANTY CONDITIONS This product is guaranteed against electrical defects in material or manufacturing workmanship for faults when under normal domestic/residential conditions for a certain period of time from the date of purchase. This warranty covers parts and labour costs for the motor subject to the following conditions: 1. - Page 16 electrical motors have some audible noise. Allow at least eight hours of operation to allow the bearings to properly seat. The fan, especially when set on low, may feel warm to touch – this is not a fault. If excessive heat is generated a service call may be required. Fan noises can vary due to slight power fluctuations and mains frequency signals for off –...
- Page 17 CEILING FAN WARRANTY DETAIL LUCCI WARRANTY HOTLINE- 1800 602 243 In the event of service being required, please call the Lucci Fan Warranty Hotline on 1800 602 243 between 9am & 5pm (EST) Monday to Friday. Please make sure you have all the ceiling fan details filled out at the end of the manual before making the call.
- Page 18 CEILING FAN WARRANTY DETAIL LUCCI WARRANTY HOTLINE- 1800 602 243 Retain AND Fill this form and keep it for your personal records and warranty purposes NAME………………………………………………………………………………… ADDRESS…………………………………………………………………………… ……………………………………………………POSTCODE…………………… MODEL NUMBER…………………………………………………………………… (PO# + DATECODE Sticker here) PO NUMBER or DATECODE ……………………………………………………… DATE OF PURCHASE………………………………………………………………...

Need help?
Do you have a question about the LD-CD52BN/BC and is the answer not in the manual?
Questions and answers