
Related Manuals for Meraki MX60W

Summary of Contents for Meraki MX60W
- Page 1 Meraki MX60W Hardware Installation Guide April 2012 ® Copyright © 2 010, M eraki, I nc. ...
- Page 2 Copyright: © 2 010 M eraki, I nc. A ll r ights r eserved. Trademarks: M eraki® i s a r egistered t rademark o f M eraki, I nc. Meraki MX60W Installation Guide MX60W Overview | 2...
-
Page 3: Trademarks
Trademarks Meraki, Meraki MX60W, and Meraki Cloud Controller are trademarks of Meraki, Inc. Other brand and product names are registered trademarks or trademarks of their respective holders. Statement of Conditions In the interest of improving internal design, operational function, and/or reliability, Meraki reserves the right to make changes to the products described in this document without notice. -
Page 4: Table Of Contents
Scope of the Document and Related Publications ............3 MX60W Overview ...................... 5 Package Contents ..........................5 The MX60W Front Panel ........................5 1.2.1 LED Color Rules ..........................5 1.2.2 Power-on Sequence .......................... 5 ... -
Page 5: Mx60W Overview
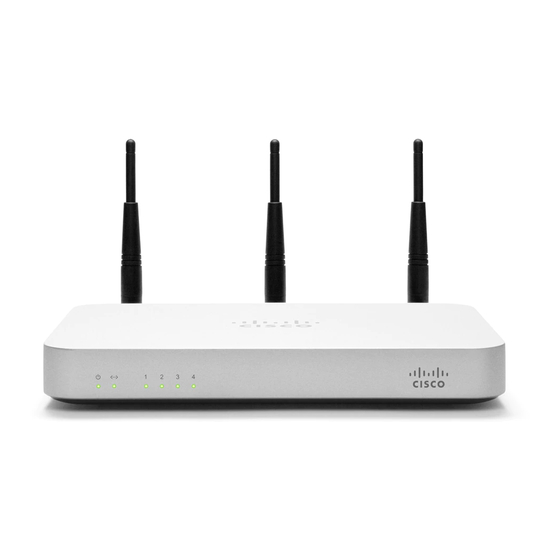
MX60W Overview The Meraki MX60W is an enterprise router designed for distributed deployments that require remote administration. It is ideal for network administrators who demand both ease of deployment and a state-of-the- art feature set. Package Contents MX60 Power Adapter CAT5 Ethernet Cables Wall Screws &... -
Page 6: The Mx60W Back Panel
The MX60W supports only one Internet / WAN connection 1.3.2 LAN Ports The MX60W has four LAN ports, called LAN 1, LAN 2, LAN 3, and LAN 4. These ports can be connected to devices like computers, printers, access points, or Ethernet switches. -
Page 7: Pre-Deployment Setup
Local Management Console If you need to assign static IP to MX60W, you need to use the local management console. The local console is also viewing some local settings, such as whether an upgrade is in progress or the device is connected to the Internet. -
Page 8: Network Settings
Network S ettings All Meraki Cloud-Managed Routers must have an IP address. The following section describes how to configure your local area network prior to deploying a Meraki Cloud-Managed Router. Please check with your ISP to make sure you have the adequate Ethernet handoff device (e.g., T1, MPLS, ADSL or Cable modem), as the Cloud-Managed... -
Page 9: Passthrough Mode: Behind An Existing Router And/Or Firewall
(e.g., simply disconnect the client device from the LAN port of the Cloud-Managed Router and then connect it again). If you have a problem, visit the Meraki online knowledge base at http://www.meraki.com/support/. You are now ready to begin monitoring your network through the Meraki Dashboard. -
Page 10: Installation Instructions
• Drill with 1⁄4 inch bit • It is recommended to install the MX60W so the logo is oriented “right side up”. However the mounting crosses on the base support upside down or right angle orientations as well. Drill 2 1/4” holes in the wall, spaced 5 1/8” apart Insert included Wall anchors. - Page 11 • this device must accept any interference, including interference that may cause undesired operation of the device. Ce dispositif est conforme à la norme CNR-210 d’Industrie Canada applicable aux appareils radio exempts de licence. Son fonctionnement est sujet aux deux conditions suivantes: Meraki MX60W Installation Guide Regulatory Information for MX60W | 11...
- Page 12 R&TTE Directive 1999/5/EC: Radio: EN 300 328, EN 301 893 EMC: EN 301 489-1, EN 301 489-17 Safety: EN 60950-1 RF Exposure: EN 50385 Emissions: EN 55022 Meraki MX60W Installation Guide Regulatory Information for MX60W | 12...
- Page 13 English Hereby, Meraki, Inc., declares that this wireless device is in compliance with the essential requirements and other relevant provisions of Directive 1999/5/EC. Español (Spanish) Por medio de la presente Meraki, Inc. declara que el wireless device cumple con los requisitos esenciales y cualesquiera otras disposiciones aplicables o exigibles de la Directiva 1999/5/CE.
- Page 14 Slovensky (Slovak) Meraki, Inc. týmto vyhlasuje, že wireless device splna základné požiadavky a všetky príslušné ustanovenia Smernice 1999/5/ES. Suomi (Finnish) Meraki, Inc. vakuuttaa täten että wireless device tyyppinen laite on direktiivin 1999/5/EY oleellisten vaatimusten ja sitä koskevien direktiivin muiden ehtojen mukainen.
Need help?
Do you have a question about the MX60W and is the answer not in the manual?
Questions and answers