TP-Link RE450 Quick Installation Manual
Ac1750 wi-fi range extender
Hide thumbs
Also See for RE450:
- Quick start manual ,
- Quick installation manual (61 pages) ,
- User manual (41 pages)
Table of Contents
Advertisement
Available languages
Available languages
Quick Links
TP-LINK TECHNOLOGIES CO., LTD.
Specifications are subject to change without notice. TP-LINK is a registered trademark of TP-LINK
TECHNOLOGIES CO., LTD. Other brands and product names are trademarks or registered trademarks
of their respective holders.
No part of the specifications may be reproduced in any form or by any means or used to make any
derivative such as translation, transformation, or adaptation without permission from TP-LINK
TECHNOLOGIES CO., LTD. Copyright © 2015 TP-LINK TECHNOLOGIES CO., LTD. All rights reserved.
www.tp-link.com
Quick Installation
Guide
• English
• Français
AC1750 Wi-Fi Range Extender
7106505637 REV1.0.0
Advertisement
Table of Contents

Related Manuals for TP-Link RE450


Summary of Contents for TP-Link RE450
- Page 1 • Français AC1750 Wi-Fi Range Extender TP-LINK TECHNOLOGIES CO., LTD. Specifications are subject to change without notice. TP-LINK is a registered trademark of TP-LINK TECHNOLOGIES CO., LTD. Other brands and product names are trademarks or registered trademarks of their respective holders.
- Page 2 CONTENTS 01 / English 08 / Français...
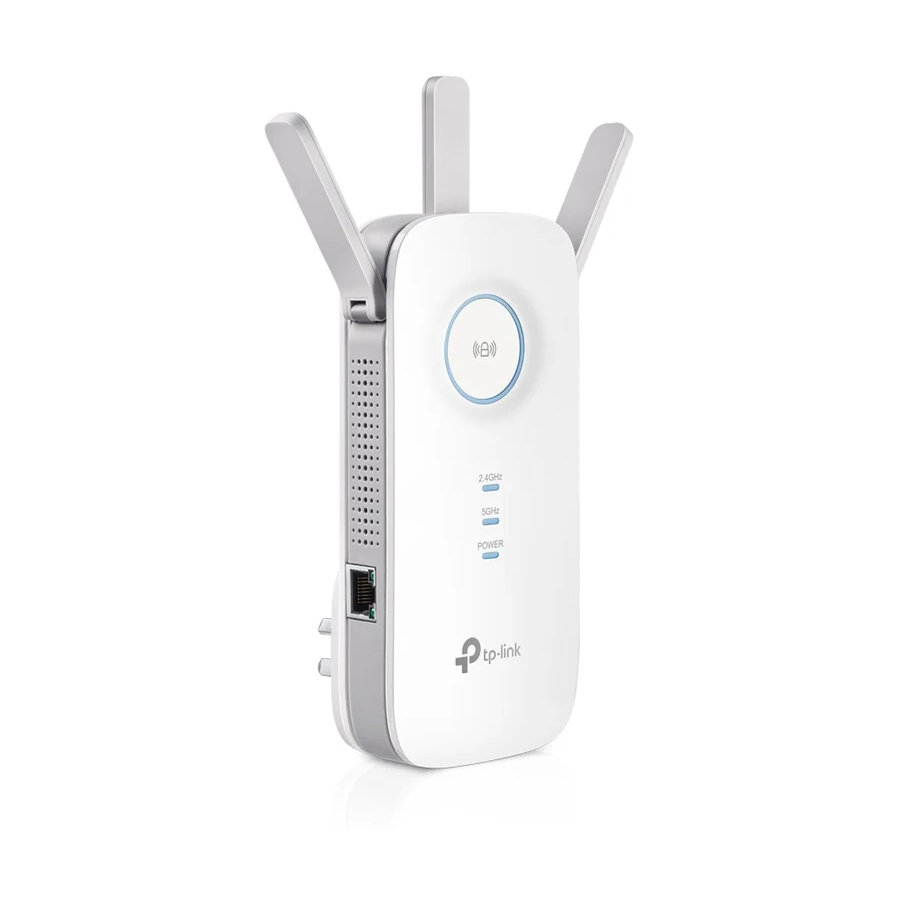
- Page 3 English LED Explanation (RE) 2.4GHz/5GHz Solid Blue: The extender is connected to the router, On: The extender is connected to both 2.4GHz and and is in a good location. 5GHz Wi-Fi bands of your host network. Solid Red: The extender is connected to the router, Off: No connection.
- Page 4 English Option ONE : Using a Web Browser 1 Power on Not connected Plug the extender into an electrical outlet near your Connections are available router, and wait until the Power LED is lit and solid blue. Wireless Network Connection TP-LINK_Extender_2.4GHz/5GHz Connect automatically Connect...
- Page 5 English If the login window does not pop up, please refer to the 2.4GHz Host Network Wireless Settings FAQ > Q1. Region 5GHz Host Network Summary 3 Configure Please select 2.4GHz Host network or skip this network. MAC Address SSID Signal Security ① Create a new username and password to log in the...
- Page 6 English ⑤ Verify your wireless settings and click Finish. The Corresponding LEDs ( ) should turn on and stay solid, indicating successful connections. Keep away from 4 Relocate Enjoy! ① Plug the extender into an electrical outlet about halfway between your router (Host Network) and the Wi-Fi dead zone.
- Page 7 English Option TWO : Using WPS (Wi-Fi Protected Setup) Please use Option ONE if your router does not support WPS. 1 Power on Plug the extender into an electrical outlet near your router, and wait until the Power LED is lit and solid blue. Press LED should change from blinking to a solid state, indicating a successful WPS connection.
- Page 8 English Entertainment Adapter ② Wait until the LED is lit with a solid blue. If not, relocate the extender closer to the router to achieve The extender can be used as a wireless adapter to connect a good (or better) signal quality. any Ethernet-only device (such as a Blu-ray player, game console, DVR, or smart TV) to your Wi-Fi network.
- Page 9 English A3. Verify that http://tplinkrepeater.net is correctly entered in the web browser and press Enter. Q2. What should I do when I cannot connect the extender via WPS? Some dual-band routers may be trouble connecting to the extender via WPS. If you experience connection issues, we recommend that you use the extender's web-based interface.
- Page 10 Français Signification de l'éclairage de la DEL (RE) 2,4 GHz/5 GHz Bleu fixe : L'extenseur est connecté au routeur et Fixe : L'extenseur est connecté aux deux bandes bien placé. Wi-Fi 2,4 GHz et 5 GHz de votre réseau hôte. Rouge fixe : L'extenseur est bien connecté...
- Page 11 Français Option UNE: Par le navigateur Web 1 Mise sous tension TP-LINK_Extender_2.4GHz/5GHz. Branchez l'extenseur sur une prise électrique proche Not connected du routeur et patientez jusqu'à ce que la DEL Connections are available d'alimentation s'allume et soit bleue et fixe. Wireless Network Connection TP-LINK_Extender_2.4GHz/5GHz Connect automatically...
- Page 12 Français Si la fenêtre d'identification n'apparaît pas, reportez-vous à 2.4GHz Host Network Wireless Settings la Q1 de la FAQ. Region 5GHz Host Network Summary 3 Configuration Please select 2.4GHz Host network or skip this network. MAC Address SSID Signal Security ① Créez un nom d'utilisateur et un mot de passe pour Your router wireless name 30:B5:C1:33:99:76...
- Page 13 Français ⑤ Vérifiez les paramètres du réseau sans fil et cliquez sur Finish (Terminer). Les DEL correspondantes ( ) doivent s'allumer et rester fixes, ce qui signifie Tenir à distance que les connexions sont bien établies. 4 Repositionnement Et c'est parti ! ① Branchez votre extenseur sur une prise électrique à...
- Page 14 Français Option DEUX: Par WPS (Wi-Fi Protected Setup) Si votre routeur ne prend pas en charge le mode WPS, utilisez l'option UNE. 1 Mise sous tension Branchez l'extenseur sur une prise électrique proche du routeur et patientez jusqu'à ce que la DEL d'alimentation s'allume et soit bleue et fixe.
- Page 15 Français mi-chemin entre votre routeur (réseau hôte) et la zone partagent les mêmes SSID (nom du réseau) et mot de morte de votre réseau Wi-Fi. passe que votre réseau hôte. ② Patientez jusqu'à ce que la DEL soit bleue et fixe. Adaptateur de périphériques de loisirs En cas d'échec, repprochez l'extenseur du routeur pour obtenir une bonne (ou meilleure ) qualité...
- Page 16 Français R2. Assurez-vous que votre ordinateur est configuré pour Tandis que l'extenseur est allumé, appuyez sur le bouton Reset jusqu'à ce que toutes les DEL s'allument. obtenir une adresse IP automatiquement. R3. Vérifiez que la saisie de l'adresse http://tplinkrepeater.net dans le navigateur Web et appuyez sur Entrée.