
Related Manuals for Montgomery Ward JW12

Summary of Contents for Montgomery Ward JW12
-
Page 1: Instruction Manual
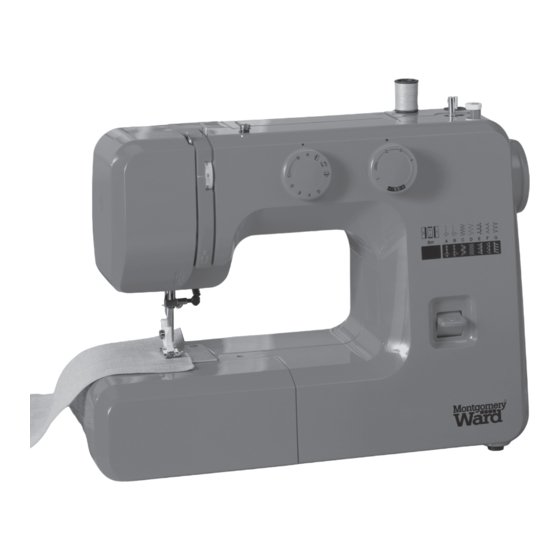
Sewing Machine Instruction Manual MODEL: JW12 Item No.: 724723 Montgomery Ward Customer Service 120V~, 60Hz, 15W 1112 7 Avenue, Monroe, WI 53566 8:00 am to Midnight, Monday through Friday Wards.com 1 3848 Wards.com 1 3848 • • • • •... -
Page 2: Important Safeguards
SURE THE PRODUCT IS UNPLUGGED FROM THE ELECTRICAL OUTLET BEFORE ASSEMBLING, DISASSEMBLING OR RELOCATING. DO NOT TRY TO Thank you for purchasing your Sewing Machine by Montgomery Ward ® It will perform to the highest standard, time after time, with all the SERVICE THIS PRODUCT YOURSELF. -
Page 3: Polarized Plug
Important Safeguards Parts & Features (cont’d) 15. Switch this sewing machine off (“O”) when making any adjustment in the needle 1. Reverse stitch button 2. Pattern selector dial area, such as threading the needle, changing the needle, threading the bobbin 3. - Page 4 Operating Instructions Parts & Features (cont’d) (cont’d) Presser Foot Lifter Accessories The presser foot lifter raises and lowers Sewing accessories are conveniently located in the extension table. the presser foot. It can be raised 1/4" higher than the normal up position for easy removal of the presser foot or for 1.
- Page 5 Operating Instructions Operating Instructions (cont’d) (cont’d) Foot Holder Spool Pins The spool pins are used for holding the spool of thread in order to feed it to the ma- chine. To use, pull the spool pin up. Push down to store. Remove: Remove the thumb screw (1) by turning it counterclockwise with...
- Page 6 Operating Instructions Operating Instructions (cont’d) (cont’d) Bobbin Winding Threading the Machine 1. Pull the handwheel (1) out. First, raise the take-up lever to its highest position by turning the handwheel toward 2. Draw the thread from the spool you. Next, raise the presser foot. Then place a spool on the spool pin as shown, and guide the thread around the with thread coming from back of the spool.
- Page 7 Operating Instructions Operating Instructions (cont’d) (cont’d) Drawing Up Bobbin Thread Thread Tension Dial Correct tension: The thread tension is adjusted Raise the presser foot and hold depending on the sewing materials, the needle thread lightly with layers of fabric and sewing method. your left hand.
- Page 8 Operating Instructions Operating Instructions (cont’d) (cont’d) Stitch Selector Dial Reverse Stitch Button Turn the stitch selector dial to set the setting To sew in reverse, keep the reverse stitch button depressed. mark (1) with the symbol corresponding to the desired pattern. CAUTION: To avoid needle or fabric damage, make sure the needle is up and out of the fabric while selecting a stitch.
- Page 9 How to Use How to Use (cont’d) Basic Sewing Changing Direction 1. Stop the machine and turn Straight Stitch the handwheel toward you to bring the needle down into the (1) Pattern selector: A or B fabric. (2) Presser foot: Zigzag foot 2.
- Page 10 How to Use How to Use (cont’d) (cont’d) Utility Stitching Turning a Square Corner To turn a square corner 5/8” (1.6 cm) from the fabric edge. Tricot Stitch 1. Stop stitching and lower the needle by turning the handwheel counterclockwise. This stitch is used to finish the 2.
-
Page 11: Decorative Stitching
How to Use How to Use (cont’d) (cont’d) Straight Stitch Decorative Stitching (1) Pattern selector: A Shell Tuck (2) Presser foot: Zigzag foot (3) Thread tension: 2–6 (1) Pattern selector: G (4) Stitch length: S.S. (2) Presser foot: Zigzag foot (3) Thread tension: 6–8 (4) Stitch length: 2–3 1. - Page 12 How to Use How to Use (cont’d) (cont’d) Sewing Buttons Appliqué (1) Pattern selector: C (1) Pattern selector: C (2) Presser foot: Zigzag foot (2) Presser foot: Zigzag foot (3) Thread tension: 1–4 (3) Thread tension: 3–7 (4) Stitch length: 0.5–1 (4) Stitch length: Any (5) Darning plate 1.
-
Page 13: Zipper Application
How to Use How to Use (cont’d) (cont’d) Zipper Application Buttonhole (1) Pattern selector: (1) Pattern selector: A (2) Presser foot: Sliding buttonhole foot (2) Presser foot: Zipper foot (3) Thread tension: 1–5 (3) Thread tension: 2–6 (4) Stitch length: (4) Stitch length: 1.5-4 Make a test buttonhole on a sample using the same fabric, interfacing and... - Page 14 Cleaning & Care How to Use (cont’d) Blind Hem Stitch Cleaning the Bobbin Case and the Hook (1) Pattern selector: E or F WARNING: Turn the power switch to OFF and unplug the machine before (2) Presser foot: Blind hem foot dismantling or cleaning the machine.
- Page 15 Cleaning & Care Thread & Needle Guide (cont’d) Cleaning the Feed Dog • In general, fine threads and needles are used for sewing thin fabrics, and thicker threads and needles are used for sewing heavy fabrics. • Always test thread and needle size on a small piece of the fabric which will be WARNING: Turn the power switch to OFF and unplug the machine before used for actual sewing.
-
Page 16: Troubleshooting
Troubleshooting This page is intentionally left blank Problem Possible Cause Reference Needle thread breaks. Needle thread is not threaded properly. Page 11 Needle thread tension is too tight. Page 13 Needle is bent or blunt. Page 8 Needle is incorrectly inserted. Page 8 Needle thread and the bobbin thread are not set properly Page 16-17... - Page 17 Please send returns to: Within this warranty period, Montgomery Ward will repair or Montgomery Ward, Inc. replace, at its option, defective parts of this...
Need help?
Do you have a question about the JW12 and is the answer not in the manual?
Questions and answers