Table of Contents
Advertisement
Advertisement
Table of Contents

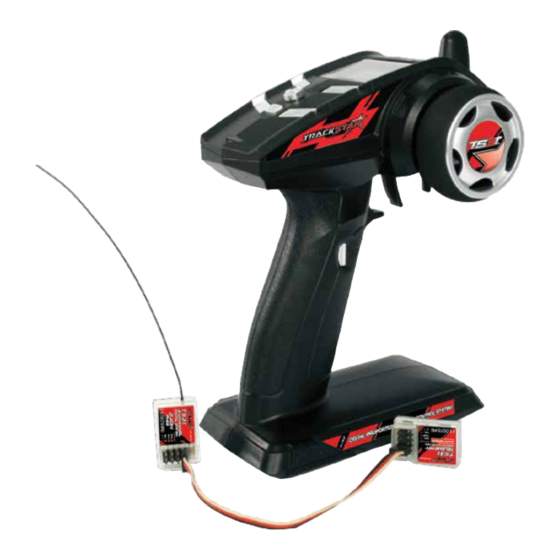
Summary of Contents for TRACK STAR TS3T
- Page 1 INSTRUCTION MANUAL...
-
Page 2: Table Of Contents
1. Introduction Thank you for choosing the Hobbyking 3 channels 2.4GHz Frequency-Hopping Spread Spectrum 1. Introduction Digital proportional R/C for car and boat surface system. If it's your first use of a 2. Services computerized radio system, this user manual will bring you easily to a new world of 3. - Page 3 Always perform a operating range check prior to using. The shutdown sequence must be to first disconnect the receiver Problems with the radio control system as well as improper installation in a battery then to switch off the transmitter. If the transmitter is switched model could cause loss of control.(Simple range test method) Have a friend off while the receiver is still powered, it may lead to uncontrolled hold the model, or clamp it down or place it where the wheels or prop...
-
Page 4: Transmitter Specifications
3. Li-Po battery connecting line ( 2S, 3S, 4S and 6S ) ,Picture below. 5. Transmitter Specifications Item: BER-TRC1 ST range: 84° (Around 42°) Channels: 3CH TH range: 40° (F: 27;B:13) Model type: Car/Boat Charger port: Yes RF range: 2.40 -2.48GHz Power: 4.4V –... -
Page 5: Main Function Menu
8. Main function menu NOTES: This mark is a telemetry signal intensity icon. Telemetry system take transmitted signal priority, means when this mark disappear for interrupted. The transmitted signal always exist as long as in the effective range and specified conditions. (Testing found: existing signal interference, means within 1M existed other transmitters or interference source. -
Page 6: Functions Interface
2. GP car or boat connection diagram : 1. Press “ENT” to see FUNCTION menu. 2. Use the +/- Keys to select the EPA function and press “ENT”. 3. Use the +/- Key to change the value when black box flashing 4. -
Page 7: Reverse
11. 06 TH CURVE 11.04 REVERSE This feature allows the end throttle and This function reverses the direction of brake side direction servo operation to operation of the servos related to speed up or slow down, but does not steering, throttle, and channel 3 affect the total amount of servo travel. -
Page 8: Models
11.09 FAIL SAVE 3、Press the + / - keys to select PT items, choose good press ENT key, the black If the signal loss occurs, the receiver can box flashes by + / - keys to adjust the value. After this adjustment, press the ENT set the value of throttle servo to the fixed . -
Page 9: Timer
and need to connect the concentrator BER-HCV1.Detection of Li-Po battery 11.11 TIMER should be through the battery connecting line into BER-HCV1 VOL hub as above connection diagram shown: By UP TIMER, DOWN TIMER, addend or ( Do pay attention to the battery pole. Do not connect reverse ) countdown timer. -
Page 10: Monitor
LIGHT SENSOR BEAM Press ENT into figure 1 (from left), don't touch neutral position of steering and throttle, press ENT button, the neutral position has calibrated and into Figure 2, moving the direction of steering to the end-point maximum position, and return back neutral position not move. -
Page 11: Fcc Statement
13. FCC Statement FCC Statement This equipment has been tested and found to comply with the limits for a Class B digital device pursuant to part 15 of the FCC rules. These limits are designed to provide reasonable protection against harmful interference in a residential installation.
Need help?
Do you have a question about the TS3T and is the answer not in the manual?
Questions and answers