Table of Contents
Advertisement
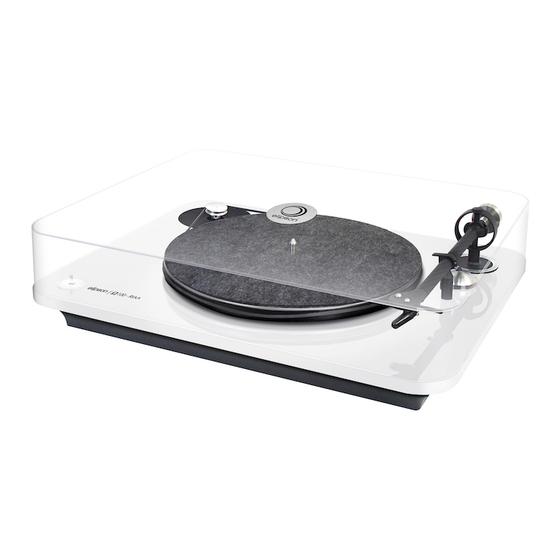
Turntable
Cher Client,
Merci d'avoir choisi la platine Elipson.
Prenez le temps de lire attentivement ce mode d'emploi avant d'installer votre platine.
Il contient des conseils pour en tirer le meilleur profit et des instructions pour l'utiliser sans risque.
Nous vous recommandons vivement de conserver l'emballage et ce mode d'emploi
pour d'éventuels usages ultérieurs.
MODÈLES :
Advertisement
Table of Contents

Related Manuals for Elipson Omega 100


Summary of Contents for Elipson Omega 100
- Page 1 Turntable Cher Client, Merci d’avoir choisi la platine Elipson. Prenez le temps de lire attentivement ce mode d’emploi avant d’installer votre platine. Il contient des conseils pour en tirer le meilleur profit et des instructions pour l’utiliser sans risque. Nous vous recommandons vivement de conserver l’emballage et ce mode d’emploi pour d’éventuels usages ultérieurs.
- Page 2 WARNING YOUR TURNTABLE IS NOT READY FOR IMMEDIATE USE. YOU MUST FOLLOW THESE INSTRUCTIONS OF INSTALLATION BEFORE ANY USE.
- Page 3 I. UNPACKING Place the cardboard Identify the direction of Open the box carefully in a clear and the opening of the box. and remove the unobstructed area. protective foam. Remove the lid of the carton, take out the turntable and place it on a flat and clear surface. II.
- Page 4 III. DESCRIPTION 1. Lid 2. Pulley 3. Belt 4. Tonearm 5. Plate 6. Chassis...
- Page 5 7. 33 rpm / off / 45 rpm Switch 8. Felt 9. Anti-skating trackwheel 10. Counterweight 11. Tonearm support 12. Cartridge-holder 13. Cartridge...
- Page 6 IV. SET UP 1. PREPARATION During transport, the removable lid and the various elements of the turntable are stranded by wedges. • Position the lid above the plate, and adjust the two hinges in the appropriate spaces. Carefully check the orientation of the hinges and the proper fit of the lid on the plate. Press firmly to ensure good holding of the lid.
- Page 7 • Check the level of evenness of the plate, adjust it using the adjustable feet if necessary. 2. COUNTERWEIGHT SETTING YOUR ELIPSON TURNTABLE WAS SET IN FACTORY TO ENSURE OPTIMUM UTILIZATION. THESE ADJUSTMENTS ARE FOR ADVISED USERS ONLY. The counterweight balances the tonearm depending on the weight of the cartridge. Each cartridge model having a different weight, you should set the weight accordingly.
- Page 8 3. OPTIONAL SET UP YOUR ELIPSON TURNTABLE WAS SET IN FACTORY TO ENSURE OPTIMUM UTILIZATION. THESE ADJUSTMENTS ARE FOR ADVISED USERS ONLY. Anti-skating When the turntable is operating, the friction of the diamond in the vinyl furrow creates a force that pulls the tonearm towards the center of the turntable.
- Page 9 YOU CAN NOW LISTEN TO YOUR FIRST VINYL DISC ON ELIPSON’S TURNTABLE. FOR THE RUNNING-IN PHASE OF YOUR HI-FI DEVICES, ELIPSON DEVELOPED A DISC SUITABLE TO YOUR SYSTEM. CONTACT US FOR MORE INFORMATIONS. IF IN DOUBT, PLEASE CONTACT AN ELIPSON PROFESSIONAL.
- Page 10 Elipson turntable has been designed and manufactured to the highest quality standards. If something goes wrong with your product, Elipson or its authorized distributor / dealer will handle the service and repair under these limited warranty terms. This limited warranty is valid for a 2-year period from original purchase date from an authorized Elipson dealer.
- Page 11 Elipson equipment. If you cannot contact your original dealer, or if you are using your Elipson product outside the purchase country, you should contact Elipson national distributor in the residence country, who will advise where the equipment can be serviced.
- Page 12 DÉCOUPEZ CI-CONTRE LE GABARIT DE RÉGLAGE DU CONTRE-POIDS CUT OUT THE SETTING TEMPLATE OF THE COUNTERWEIGHT...
- Page 13 7,5mm 9,5mm OM10 OM10...
- Page 14 www.elipson.com...
Need help?
Do you have a question about the Omega 100 and is the answer not in the manual?
Questions and answers