
Summary of Contents for WangYuan HJ1007
- Page 1 ROBOTIC POOL FLAT FLOOR CLEANER HJ1007 USER MANUAL Subject to update by manufacturer without prior notice...
- Page 2 Important Precautions This model applies to swimming pool with flat floor. Do not power on the unit when it is outside of the water. Make sure the power cord is connected to a leakage protective device and appropriate earthed socket. Do not operate the cleaner when there is people in pool.
- Page 3 Note Putting into or lifting out from pool with the cleaner bottom toward the wall to avoid any possible scratch to the pool surface. 2. Install the brush before use to avoid possible dirt leaks.
- Page 4 Contents Ⅰ. Introduction································································································P. 4 Ⅱ. Safety········································································································P. 4 Ⅲ. Specifications·····························································································P. 4 Ⅳ. Cleaner Structure························································································P. 5 Ⅴ. Operation Instructions·················································································P. 6 Ⅵ. Trouble Shooting·························································································P. 18 Ⅶ. Packing List································································································P. 19 Ⅷ. Packing List································································································P. 20...
-
Page 5: Specifications
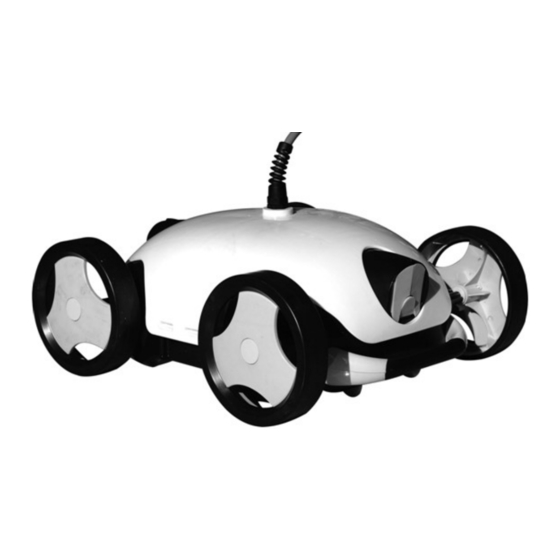
Ⅰ. Introduction: The automatic swimming pool floor cleaner HJ1007 is a new type of highly efficient swimming pool cleaning equipment. Through its advanced computer controlled program, it can clean the pool floor automatically without draining pool water. At the same time, it filters the pool water and gets rid of suspended particles and sediments. - Page 6 14. Climb slope: Maximum25° Ⅳ. Cleaner Structure Top Cover Filter Tray Chassis Assembly the cleaner according to above structure...
- Page 7 Ⅴ. Operation Instruction 5.1 Cable connection 5.1.1 Plug the cable line into the socket on the power supply unit (note: make sure to plug it in the correct direction and position), and fasten the nuts on both sides of the plug. Please plug or unplug the cable holding...
- Page 8 F. 5.1.2 5.1.2 Plug into power. Buttons & indicator lights instructions: Fig. 5-3...
- Page 9 Chart 5-1. Buttons & indicator lights instructions: Item Name Function Detail ON / OFF Power on or off Power on or off Stop after 1 hour working, Moving direction reverses every 16 seconds, suit for small swimming pool Stop after 1.5 hour working, Moving CYCLE direction reverses every 25 seconds, suit for medium swimming pool...
- Page 10 F. 5-4 5.3.1 : Settings of nozzle 0°to 40° Nozzle angle from Cleaner moves in approximately straight line when nozzles in position 0°. Cleaner moves in a more curved line at a larger angle from 0°—40°. Note: A full coverage is not guaranteed for some of free shape pools. 5.3.2 Recommended cycle and nozzle settings: Setting 1 (Default Setting), 0°/ 45°, for most pools.
- Page 11 Setting 2; 0°/ 30°Chose this angle in case cable twist occurs under Setting 1 Nozzle Moving path Setting 3; 0°/ 60° When the default setting not enough to cover the pool.
- Page 12 Nozzle Moving path Setting 4; 30°/ 30° , For round pool Nozzle...
- Page 13 Moving path Note: Above are recommended settings, different setting may applies to specific pools. Or, chose bellow settings may lead to a larger coverage. Setting 5:15°/ 60° Nozzle Moving path Setting 6:30°/ 60°...
- Page 14 Nozzle Moving path 5.4 Methods of puting the cleaner into pool Hold a proper position of the cable by one hand ( be sure that the cable from hand to cleaner will let the cleaner immerge into water but above the floor), hold the cleaner handle by the other hand to put the cleaner into water slowly.
- Page 15 F 5-6 It’ll avoid any turning upside down of the cleaner by following above methods. F 5-7 5.5 Clean the filter tray Open the cleaner from both side of themachine...
- Page 16 F 5-8 F 5-9 Take off the filter tray 5-10 clean the filter tray...
- Page 17 F 5-12 F 5-11 Wash the filter tray and chassis then reassemble the cleane F 5-13 Push both side of the clips on:...
- Page 18 F 5-14 5.6 Filter net replacement Press buckle to disassemble Replace and press to assemble F 5-15 5.7 Sweeping mode Under normal circumstances, nozzle towards obliquely upward so as to avoid blowing away sewage on the pool floor.
- Page 19 F 5-16 For some specific pools, sweeping mode could be used for blowing up debris located in dead corner or fine particles so as to collect or filter them by main filter system of the pool. F 5-17 5.8 Helpful tips Unplug power connection immediately after use (Do not do it with wet hand or naked foot).
- Page 20 Use 600um filter at the beginning of season to reduce possibility of jet block. ,Trouble Shooting Symptom Possible reason Corrective action Cable not fully released Unplug power line and release cable Nozzle in extra angle Adjust water outlet into proper angle Cable twists or coils Obstruction in pool Remove obstruction in pool...
- Page 21 Filter-600μm On cleaner Ⅷ. Warranty This product has passed all quality control and safety tests, conducted by the technical department of the factory Warranty information: 1. Warranty period is 1 year and is settled in accordance with the terms established by Directive 1999/44/EC of 25 of May regarding guarantees on the sale of consumer goods as well as the local law in the Country of Purchase within the European Union.
- Page 22 2. This warranty is void if the product has been altered, misused, or has been repaired by unauthorized personnel. 3. The warranty extends only to manufacturing defects and does not cover any damage resulting from mishandling of the product by the owner 4.