Table of Contents
Advertisement
Advertisement
Table of Contents

Subscribe to Our Youtube Channel
Related Manuals for WatchNet 1.3 XVI series

Summary of Contents for WatchNet 1.3 XVI series
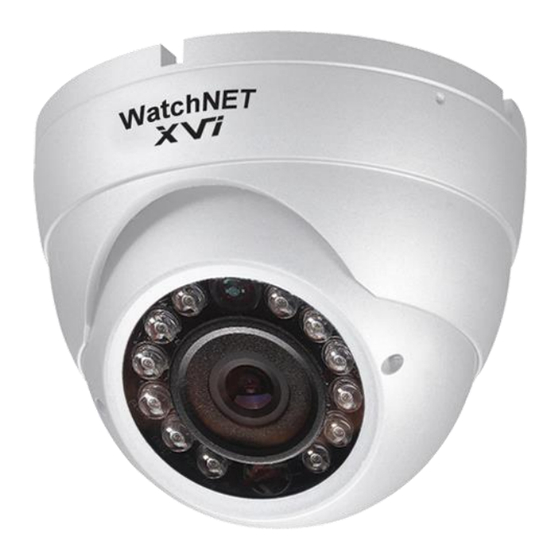
- Page 1 User Manuals for XVI Series BIR and IRBF Cameras 140217...
-
Page 2: Table Of Contents
Table of Contents General Introduction ........................1 Overview ........................1 Features ......................... 1 Functions ........................1 Specifications ........................ 2 Framework and Dimensions ..................... 4 IRBF Series ........................4 IRBF Series ........................5 Installation............................ 6 IRBF Series ........................6 BIR Series........................7 Menu ............................. - Page 3 Welcome Thank you for purchasing our XVI camera! This user’s manual is designed to be a reference tool for your system. Please read the following safeguard and warnings carefully before you use this series product! Please keep this user’s manual well for future reference!
- Page 4 Important Safeguards and Warnings 1.Electrical safety All installation and operation here should conform to your local electrical safety codes. The power shall conform to the requirement in the SELV (Safety Extra Low Voltage) and the Limited power source is rated 12V DC in the IEC60950-1. We assume no liability or responsibility for all the fires or electrical shock caused by improper handling or installation.
- Page 5 Before installation, please open the package and check all the components are included. Contact your local retailer ASAP if something is broken in your package. 7. Daily Maintenance Please shut down the device and then unplug the power cable before you begin daily maintenance work.
-
Page 6: General Introduction
1 General Introduction 1.1 Overview This series megapixel HD camera conforms to the XVI standard. It supports video signal high-speed long distance transmission without any delay. It can be controlled by the DVR conforming to the XVI. 1.2 Features High-performance CMOS image sensor, megapixel definition. -
Page 7: Specifications
1.4 Specifications Model 1.3 and 2.1 Megapixel XVI IR Waterproof Camera Series Parameter 1.3 XVI series 2.1 XVI series Video Processor 1/3" 2 Megapixel CMOS Video Format PAL/NTSC Effective Pixel 1280 (H) *720 (V) 1920 (H) *1080 (V) Min Illumination 0.05Lux@(F1.2,AGC ON),0 Lux with IR... - Page 8 Power Consumption 4.5W MAX (Input: 12V @ 0.38A) IRBF Dimension(mm) 94.0 × 98.0 65.0 × 154.7 IRBF Weight 350g 380g Installation Mode Wall mount / Ceiling mount...
-
Page 9: Framework And Dimensions
2 Framework and Dimensions 2.1 IRBF Series Please refer to the following figures for dimension information. The unit is mm. See Figure 2-1 and Figure 2-2. Figure 2-1 Figure 2-2 Please refer to the following sheet for detailed information. -
Page 10: Irbf Series
Name Function Power input Connect to the DC 12V power to input the power. port BNC port is to output XVI/CVBS video signal. Video output You can connect to the devices such as the DVR or the NVS conforming to port the XVI specifications. -
Page 11: Installation
3 Installation 3.1 IRBF Series Important Please make sure the installation surface can min support the 3X weight of the camera and the bracket. The dome camera usually uses the ceiling installation. It can be installed on the ceiling or the wall. Step1 Device Installation Take the wrench from the accessories bag and use it to loosen the three set screws on the side of the camera body. -
Page 12: Bir Series
Step 3 Adjust Monitor Angle Turn the pan base to the pedestal and secure firmly. Adjust rotate base and the dome body to get the lens to the proper monitor angle. See Figure 3-3. Figure 3-3 Step 4 Fix Monitor Angle To prevent the dome from moving, use wrench to secure the three set screws to secure the monitor angle position. - Page 13 Step 2 First prepare the cable according to the cable. Line up the three screw holes at the bottom of the bracket to the three installation holes in the wall or the ceiling, and then insert three screws to the three holes of the chassis of the bracket and fix them firmly.
-
Page 14: Menu
4 Menu 4.1 XVI Series DVR Settings Note The following operation and interfaces for reference only. Please refer to the XVI series DVR user’s manual for detailed information. After connected the camera to the XVI series DVR, from Main Menu->Setting->System->PTZ, you need to set control mode as HDCVI and the protocol as WT-XVi. -
Page 15: Menu List
4.2 Menu List The 1 The 2nd The 3 Exposure Exposure Auto Mode Gain Max 0~100 Noise Gain Min 0~100 For the 2 and the 3 Return&Exit menu, when you click Exit button to exit, system saves current setup by default. - Page 16 The 1 The 2nd The 3 Flip OFF/ON Return&Exit Motion Detect Area Sel 0~3 There are four motion detect zones ranging from 0 to 3. You need to set parameters for each zone. Area State OFF/ON Sensitivity 0~100 Threshold 0~100 Area Setup Position Size...
-
Page 17: Note
4.3 Note Parameter Function Brightness It is to adjust monitor window bright. The value ranges from 0 to 100. The default value is 50. The larger the number is, the bright the video is. When you input the value here, the bright section and the dark section of the video will be adjusted accordingly. -
Page 18: Appendix Toxic Or Hazardous Materials Or Elements
Appendix Toxic or Hazardous Materials or Elements Toxic or Hazardous Materials or Elements Component Name Cr VI PBDE Circuit Board ○ ○ ○ ○ ○ ○ Component Device ○ ○ ○ ○ ○ ○ Construction Material ○ ○ ○ ○ ○...
Need help?
Do you have a question about the 1.3 XVI series and is the answer not in the manual?
Questions and answers