Table of Contents
Advertisement
Advertisement
Table of Contents

Summary of Contents for SJ SwaLLow
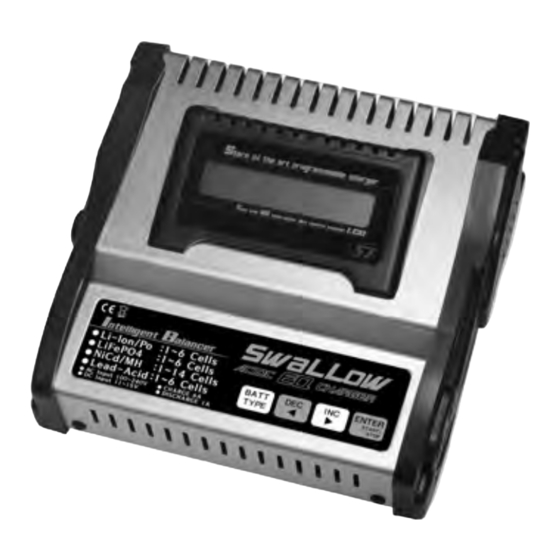
- Page 1 Thank you for purchasing this ‘SWALLOW AC/DC EQ CHARGER’ charger. We are sure you will be pleased with its performance and features. In order to ensure that you obtain the maximum from its operation, please read the following instructions carefully.
- Page 2 Operating Instructions Special Features Input voltage is 11~15V DC, or AC 100V ~ 240V / 50 ~ 60Hz Capable of charging and discharging 1 - 14 NiCd or NiMH cells, 1 - 6 Lithium-Ion, Lithium-Polymer or LiFePO4 cells or 2 ~ 12V lead-acid batteries Adjustable charge current (0.1A - 6.0A) Adjustable discharge current (0.1A - 1.0A).
- Page 3 Operating Instructions 1. Set contents 2.SPECIFICATION Input Voltage 11.0-15.0V DC, AC 100V ~ 240V / 50 ~ 60Hz 1-14 Nickel-Cadmium cells / 1-14 Nickel-Metal Hydride cells Battery Type & Cells 1-6 Lithium-Ion or Lithium-Polymer or LiFePO4 cells ( type : 3.6V or 3.7V or 3.3V ) 1 - 6 Lead-Acid cells ( 2V per cell ) 100mAh ~ 6000mAh adjustable ONLY for Lithium-Ion, Battery capacity...
- Page 4 Operating Instructions 3.CONTROLS AC INPUT Blue backlit display Balancing port DC 12V button Input alligator clips. + Output - Output Balancing adapter board Balancing cable - Input power - A. Connect the charger to the 12V DC power supply. Connect the charger’s red alligator clip to the positive (+) terminal on the power source and the black alligator clip to the negative (-) terminal.
- Page 5 Operating Instructions - Output battery connections - Two 4mm banana sockets are located on the right side of the charger. Connect the battery charge lead to these sockets with the positive (+) lead connected to the red socket and the negative (-) lead to the black socket.
- Page 6 Operating Instructions 4. NiCd MODE NiCd CHARGE NiCd DISCHARGE NiCd CYCLE D->C 5 NiCd delta-peak- C=3.0A D=0.50A 4.8 V C=3.0A D=0.50A 'volt = 0mV/cell ENTER ENTER ENTER ENTER NiCd CHARGE NiCd DISCHARGE NiCd CYCLE D->C 5 NiCd delta-peak- C=3.0A D=0.50A 4.8 V C=3.0A D=0.50A...
- Page 7 Operating Instructions 5. NiMH MODE NiMH CHARGE NiMH DISCHARGE NiMH CYCLE D->C 5 NiMH delta-peak- C=3.0A D=0.50A 4.8 V C=3.0A D=0.50A 'volt = 0mV/cell ENTER ENTER SETUP ENTER NiMH CHARGE NiMH DISCHARGE NiMH CYCLE D->C 5 NiMH delta-peak- C=3.0A D=0.50A 4.8 V C=3.0A D=0.50A 'volt = 0mV/cell...
- Page 8 Operating Instructions 6. Lithium MODE ( Li-Ion / LiPo / LiFe ) LiIo CHARGE LiIo DISCHARGE Lithium type C=3000mAh 10.8Vp D=0.50 A 10.8Vp LiIo ENTER ENTER ENTER LiIo CHARGE LiIo DISCHARGE Lithium type C=3000mAh 10.8Vp D=0.50A 10.8Vp LiIo ENTER ENTER LiIo CHARGE LiIo DISCHARGE Lithium type...
- Page 9 Operating Instructions Setting battery capacity LiIo CHARGE Adjust and set the desired battery capacity from 100mAh to 6000mAh C=3000mAh 10.8Vp (50mAh per step) with the INC & DEC buttons. Press the ENTER button to confirm the setting. Setting battery voltages for Li-Ion battery pack LiIo CHARGE Select the proper total battery voltages to be charged or discharged with the INC &...
- Page 10 Operating Instructions 7. Pb MODE Pb CHARGE Pb DISCHARGE C=3.0A 12Vpack D=0.50A 12Vpack ENTER ENTER Pb CHARGE Pb DISCHARGE C=3.0A 12Vpack D=0.50A 12Vpack ENTER ENTER Pb CHARGE Pb DISCHARGE C=3.0A 12Vpack D=0.50A 12Vpack START START BATTERY CHECK BATTERY CHECK WAIT PLEASE..WAIT PLEASE.
- Page 11 Operating Instructions 9. Completion display END 030:00 00000 NC 100mA 10.75V In order to move to the main display, press the Enter button. 10. Data display ENTER INPUT = 12.00V ChgCAPA=00000mAh CHG PEAK = 12.00V LCB-[01] = 0.000V LCB-[02] = 0.000V OUTPUT = 13.18V DchCAPA=00000mAh DCHG AVR = 13.18V...
- Page 12 Guarantee/Warranty. Model Engines (Aust.) Pty. Ltd guarantees this product to be free from manufacturing defects for a period of 60 days from time of purchase. This warranty does cover misuse, modification or for damage or consequential damage arising as a result of failure to observe the procedures outlined in this manual.
Need help?
Do you have a question about the SwaLLow and is the answer not in the manual?
Questions and answers