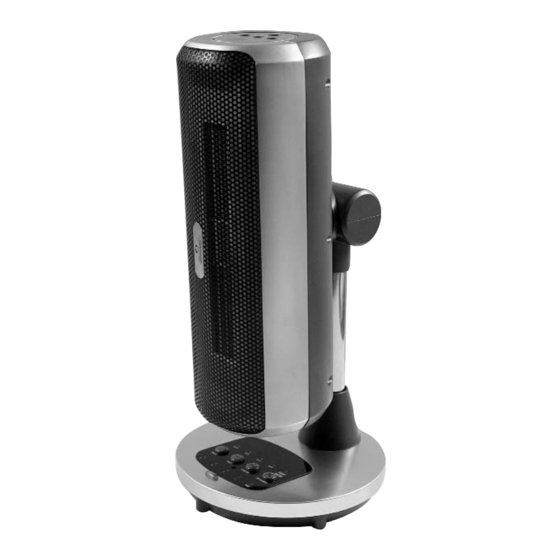
Table of Contents
Advertisement
Quick Links
Innovative Products For Living
WindChaser Products, Inc.
4130 Del Rey Avenue, Marina del Rey, CA 90292
Phone: 310-827-8615 Fax: 310-827-8566
Toll Free: 1-800-405-2943
www.windchaserproducts.com
O
s
c
i
l
l
a
t
i
n
g
O
s
c
i
l
l
a
t
i
n
g
C
e
r
a
m
i
c
C
e
r
a
m
i
c
w
i
t
h
R
e
m
o
t
e
C
o
n
w
i
t
h
R
e
m
o
t
e
C
o
n
INSTRUCTION MANUAL
MODEL CER95R
©2006 WindChaser Products, Inc.
PLEASE READ BEFORE USE AND SAVE
H
e
a
t
e
r
H
e
a
t
e
r
t
r
o
l
t
r
o
l
Advertisement
Table of Contents

Summary of Contents for Windchaser CER95R
- Page 1 PLEASE READ BEFORE USE AND SAVE INSTRUCTION MANUAL MODEL CER95R Innovative Products For Living WindChaser Products, Inc. 4130 Del Rey Avenue, Marina del Rey, CA 90292 Phone: 310-827-8615 Fax: 310-827-8566 Toll Free: 1-800-405-2943 www.windchaserproducts.com ©2006 WindChaser Products, Inc.
- Page 2 Thank you for choosing WindChaser ® Products. Please read all LIMITED WARRANTY instructions before assembly and use. Please empty all items from carton and save carton for future use. If you have any questions or One (1) Year Limited Warranty...
- Page 3 SPECIFICATIONS BEFORE INITIAL USE Voltage: 120V~ Read this entire instruction manual before use. Frequency: 60Hz Output Power: 1000W / 1500W Dimensions: 9” (W) x 9” (D) x 19.125” (H) Attach your purchase receipt here. 6 lbs (2.73 kgs) Weight: PLEASE KEEP YOUR RECEIPT. YOUR RECEIPT IS YOUR PROOF OF CLEANING AND STORAGE PURCHASE AND IS NECESSARY FOR...
- Page 4 4) Do not operate any heater with a damaged power cord or plug or after the heater malfunctions or if it has been dropped or damaged in any manner. Return the heater to WindChaser for examination in case of need for electric or mechanical adjustment Safety tip over switch and repair.
- Page 5 Adjustable pre-set thermostat: PARTS 1. Press the Temp. button to set the desired temperature while the heater is Temp. indicator light Temp. selected Remote control Temp. button (1st press): 80°F LED on 80°F Temp. button (2nd press): Temp. LED lights off Carrying slot Temp.
- Page 6 PREPARATION OPERATING INSTRUCTIONS Remote control 1. Remove battery cover from remote control 2. Remove the insulation tab from the battery compartment. 3. Place two AG13 or LR44 cell batteries (included) into the battery slots. 4. Place the battery cover onto the remote control When remote control is not in use, place into the remote control compartment.

Need help?
Do you have a question about the CER95R and is the answer not in the manual?
Questions and answers