Table of Contents
Advertisement
Quick Links
Advertisement
Table of Contents

Summary of Contents for DRAGONFLITE 95 8811
-
Page 2: Box Contents
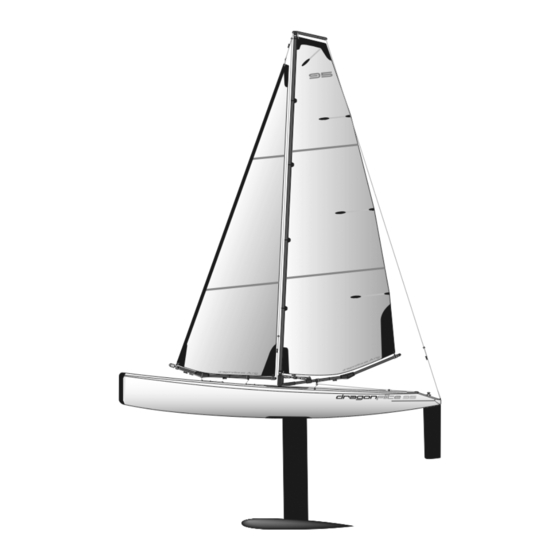
INSTRUCTION MANUAL THIS MODEL IS NOT A TOY THESE INSTRUCTIONS SHOULD BE READ BY A SUPERVISING ADULT DRAGONFLITE 95 2.4GHz RTR RACING SAILBOAT MODEL No: 8811 IMPORTANT: This is not a toy. Assembly and operating of this boat requires adult supervision. - Page 3 BASIC BOAT TERMINOLOGY The front of the boat. STERN The back of the boat. PORT This is the left side of the boat when viewed from the Stern. STARBOARD This is the right side of the boat when viewed from the Stern. HULL The body of the boat.
-
Page 4: Display Stand Assembly
DISPLAY STAND ASSEMBLY 1 Identify all stand components from box. 2 Bolt the plastic moulded components together with the twelve nut & bolts supplied. 3 Construct the leg sections. Note: All leg and stretcher tubes are of equal length. 4 Fit the three stretcher tubes. 5 Fix the soft EVA foam supports to the top surface of the stand to protect the Hull from scratches. -
Page 5: Rudder Assembly
RUDDER ASSEMBLY 1 Identify all Rudder components from box. 2 Insert Rudder into Hull. 3 Loosely fit the metal Rudder Arm on to the Steering Connector Rod and slide down over metal Rudder Shaft. Ensure the Rudder is pushed fully up into the Hull then, pushing the Rudder Arm down, tighten the grub screw. This will locate on the flat section of the metal Rudder Shaft. - Page 6 3 Fit the wire Mainsail Luff Rings to all six eyelets down the Mainsail Luff (front edge). 4 Slide the Mast Stub into the base of the Mast, taking care that the bevelled edge of the plastic collar is facing downwards. 5 Slide the whole Main Boom assembly on to the Mast Stub from below.
- Page 7 I N S T R U C T I O N M A N U A L...
- Page 8 DragonFlite95 A Rig Jib & Main Booms JIB BOOM SETUP Counterweight Clew Hook Jib Sheet Guide O Ring Jib Boom Front End Fitting Boom Joiner 115mm 1 Set the Jib Sheet Guide and Silicon Ring SR1 to the position shown above. Mainsail Clew Hook 2 Cut a 450mm length of Dyneema to form the Jib Boom hook-down.
- Page 9 10 Slacken off the Bowsie adjuster on the Jib Hook-Down, thread the loop through the front Deck Eye (Deck Eye 1), lead it back through Deck Eye 2 and hook the loop over the Jib Deck Hook. Tighten the hook-down Bowsie to get the Jib Boom as low to the deck as possible. 11 Cut a 200mm length of Dyneema to form the top of the Forestay.
- Page 10 I N S T R U C T I O N M A N U A L...
- Page 11 POWERING UP THE BOAT If you’ve bought the ‘Ready To Race’ version of the boat you will have the Joysway Transmitter and Receiver. The transmitter (Tx) and Receiver (Rx) will already be ‘bound’ and full operating instructions for this radio set are supplied. If you are using your own Tx/Rx equipment we will assume you will be familiar with all it’s functions and the following guide covers the setup of the boat only.
- Page 12 SHEETING SETUP 1 Adjust the bowsies on the mainsheet bridle to position the metal sheeting ring centrally in the position shown in photo 1. It is essential for consistent sheeting angle on both port and starboard tacks (When looking forward from the back of the boat if the wind is coming over the right hand side if the hull you are sailing on starboard tack).
- Page 13 Sheeted Out: The Mainboom should sheet out to around 80º to the Hull’s centreline Sheeted Out: The Jib Boom should sheet out to around 80º to the Hull’s centreline Sheeted In: The end of Sheeted In: The end of the the Jib Boom should be Mainboom should be over the over the inner edge of the...
- Page 14 Rudder: In center position IMPORTANT NOTICE Only sail your DragonFlite 95 in still bodies of water. Never sail it in running water such as rivers or tidal waters. If you loose control of the boat you could loose it forever! Never attempt to swim after a stalled or stuck boat.
-
Page 15: Maintenance
MAINTENANCE SPARE PARTS LIST If properly rigged and maintained the DragonFlite 95 will Item No Item Name be a very ‘dry’ boat. This is a very good thing as water and 881101 DF95 Complete “A” Rig Assembly (No Sails) electrics are not the best of friends! 881102 DF95 Complete “B”... - Page 16 For more information about the boat and the DragonFlite 95 Racing Class please visit www.dfracing.world...
Need help?
Do you have a question about the 8811 and is the answer not in the manual?
Questions and answers