
Related Manuals for A-MTK AH21K9M

Summary of Contents for A-MTK AH21K9M
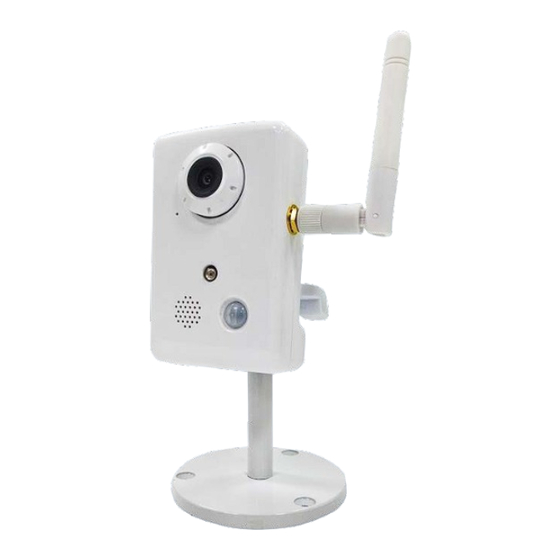
- Page 1 A-MTK PnP Solution Panoview Introduction & User Guide i-Panoview Wireless Cube Camera...
- Page 3 Step 2: Open the APP “Panoview” in your Step 1: Step 3: Step 4: smart phone and click Plug-in Antenna and Click “WIFI” Type your Wifi password “First Install” plug-in 12V 1A power adaptor First Install When you first start the IP camera Reset When you forget password, or change access point, pls reset IP camera...
- Page 4 Step 6: Step 5: It will automatically find Searching for wireless Step 7: the camera. cameras in same Set your camera name. Step 8: “Set” camera password network environment For Ex.: Office 1 Camera setup successful. or “skip”.
- Page 5 Click the red marked button, Camera Settings Menu to get in camera settings “Edit” your camera name (See page 7) “Delete” camera “Modify” your password (See page 7) “See” your SD card status (See page 7) “Change” camera color and brightness (See page 8) “Update”...
- Page 6 SD card Setting: If you first time mount a Edit Camera: SD card to the camera Set your new camera make sure you “format” name or mark “Only and see the ”ready” Modify Password: this device can view” to status Set your new password lock the camera...
- Page 7 Camera Image: Firmware Update: Here you can change Time to time you can Network Status: the “Color, Brightness, check this page to see is Here you can see the Contrast, Sharpness and there a new Firmware Network Status of the 180 degree rotation”...
- Page 8 Main Page: Icon description: Horizontal View Vertical View Snapshot Record Digital Zoom in and out Turn on build-in speaker Turn on build-in microphone Split Screen 1 or 4 Playback menu Event Settings...
- Page 9 Motion Detection: Turn On Audio Detection: Turn On Mark the area you want to Adjust the sensivity of the motion detect and adjust the audio detection sensivity Edit Settings Menu:...
- Page 10 Camera Tampering: Turn On PIR Detection: Turn On It can trigger condition that Recording: Turn On PIR based motion detection when the camera detects that By any event trigger it will measures infrared (IR) light is being tampered with. record to you SD card or radiating from objects in its For Ex.: redirection, blocking, Cloud server...
- Page 11 Push notification: Turn On Snapshot: Turn On By any event trigger it will Audio Alarm: Turn On By any event trigger it will send to your smartphone a By any event trigger it will snapshot the event detection push notification through audio alert through the cube moment and save in your mobile APP “Panoview”...
- Page 12 Recording Settings Select the event recording resolution HD or VGA Cloud Settings When you create a GMAIL account in Google or use your existing GMAIL account and login inside the mobile APP it will save all event detection moments to your Google Drive Cloud server...
- Page 13 Playback 1. Local Record Playback: You can playback Snapshot Manager the videos in your mSD card. All snapshots are save in this 2. Remote Record Playback: You can playback page if you want to export to the videos in your Google Drive Cloud Server. your mobile Album you can Note: Remember to turn on the recording Playback Menu:...
- Page 14 About You can see the mobile Playback Menu: APP version. Event Log In event log you can see when which detection has been triggered...
- Page 15 Thanks for your attention TEL :+886-2-82269855 FAX:+886-2-82269800 Email : sales@afidus.com Address : 5F-3, No. 186, Jian 1st Rd., Zhonghe Dist., New Taipei City 235, Taiwan(R.O.C)
Need help?
Do you have a question about the AH21K9M and is the answer not in the manual?
Questions and answers