Table of Contents
Advertisement
Quick Links
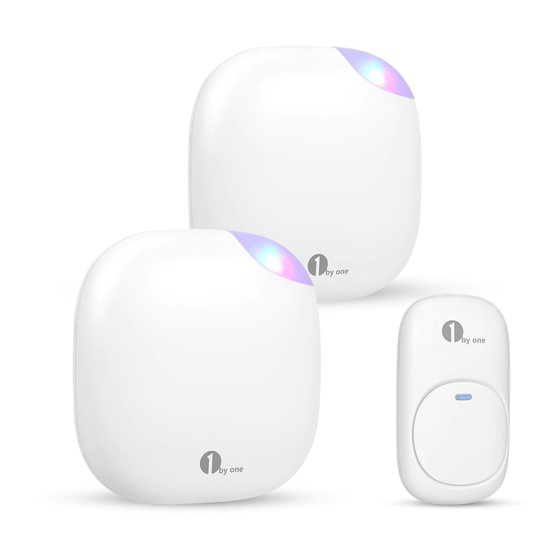
Auto-leaning Code Wireless Door Chime
Accessories List:
● 2 x Receiver
● 1 x User Manual
● 1 x 3 volts CR2032 battery for transmitter
Technical Specification:
● Frequency: 433.92MHz+100KHz
● Modulation Type: ASK
● Ring Volume: >85dB(within 0.5m)
● Channel space: 1 million sets of auto-learning codes
● Receiver bandwidth: ±180KHz
● Reception Sensitivity: >-80dBm
● Transmitting power:<10mW
● Power consumption: Receiver:<0.3W ; Transmitter: standby:<5uA working:<10mA
● Power Supply: Receiver: AC 110V; Transmitter: DC 3V (CR2032)
● Operating Range:>150m (in the open air)
Note: Each receiver can be configured with the same or different tones, you
can set two different melodies for the two chimes!
Set up: A: Press the Auto-learning Code Button for 30 seconds until it starts flashing and making
sounds.
B: Next choose melody by pressing Melody Selector to choose your favorite one.
C: Then again press the Auto-learning Code Button for 30 seconds until it starts flashing,
which means the new melody has been matched successfully!
Instruction Manual
SKU: O00QH-0761
1
All doorchime with Easy Chime
Logo working together
● 1 x Transmitter
● 1 x Double-sided adhesive
Advertisement
Table of Contents

Related Manuals for 1byone O00QH-0761

Summary of Contents for 1byone O00QH-0761
- Page 1 All doorchime with Easy Chime Logo working together Instruction Manual Auto-leaning Code Wireless Door Chime SKU: O00QH-0761 Accessories List: ● 2 x Receiver ● 1 x Transmitter ● 1 x User Manual ● 1 x Double-sided adhesive ● 1 x 3 volts CR2032 battery for transmitter Technical Specification: ●...
- Page 2 Names for Parts: LED Indicator Volume Button Melody Selector Sound-and-Flash Switch Button Push Button Auto-learning Code Button Receiver Transmitter Transmitter Installation: ● Open the Transmitter by pushing in the interface located at the bottom with a flat screw driver. ● Place the CR2032 battery (included). CR2032 3V Lithium Battery...
- Page 3 Receiver Installation: ● Drill two holes on the wall at your required height. The holes are about 6mm in diameter. The distance between the two holes should be about 75mm. Then insert two wall plugs (included) into the holes. After that, insert two screws (included) into the wall plugs.
- Page 4 If the Receiver sounds for no reason during the digital code setting, it is indicated that it has been interfered by other similar Doorbell nearby, reset the auto-learning code as per point 2 above. IMPORTANT: PLEASE KEEP THESE INSTRUCTIONS FOR FUTURE REFERENCE WHEN REPLACING BATTERIES 1byone Products Inc. 2313 E,Philadelphia Street,Unit M, Ontario,CA 91761 www.1byone.com...
Need help?
Do you have a question about the O00QH-0761 and is the answer not in the manual?
Questions and answers