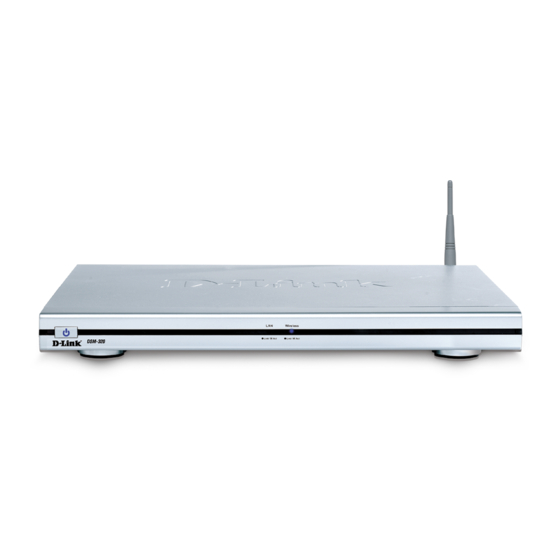
D-Link DSM-320 Quick Installation Manual
Wireless media player
Hide thumbs
Also See for DSM-320:
- User manual (115 pages) ,
- Manual (111 pages) ,
- Quick installation manual (24 pages)
Table of Contents
Advertisement
Quick Links
This product complies with current
UPnP AV and Intel Network Media
Product Requirements.
Before You Begin
You will need the following:
• Windows XP, 2000, Me, or 98SE, 500MHz or above based computer with a minimum of
128MB RAM, a CD-ROM drive, 20MB of available hard drive space and a wireless or
Ethernet network.
Check Your Package Contents
These are the items included with your purchase:
If any of the below items are missing, please contact your reseller.
©2004 D-Link Systems, Inc. All rights reserved. Trademarks or registered trademarks are the property of
their respective holders. Software and specifications subject to change without notice. DSM-320.09092004
DSM-320 Wireless Media Player
Installation CD (Contains D-Link
Software, Quick Installation Guide, and Manual)
Antenna
Ethernet (CAT 5 UTP/Straight Through) Cable
Standard Composite RCA Audio/Video Cable
S-Video Cable
Remote Control with Batteries
Patent Pending
DSM-320
Wireless Media Player
®
Media Server
Advertisement
Table of Contents

Summary of Contents for D-Link DSM-320
-
Page 1: Before You Begin
Standard Composite RCA Audio/Video Cable S-Video Cable Remote Control with Batteries ©2004 D-Link Systems, Inc. All rights reserved. Trademarks or registered trademarks are the property of their respective holders. Software and specifications subject to change without notice. DSM-320.09092004 Patent Pending... - Page 2 ® Install the D-Link Media Server Software on each PC that contains audio, video, or photo files you wish to use with the DSM-320. Follow the steps in this section to install the software. Insert the DSM-320 CD-ROM into the CD-ROM drive and the following screen will appear.
- Page 3 The D-Link license agreement screen appears. Click Next Choose a Destination location or accept the default location. This is where the D-Link Media Server software will be copied to on your system. Click Next Choose a start menu folder or accept the default location.
- Page 4 ® Installing the D-Link Media Server Software (continued) Select the icons you want created. Select Create a desktop icon to access the program from your desktop. Select Create a Quick Launch icon to access the program from your taskbar. Select Create a startup icon so the program launches on startup.
- Page 5 ® Configuring the D-Link Media Server Software The File Types tab is where you select the types of audio, video, and photo files that you want to share. The Shared Folders tab is where you select the folders that contain your audio, video, and photo files.
- Page 6 ® Configuring the D-Link Media Server Software (continued) Select the folder containing the files you wish to share. Click Repeat the steps until all of the folders containing audio, video, and photos you want to share have been added. Click...
-
Page 7: Connecting The Dsm-320
Connecting the DSM-320 All audio, video, and networking connections are located on the rear panel of the DSM-320. Video Connections Be sure the PAL/NTSC switch is set to NTSC if you are located in the USA. Select one of three ways to connect video to your DSM-320: •... -
Page 8: Audio Connections
The AUDIO OUT button on the remote control toggles between the composite audio output and the digital audio output (optical/coaxial). Select one of three ways to connect audio to your DSM-320: • Composite Audio Plug the supplied red and white connectors into the color-coded matching jacks on the DSM-320. -
Page 9: Network Connections
Connecting the DSM-320 (continued) Network Connections Select one of two ways to connect a network to your DSM-320: • RJ-45 Ethernet Connector Connect the supplied Ethernet cable to the network cable connector, and attach the other end to the network. - Page 10 Connecting the DSM-320 (continued) Below is a diagram displaying what your network might look like once all of the connections have been made to the MediaLounge™ DSM-320 Wireless Media Player.
-
Page 11: Using The Remote Control
Using the Remote Control Press to navigate to Power the HOME Screen Number and One- Touch Preset Keys Enters a “.” (a period, CLEAR text entry also known as a dot) Go to previous page MUTE sound Page Up or Down VOLUME Adjustment Arrow keys to move the position of the... -
Page 12: Dsm-320 Setup Wizard
Whenever you need to enter text, press ENTER on the remote and the onscreen keyboard will appear. The keyboard is used for a variety of functions such as naming your DSM-320 and performing searches for music, photos or video. To use the keyboard, highlight a character with the arrow buttons on the remote control and press the ENTER button. - Page 13 DSM-320 Setup Wizard (continued) Type in a name of your choice or select the default setting. Click Next to continue Select your network connection type. If selecting Wired, skip to Your Current Network Settings on page 14. Click Next to continue...
- Page 14 DSM-320 Setup Wizard (continued) Your current wireless settings are displayed and can be changed at this point. Note: Keys are entered in hexadecimal format. See the User Manual located on the CD-ROM for details. Click Next to continue Your current network...
- Page 15 DSM-320 Setup Wizard (continued) Click Done to finish Your MediaLounge™ DSM-320 is now ready to stream music, photo, and video content for enjoyment on your home entertainment center. Your setup is complete! For detailed usage instructions and information on supported file types, please refer to...
- Page 16 Support echni cal Support You can find software updates and user documentation on the D-Link website. D-Link provides free technical support for customers within the United States and within Canada for the duration of the warranty period on this product.


Need help?
Do you have a question about the DSM-320 and is the answer not in the manual?
Questions and answers