Advertisement

Operating Instructions
Bedienungsanleitung
Gebruiksaanwijzing
Mode dʼemploi
Manuale di istruzioni
Instrucciones de funcionamiento
Manual de instruções
Bruksanvisning
Brugsanvisning
Bruksanvisning
Käyttöohjeet
Instrukcja obsługi
Návod k obsluze
Kezelési útmutató
Instrucţiuni de operare
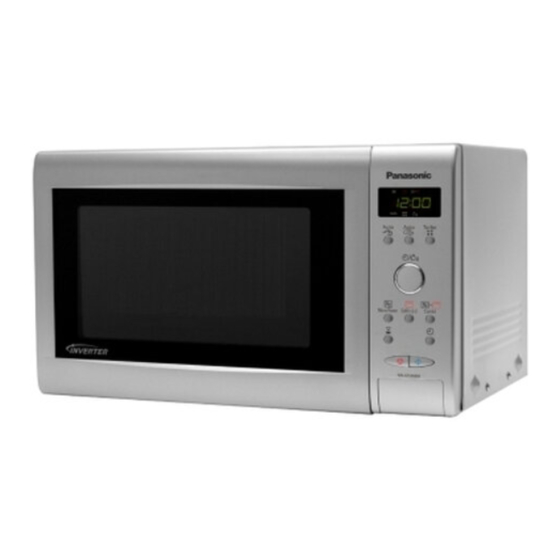
Microwave Oven/Grill Oven
Mikrowellengerät mit Grill
Magnetron/Grill Oven
Four à Micro-ondes-Gril
Forno a Microonde e Grill
Horno Microondas/Grill
Forno Micro-Ondas/Grelhador
Kombinationsugn med Mikrovågor/Grill
Mikrobølgeovn/Grill
Mikrobølge/Grill Ovn
Mikroaaltouuni/Grilli
Kuchenka Mikrofalowa z Grillem
Mikrovlnná / trouba/ Gril
Grillezös/mikrohullámú sütö
Reţetar pentru cuptor cu microunde
NN-GD368M / NN-GD358W
®

Advertisement

Table of Contents
loading

Summary of Contents for Panasonic NN-GD368M

  • Page 1 Mikrowellengerät mit Grill Magnetron/Grill Oven Four à Micro-ondes-Gril Forno a Microonde e Grill Horno Microondas/Grill Forno Micro-Ondas/Grelhador Kombinationsugn med Mikrovågor/Grill Mikrobølgeovn/Grill Mikrobølge/Grill Ovn Mikroaaltouuni/Grilli Kuchenka Mikrofalowa z Grillem Mikrovlnná / trouba/ Gril Grillezös/mikrohullámú sütö Reţetar pentru cuptor cu microunde NN-GD368M / NN-GD358W...
  • Page 2: Installation And Connection

    Installation and Connection Examine your microwave oven 4. Do not place this oven near an electric or gas cooker range. Unpack the oven, remove all packing material, and examine the oven for any damage such as 5. The feet should not be removed. dents, broken door latches or cracks in the 6.
  • Page 3 IMPORTANT SAFETY INSTRUCTIONS. Before operating this oven, please read these instructions carefully and keep for future reference. WICHTIGE SICHERHEITSANWEISUNGEN. Vor Gebrauch des Mikrowellengerätes bitte diese Bedienungsanleitung sorgfältig durchlesen und aufbewahren. BELANGRIJKE VEILIGHEIDSINSTRUCTIES. Alvorens u deze microgolfoven gebruikt, raden wij u ten zeerste aan deze gebruiksaanwijzing door te lezen en bij te houden voor eventueel toekomstig gebruik.
  • Page 4: Safety Instructions

    Safety Instructions Use of your oven Oven Light When it becomes necessary to replace the 1. Do not use the oven for any reason other oven light, please consult your dealer. than the preparation of food. This oven is specifically designed to heat or cook food. Accessories Do not use this oven to heat chemicals or The oven comes equipped with a variety of...
  • Page 5 Important Information 1) Cooking Times To prevent this possibility the following- • The cooking time depends on the steps should be taken: condition, temperature, amount of food a) Avoid using straight-sided containers and on the type of cookware. with narrow necks. •...
  • Page 6: Outline Diagram

    Outline Diagram [11] [10] [1] Door Release Button Press to open the door. When you open the oven door during cooking, the cooking is stopped temporarily without clearing earlier made settings. The cooking is resumed as soon as the door is closed and Start Pad pressed. [2] Oven Window [3] Door Safety Lock System [4] Oven Air Vent...
  • Page 7: Control Panels

    Control Panels NN-GD368M / NN-GD358W* (1) Display Window (2) Auto Weight Microwave Programs (3) Auto Weight Combination Programs (4) Auto Weight Turbo Defrost Programs (5) Time/Weight Dial (6) Microwave Power Levels (7) Grill Pad (8) Combination Pad (9) Timer Pad...
  • Page 8: Setting The Clock

    Setting the Clock When the oven is first plugged in “88:88” appears in display window. • • • Enter the time by turning the Press Clock Pad once. Press Clock Pad Time/Weight Dial. The time appears The colon stops blinking once.
  • Page 9: Microwave Cooking And Defrosting

    Microwave Cooking and Defrosting The glass tray must always be in position when using the oven. Wattage 850 Watts 1 Press 270 Watts Defrost 2 Presses 600 Watts Medium 3 Presses 440 Watts 4 Presses 250 Watts Simmer 5 Presses 6 Presses Warm 100 Watts...
  • Page 10: Delay Start Cooking

    Delay Start Cooking By using Delay/Stand Pad, you are able to program Delay Start cooking. e.g. • • • • Press Set the delay time by Press Start Pad. Set the desired cooking turning the Time/ Delay/ program and cooking time. Weight Dial (up to 9 Stand Pad.
  • Page 11: Defrosting Guidelines

    Defrosting Guidelines Tips for Defrosting Check the defrosting several times, MINCED MEAT OR CUBES OF MEAT AND even if you use the auto programs. SEAFOOD Observe the standing times. STANDING TIMES Individual portions of food may be cooked Since the outside of these foods quickly almost immediately after defrosting.
  • Page 12 Grilling • • • Press Start Press Grill Pad to select level Set the cooking time using the The time counts 1 press grill 1 (high) Time/Weight Dial (up to 90 down in the display. 2 presses grill 2 (medium) minutes).
  • Page 13: Combination Cooking

    Combination Cooking • • Press combination pad to • Set the cooking time using Press Start select level the Time/Weight Dial The time counts The combination indicator lights (up to 90 minutes). down in the display. and combination level (1, 2 or 3) appears in the display.
  • Page 14: Auto Weight Defrost

    Auto Weight Defrost With this feature you can defrost frozen food according to the weight. • Set the weight of the frozen • • Select the desired Auto Press Start Pad. food by using the Defrost Program Remember to stir or 1 Press small pieces Time/Weight dial.
  • Page 15 Auto Weight Microwave Programs Recommended Program Instructions Accessories Weight To reheat a fresh plated meal or casserole. All foods must be pre- cooked. Foods should be at refrigerator temperature approx. + 5°C or room temperature. Select 150 - 1200g program fresh meal (1 press of auto mirowave program pad).
  • Page 16 Auto Weight Combination Programs Recommended Program Accessories Instructions Weight For reheating, crisping the base and browning the top of frozen 150 - 480g pre-cooked pizza. Remove all packaging and place the 1 Press pizza in the preheated Panacrunch Pan. FROZEN PIZZA For reheating, crisping the base and browning the top of fresh pre-cooked 150 - 480g...
  • Page 17 Auto Weight Combination Programs Recommended Program Accessories Instructions Weight For reheating, browning and crisping the top of pre-cooked frozen gratin. This program is suitable for frozen lasagne, cannelloni, potato topped 300 - 1000g dishes, pasta bakes. Remove all packaging and place frozen gratin in 5 Presses heatproof dish on Glass Tray.
  • Page 18: Panacrunch Pan

    2. Always place the pan in the centre of the oven. Your Panasonic Panacrunch Pan works in glass tray and ensure it does not touch the three ways: heating the pan by absorbing wall of the oven cavity.
  • Page 19: Questions And Answers

    Questions and Answers Q: Why wonʼt my oven A: When the oven does not turn on, check the following: turn on? 1. Is the oven plugged in securely? Remove the plug from the outlet, wait 10 seconds and reinsert. 2. Check the circuit breaker and the fuse. Reset the circuit breaker or replace the fuse if it is tripped or blown.
  • Page 20: Care Of Your Oven

    Care of Your Oven 8. The roller ring and oven cavity floor should 1. Turn the oven off before cleaning. be cleaned regularly to avoid excessive 2. Clean the inside of the oven, door seals and noise. Simply wipe the bottom surface of the door seal areas regularly.
  • Page 21: Technical Specifications

    If you wish to discard this product, please contact your local authorities or dealer and ask for the correct method of disposal. Manufactured by Panasonic Home Appliances Microwave Oven (Shanghai) Co.,Ltd, 898 Longdong Road, Pudong, Shanghai, 201203, China. Distributed within European Community by Panasonic Manufacturing U.K.Ltd. Pentwyn Industrial Estate, Cardiff, CF23 7XB United Kingdom.

This manual is also suitable for:

Nn-gd358w

Table of Contents