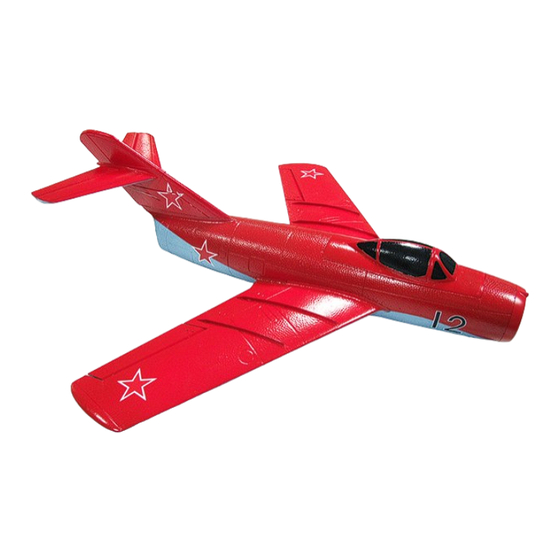
Summary of Contents for shenzhen freewing MIG-15
- Page 2 Please read all instructions carefully before assembly and flight! Thank you for purchasing the Mig-15. This model is designed for the intermediate to advanced flyer. The model is receiver ready and includes everything that you need to assemble and fly your Mig-15, except for the radio transmitter and receiver.
- Page 3 Safety Precautions! Please read this section and follow all recommendations! 1. Do not fly in strong wing or bad weather. 2. Never fly the model in crowded areas where there are lots of people, automobiles on the road or power lines overhead. Do not fly near full-scale airport. 3.
- Page 4 2. Apply a small amount of epoxy to the right stabilizer 3. Put into position on the vertical fin. 4. Check that it is at 90 degrees from the fin. When the epoxy has cured drill a 3mm hole through the vertical fin from the left side.
- Page 5 6. Check that the stabilizers are at 90 degrees to the vertical fin. Mix some 5-minute epoxy and apply an even coat to the root of one wing panel. 7. Insert the aileron servo wire through the hole in the fuselage and then push the wing panel into position 8.
- Page 6 9. If there are any places where the epoxy has been forced to the surface. Take a paper towel and some Alcohol and wipe it off before the epoxy sets. 10. After the wings have cured, prepare the fuselage and vertical fin for gluing. Sand the base of the fin to remove paint and scrape the mating surface on the rear of the fuselage to remove paint.
- Page 7 13. Slip the right elevator pushrod tube through the other fin part and glue into position. 14.Insert the wire pushrods from the rear and feed them into the hatch area of the fuselage. 15.Slip both pushrods into the pushrod keeper do not tighten yet. 16.
- Page 8 17. Locate the drop tanks and their plastic reinforcements. These function as skid plates, glue one to the bottom of each tank as shown. 18.Install the drop tank to the bottom of the wing with a small amount of glue. 19.
- Page 9 21. Install the battery pack in the front of the battery tray and secure with Velcro. 22. Aileron control throws are 3/8” Up and 1/4” Down on Low Rates. They are 1/2" Up and 5/16” Down on High Rates. If using the Y-connector you will not be able to adjust aileron differential.
- Page 10 24. The Center of Gravity range for the is from about 2-7/8” to 3-1/4” back from the panel line on the bottom of the fuselage near the front of the wings. Adjust the position of the battery to achieve correct balance. Never attempt to fly a model that is not correctly balanced. Preparation before flight 25.
- Page 11 Example: right stick moved to the right and the aileron on the right wing moves upward while the aileron on the left wing moves downward. 28. Adjust each control surface to its neutral position by mechanically adjusting each clevis. Recommended control throws for Mig-15 Elevator Aileron Low Rates 3/8”...

Need help?
Do you have a question about the MIG-15 and is the answer not in the manual?
Questions and answers