Advertisement
Quick Links
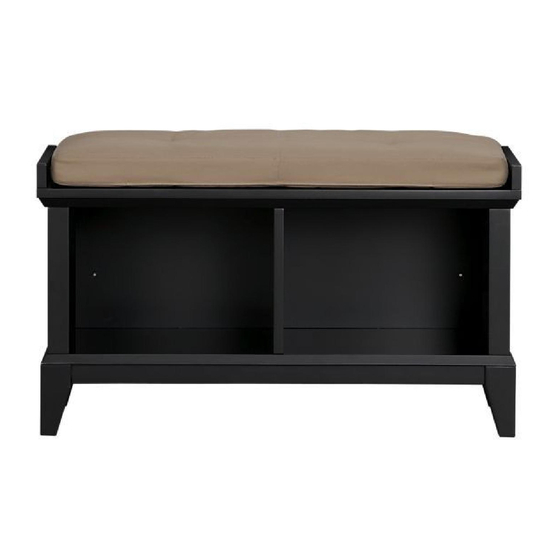
PATERSON
Thank you for purchasing the Paterson Bench. This
page lists all the contents included in the box. Please
take time to identify the hardware as well as the
individual components of this product. As you unpack
and prepare for assembly, place the contents on a
carpeted or padded area to protect them from damage.
Note: 2 people are required to safely assemble this product.
COMPONENTS
2 - side panels
(1 left, 1 right)
1 - back panel
Made in China - r04
BENCH
Customer Service 800.967.6696 | Latest instructions available at www.crateandbarrel.com
HARDWARE
22 - wood
8 - cam
dowels
screws
Missing hardware?
Please call 800.606.6387 for replacements.
8 - barrel
nuts
TOOLS REQUIRED
phillips head screwdriver
(We recommend the use of hand tools instead of power tools)
1 - partition
1 - base
8 - cams
8 - large
bolts
1 - top panel
1 - cushion
(sold separately)
Page 1 of 4
Advertisement

Related Manuals for Crate&Barrel PATERSON


Summary of Contents for Crate&Barrel PATERSON
- Page 1 8 - barrel nuts TOOLS REQUIRED Thank you for purchasing the Paterson Bench. This page lists all the contents included in the box. Please take time to identify the hardware as well as the individual components of this product. As you unpack and prepare for assembly, place the contents on a carpeted or padded area to protect them from damage.
- Page 2 PATERSON BENCH NOTE: Do not over NOTE: Make sure arrow on tighten the cam screws each cam points toward nearest edge with holes partition top panel 1 A) Insert 2 cams and 4 wood dowels into partition as shown. Make sure arrow on each cam points toward nearest edge with holes.
- Page 3 PATERSON BENCH NOTE: Make sure pilot holes in back panel face outwards during assembly right side panel back panel back panel NOTE: Make sure the cams in back/side panels are positioned at the bottom during assembly left side panel 5 Fit dowels of back panel into corresponding holes of 4 Insert 2 cams and 10 wood dowels into back left and right side panels as shown.
- Page 4 PATERSON BENCH NOTE: Do not over tighten the bolts cushion (sold separately) base 8 With assistance of another adult, fit dowels of assem- 9 With assistance of another adult, position unit bly into corresponding holes of base. Using a screw- upright.
- Page 5 (We recommend the use of hand tools instead of power tools) COMPONENTS Thank you for purchasing the Paterson Back Panel. This page lists all the contents included in the box. 1 - back panel Please take time to identify the hardware as well as the assembly individual components of this product.
- Page 6 PATERSON BACK PANEL WALL back panel assembly wall strap plastic anchor wall bracket anti-tip large bracket screw small screw OPTIONAL WALL MOUNTING INSTRUCTIONS For added safety and stability, it is recommended that the wall mounting hardware be installed. For safe mounting, it is essential to use wall anchors appropriate to your wall type (i.e.
Need help?
Do you have a question about the PATERSON and is the answer not in the manual?
Questions and answers