Advertisement
Quick Links
QUICK START GUIDE
OREGON SCIENTIFIC WEATHER COLLECTION
You will have one of the following Oregon Scientific products:
100
400
: EMR201A
: BAR206A
200
500
: RMR202A
: BAR208HGA
300
RAIN AND TEMPERATURE STATION:
: RMR203HGA
RGR202A
UNPACK
A
Make sure that you have all of the parts of one of the three
groups of products shown here before the installation of your
Weather Collection product.
WEATHER
100-400
WEATHER
1×
1×
1×
Main Unit
THN132N
Temperature
Sensor
RAIN AND
TEMPERATURE STATION
1×
1×
1×
Main Unit
THN132N
Temperature
3×
Sensor
B
1
Slide open battery door
500
C
1×
Main Unit
THGR122NR
Temperature/
Humidity Sensor
1×
Rain Collector
Filter
1
Install the required number of batteries in the battery
compartment located on the back of each main unit.
6×
Screws (Type C)
Washers
SET-UP WIRELESS SENSOR
1
2
Install the battery, matching polarity (+/-)
SET-UP MAIN UNIT
1
2
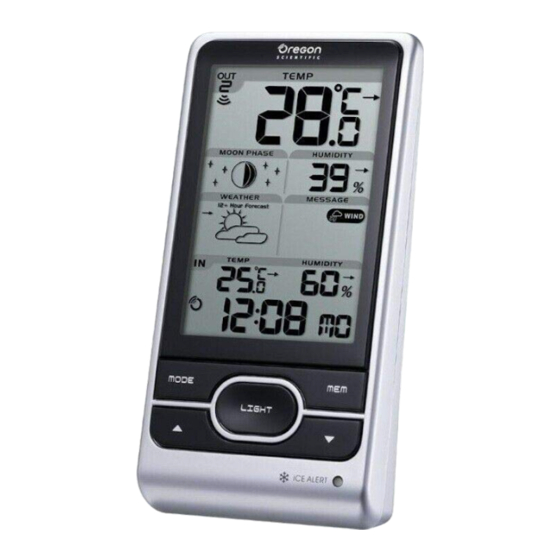
There are two types of signals the main unit will receive:
Temperature Signal
After installing the batteries, the main unit will automatically
search for the signal from the wireless sensor. Once a
temperature reading is displayed on the LCD screen,
communication is now established.
2
2
4
3
3
Assign a channel by sliding selection switch to the appropriate
channel (1,2,3) location. If installing additional sensors, make
sure you assign a different channel for each sensor.
4
Press the reset button
*
Before placing the sensor outdoors, please verify
communication with the main unit by placing the sensor next to
the base unit during this setup process.
Time is synchronized.
Receiving signal is strong.
3
Time is not synchronized.
Receiving signal is weak.
3
Atomic Clock Signal
Atomic clock synchronization will automatically occur after
installing the batteries. Reception takes 2-10 minutes. If the
signal is weak, it can take up to 24 hours to retrieve a valid
signal.
*
Please monitor atomic clock icon (
) on the bottom part of the
LCD display next to the time. This icon indicates the status of
the clock reception signal.
Advertisement

Related Manuals for Oregon Scientific EMR201A


Summary of Contents for Oregon Scientific EMR201A
-
Page 1: Quick Start Guide
QUICK START GUIDE OREGON SCIENTIFIC WEATHER COLLECTION You will have one of the following Oregon Scientific products: : EMR201A : BAR206A : RMR202A : BAR208HGA RAIN AND TEMPERATURE STATION: : RMR203HGA RGR202A UNPACK Make sure that you have all of the parts of one of the three groups of products shown here before the installation of your Weather Collection product. - Page 2 SET-UP RAIN GAUGE FOR THE RAIN AND TEMPERATURE STATION Remove the two base screws located on the bottom rim of the rain gauge Press the RESET button. and slide the hood cover off to expose the battery compartment. Press the SEARCH button on the main unit to initiate a wireless sensor search. Locate the battery compartment and remove the eight screws that secure the cover.