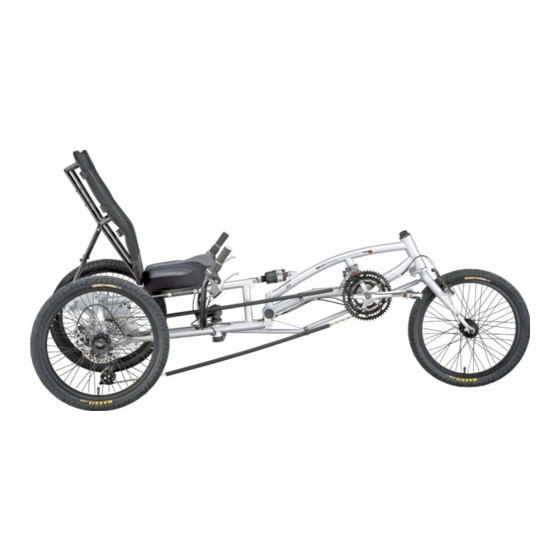
Summary of Contents for Sun Microsystems EZ-3 USX HD
- Page 1 EZ-3 USX HD Supplemental Owner’s Manual Find us online at SunSeeker.Bike Revised 2/2016...
- Page 2 This manual is not intended as a comprehensive use, service, repair or maintenance manual. Please see your dealer for all service, repairs or maintenance. Your dealer may also be able to refer you to classes, clinics or books on bicycle use, service, repair or maintenance. EZ-3 USX HD Specifications Model:...
- Page 3 EZ-3 USX HD Reference Views Side View Top View...
- Page 4 EZ-3 USX HD Assembly Reference EZ-3 USX HD Parts List ITEM DESCRIPTION Main Frame Assembly Rear Unit Right Side Assembly Rear Unit Left Side Assembly Rear Unit Hardware Set (Not Pictured) 1 set Frame Pivot and Shock Hardware Set (Not Pictured)
-
Page 5: Assembly Guide
Assembly Guide Rear Frame Installation Install #3 Rear Unit Left Side Assembly onto #2 Rear Unit Right Side Assembly using #4 Rear Unit Hardware. Tighten rear unit hardware evenly. See Figure A. Main Frame Installation Install #2 Rear Unit Right Side Assembly to #1 Main Frame Assembly using the #5 Frame Pivot and Shock Hardware Set. Lightly grease pivot and shock bushing.Tighten main pivot bolt to 12Nm (106 in Lbs.) See Figure B. - Page 6 Handlebar Assembly Installation Install #8 Left Handlebar Assembly into handlebar stem located beneath the #2 Rear Unit Right Side Assembly, insert fully in order to engage handlebar safety pin into stem. See Figure D. Install #9 Right Handlebar Assembly into handlebar stem located beneath the #2 Rear Unit Right Side Assembly, insert full in order to engage handlebar safety pin into stem.
- Page 7 Steering Link Installation Install front joint of #10 Steering Link onto front fork steeering tab. Position the #10 Steering Link with bent portion below bottom bracket to avoid interfer- ence with chainrings or pedals. See Figure H. Install rear joint of #10 Steering Link onto handlebar stem steering tab. See Figure I. Steering link joint Locknut Check that the handlebars and front wheel are aligned perpendicular to each other for proper steering control.
- Page 8 Saddle Assembly Installation Install #11 Seat Mount to bottom of #13 Saddle with seat back frame tabs to rear of saddle. See Figure J. Install #11 Seat Mount onto #1 Main Frame Assembly and secure with #12 Seat Mount Hardware Set. See Figure K. Install #14 Seat Back Frame to #11 Seat Mount using provided large pivot bolt.
- Page 9 Seat Strut Tab Brace Installation Install #20 Seat Strut Tab Brace onto the rear tabs of the Main Frame and Rear Unit Assembly. Install #18 Lower Seat Strut on top of this brace on either seat strut tab, based on rider fit. See Figure N. Chain Tube Assembly Installation Insert chain into lower #21 Chain Tube Assembly, moving toward front of recumbent.
-
Page 10: Seat Adjustment
Pedal Installation Apply grease to the threads of the #22 Pedals. This will protect the threads of the pedal and the crank arm. Use pedal washers where required.Using your hands, thread the #22 Pedals (marked for L or R) into the respective left or right crank arms by turning them toward the front of the bike. Once the threads catch, use your pedal wrench to finish tightening down the pedals. - Page 12 Sun Seeker Bicycles PO Box 161859, Miami, FL 33116-1859 info@sunseeker.bike...

Need help?
Do you have a question about the EZ-3 USX HD and is the answer not in the manual?
Questions and answers