Advertisement
U SE R' S
8'
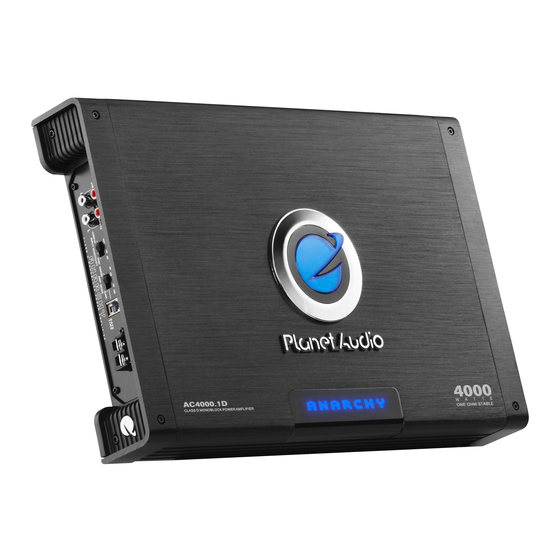
AC3000.1D
AC4000.1D
AC5000.1D
Congratulations on your
purchase of a Planer
Audio ANARCHY Class D
Amplifier.
It has been designed, engineered
and manufactured to bring you
the highest level
and quality, and will afford you
years of listening pleasure.
Thank you for making
Planet Audio your choice for car
audio entertainment!
MANUA L
/"t.lJcJio
D MonoBlock
CLASS
Car Audio Amplifiem
of
perfonnance
Advertisement
Table of Contents

Subscribe to Our Youtube Channel
Related Manuals for Planet Audio AC3000.1D


Summary of Contents for Planet Audio AC3000.1D
- Page 1 Audio ANARCHY Class D Amplifier. It has been designed, engineered and manufactured to bring you the highest level perfonnance and quality, and will afford you years of listening pleasure. Thank you for making Planet Audio your choice for car audio entertainment!
- Page 2 Introduction With the Planet Audio ANARCHY Your new ANARCHY amplttier features Class D amplifier series, we are the following: introducing three new CLASS D • Class D operation amplifiers, all designed in the USA. • l\ll O SFET PWM (Pulse Width...
-
Page 3: What Is Included
B"'°"' installing and using your new while connecting the input jacks and be Planet Audio amplifier, please speaker terminals. come familiar with all the information contained in this manual. If you need to replace the power fuse,... - Page 4 Mark the location for the mounting Check that the fuse holder is empty. hole screws positioning the amplifier Then connect the fuse holder to the you wish to install It. Use a scribe 1 1 BATT +1 1 connection on the amplifier. where or mounting screw, inserted through each...
- Page 5 Important installation Tips for making your �em safe considerations for using as possible this amplifier. When making electrical connections to the amplifier, please observe the Your ANARCHY Class D ampli following: fier is designed to run with a minimum load 1 Ohm.
-
Page 6: Low Level Input Wiring
Low Level Input Wiring Low-level (RCA) input wiring is preferred for best audio performance. Always use a high-quality RCA cable for best audio performance. To Audio Outputs head unit or Subwoofe r outputs of a algnal proceaao r To Audio Inputs of satellite ampllfler Of present) -
Page 7: Power Connections
Power Connections Without Stiff e ning capacitor � Ch-ia ground point REMOTE TURN-ON .. nnin•I or helld unit l�I FUSE With Stiffening capacitor FUSES �� Chasis ground point to REMOTE TURN-ON terminal of head unit Stmenlng Capacitor Ch ..ground point... -
Page 8: Front Panel Connections
'IWo Bridging AC5000.1D1 AC4000.1D AC3000.1D Amplltlers FRONT PANEL CONNECTIONS MASTER AMPLIFIER Front panel utputs To Audio of head utputs unit or Subwoofe r a signal proc899 o r AMP MODE SWITCH IN MAS1ER POSmoN SPEAKER IMPEDANCE HOHMS SLAVE AMPLIFIER Front Panel... -
Page 9: Rear Panel Connections
Brtdglng 1Wo AC5000.1 D, AC4000.1 D AC3000.1 D Ampllfters REAR PANEL CONNECTIONS Remote Subwoofe r Level Control MASTER AMPLIFIER Rear panel •� """' +12V ltDI01I GllOUND �� ·P�J..J Jd 'rcJ ChaSsis FUSE ground PLEASE NOTE: point this MASTER AMP/SLAVE AMP conftguratlon, the Slave amp receives audio signal from the... -
Page 10: Troubleshooting
Troubleshooting If you experience operation or performance problems with this product, compare your installation with the electrical wiring diagram on the previous pages. If problems persist, read the following troubleshooting tips which may help eliminate Iha problems. POSSIBLE REMEDY SYMPTOM Check to make sure you have a good ground connection. -
Page 11: Specifications
Specifications CLASS D MonoBlock Car Audio Amplifiers MODEL AC5000.1 D AC4000.1 D AC3000.1D MAXPOWl!R 5000Wx 1 4000Wx 1 3000Wx 1 Into 11 Ohm llMllPOWER 3500W x 1 2800Wx 1 2100Wx 1 lnto'll Ohm llMSPOWl!ll 2500Wx 1 2000Wx 1 1500Wx 1...
Need help?
Do you have a question about the AC3000.1D and is the answer not in the manual?
Questions and answers