Samsung pl170 User Manual
Hide thumbs
Also See for pl170:
- User manual (127 pages) ,
- Manual del usuario (126 pages) ,
- Price list (2 pages)
Table of Contents
Advertisement
Quick Links
User Manual
Downloaded From camera-usermanual.com Samsung Manuals
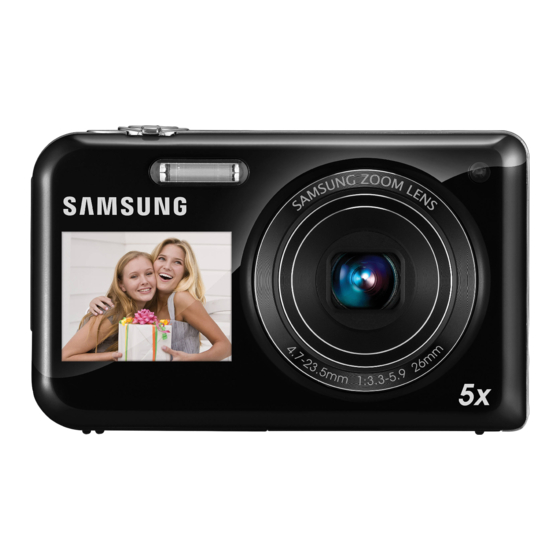
PL170/PL171
This user manual includes detailed usage
instructions for your camera. Please read
this manual thoroughly.
Click a topic
Basic troubleshooting
Quick reference
Contents
Basic functions
Extended functions
Shooting options
Playback/Editing
Settings
Appendixes
Index
Advertisement
Table of Contents


Need help?
Do you have a question about the pl170 and is the answer not in the manual?
Questions and answers