
Summary of Contents for Boyo VTR7G
- Page 1 BOYO VTR7G FHD Vehicle Camera Recorder with built-in GPS User’s Guide (Note : Together with the drive recorder , you’ll be provided with a CD ,which include the media player “GPSplayer” both for Windows and Mac OS .)
- Page 2 Table of Contents...
- Page 4 Micro SD card which can be used as evidence for auto insurance company if there are any legal complications during an insurance claim. The VTR7G Vehicle Camera Recorder is perfect for all motorists, lets you capture 1080p or 720p footage with time and location data, so you can easily keep track of incidents that happen in and around your vehicle.
- Page 5 Restrictions When using this product, the safety precautions below must be taken to avoid possible legal lia- bilities and damages. Retain and follow all product safety and operating instructions. Observe all warnings in the product operating instructions. To reduce the risk of bodily injury, electric shock, fire and damage to the equipment, observe the following precautions.
- Page 6 • Please check the feature of VTR7G Vehicle Camera Recorder periodically to ensure that it is operating as required. • Please use the VTR7G Vehicle Camera Recorder as a tool while driving and use driver’s safety while driving. • The Seller and Manufacturer of VTR7G Vehicle Camera Recorder shall not be held responsible for any traffic violations related to the positioning or improper use of our product.
- Page 7 Package Contents 1 x VTR7G Vehicle 1 x Suction Cup 1 x Car Charger Camera Recorder 1 x USB cable 8GB Micro SD card User’s Manual included , (Supports up to 32GB) CD (Media player) For Mac & Windows OS...
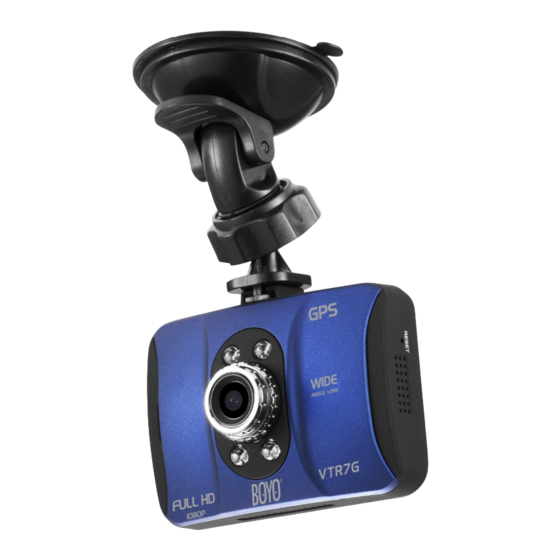
- Page 8 Product Basics Diagram 1 Diagram 2...
-
Page 9: Main Interface
Main Interface MAIN INTERFACE Note : this instruction for reference only and it may vary from actual product.) Live View Video/Photo Battery Recording G-Sensor Lock Video/Camera Mode GPS connection sign Date IR Sensor on Time Memory Card Video Resolution Microphone on Recording Time Note: #12, Recording time will show the total length of the recording time, it does not related to the looping... -
Page 10: Mounting The Camera
Please check with your states DMV regulation for the location of windshield mounting Special notes: Inside the VTR7G has a small rechargeable battery which allow you to check on video once you did not plug into AC outlet. The battery must be fully charged before first use. This will keep the duration of the battery. -
Page 11: Insert The Sd Card
(use the adjustment knob to loosen and tighten the VTR7G as needed). NOTE: The VTR7G can also be used to record both exterior and interior (front and rear) of your vehicle. For interior recording, simply follow the steps above and rotate the camera so that the lens is facing the inside of your vehicle. -
Page 12: Connect The Power Cable
CONNECT THE POWER CABLE 1. Connect the car chargers cable into the VTR7G Vehicle Camera Recorder’s power socket located on the top side of the VTR7G. NOTE: Use the brackets adjustment knob to make adjustments as needed. 2. Depending on where you’ve chosen to mount the VTR7G Vehicle Camera Recorder, run the power cable around the trim of your vehicle so that it will not obstruct your view while driving. -
Page 13: Turning The Camera On
1) Start your vehicle and the VTR7G will automatically turn on and begin recording. 2) Long press the power button manually to turn on the VTR7G NOTE: The VTR7G will automatically turn on/off whenever your vehicle turns on/ off, respectively. LIGHT INDICATORS -10-... -
Page 14: Basic Operations
Menu button until the “Setup” Settings appears 3. Select the “Default Setting” option • Press the “Down” button until “Default Setting” option is highlighted 4. Confirm “Default Setting” • Press “OK” to confirm your VTR7G will switch back to its default settings -11-... - Page 15 BUTTONS & SETTINGS BUTTONS POWER The POWER button is used to manually turn the VTR7G on or off when needed (long press), but in most cases the VTR7G will automatically turn itself on and off whenever the vehicle does. REC/OK The REC/OK button is used to start and stop manual recording while in Video mode.
-
Page 16: System Settings
Playback and view the video and photos been recorded. SETTINGS The VTR7G’s settings are divided into 3 categories: Video Mode, Photo Mode, and Setup settings. NOTE: The “Setup” settings can be accessed by pressing “Menu/Back” button until open up the Setup configuration menu. -
Page 17: Auto Power Off
• 30 SECONDS • 1 MINUTE DATE/TIME The date/time option is used to set and configure the VTR7G’s current date and time format. The button configurations are listed and described below : • UP/DOWN – Use these to scroll through each selection •... -
Page 18: Motion Detection
The motion detection option is used to enable/disable motion detection recording. While the VTR7G is on, and the VTR7G is on standby, any movement in front of it will trigger a recording. The Motion Detection feature consists of the following options: •... - Page 19 FREQUENCY The frequency option switches between the two most commonly used refresh rates “60Hz” and “50Hz”. By default the VTR7G is set to 60Hz which is standard for United Sates and Japan. The frequency feature consists of the following options: •50Hz –...
-
Page 20: Default Setting
• Video Quality – Video quality configuration . DIGITAL EFFECT The VTR7G supports various video color effect that you can select from. Use the UP/DOWN keys to scroll through the options. Press the REC/OK button to select your desired settings. The available options include: •... -
Page 21: Video Resolution
• 720P (1280x720) VIDEO QUALITY The VTR7G supports various video quality that you can select from. The higher the quality, the better your video quality will be. Use the UP/DOWN keys to scroll through the options. Press the REC/OK button to select your desired settings. -
Page 22: White Balance
The Camera settings consist of the following configuration options. • Exposure – Image exposure adjustment. • Contrast – Image Contrast adjustment. • White Balance – White balance configuration. • Resolution – Photo resolution configuration. • Photo Quality - Photo quality configuration EXPOSURE The exposure option lets you select the numeric exposure value for your snap shots. -
Page 23: Photo Quality
• 20MP Photo Quality The VTR7G supports various photo quality that you can select from. The higher the quality, the better your photo quality will be. Use the UP/DOWN keys to scroll through the options. Press the REC/OK button to select your desired settings. - Page 24 PLAYING BACK VIDEOS & GPS logging You can play back recorded events using two methods; directly from the VTR7G or on a computer. VTR7G Vehicle Camera Recorder To play back events directly from the VTR7G navigate to the playback screen using the MODE / Playback button.
- Page 25 To playback recorded video on a PC or Mac: 1. Remove the Micro-SD card from the camera by gently pushing on the SD card allowing it to pop out from its slot. 2. Insert the Micro-SD card into a Micro-SD card reader (not included) connected to your PC (your PC should load the SD card as a new Removable Drive).
- Page 26 2. Clicking the and choosing the folder in the memory card where the video placed, in this way the system will recognize the files and load it into its list automatically .If you want delete the file from the list just click the .
-
Page 27: Specifications
Specifications LCD Size 2.0” TFT LCD Image Sensor Digital HD color CMOS Viewing angle 150°A+ grade high-resolution ultra wide-angle Language for options English Video resolution 1920x1080(FHD), 1280x720(720p), Video/Photo formats .sci /JPEG Recording video format M-JPEG Photo pixels 12M /20M Pixels SD slot Micro SD card (supports up to 32GB, class 4 or above) Overwrite... - Page 28 System Requirements To download photos and videos to your Windows or Apple computer, requirements are as followed below: -25-...
Need help?
Do you have a question about the VTR7G and is the answer not in the manual?
Questions and answers