Table of Contents
Advertisement
Quick Links
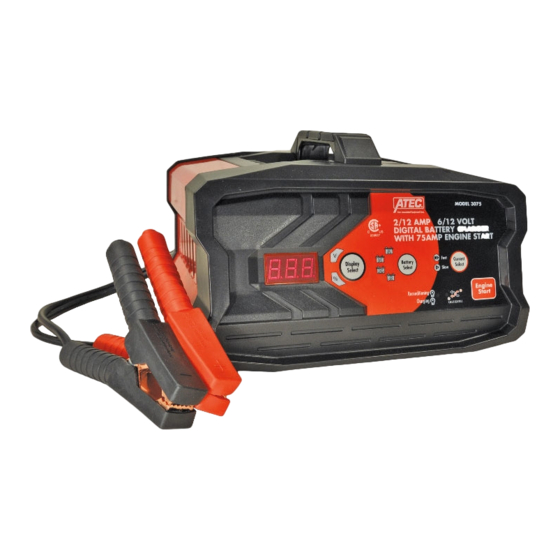
• Five charging modes: 6V/2A, 6V/6A
• Standard, GEL and AGM battery type settings
• Built-in digital display showing the voltage, amperage and time on charge
• Heavy-duty transformer and rectifier
• Built-in circuit protection
• Automatically checks for correct connection (requires a minimum of 1 volt DC at the
battery terminals)
• Heavy-duty cables and clamps are corrosion-resistant for better connections
• Connect to side- or top-mount battery terminals
• Ideal for charging or boosting during winter season when the starting performance of
vehicle batteries is lowered by cold or extreme weather conditions
Battery Charger Controls
Battery Charger controls are located on the control panel. Understand their use before
operating Battery Charger.
Control Panel
Charge Rate Button – Select an appropriate setting for the battery you are charging:
2-amp Trickle – Use for charging small batteries, such as those used in motorcycles,
garden tractors, ATVs, jet skis and snowmobiles, at a charge rate of up to 2 amps. Refer
to manufacturer's specifications on recommended charge rate. This setting can also be
used to slowly charge larger batteries. When the battery is fully charged, the Battery
Charger current output will taper and then the Battery Charger will automatically shut off.
When the battery's charge drops, the Battery Charger will come on again, keeping the
battery fully charged.
12-amp Quick Charge – Use for charging larger automotive batteries at a charge rate of
up to 12 amps. When the battery is fully charged, the Battery Charger current output will
taper and then the Battery Charger will automatically shut off. When the battery's charge
drops, the Battery Charger will come on again, keeping the battery fully charged.
75-amp Engine Start – Use for delivering up to 75 amps to a 12-volt battery to assist in
Display Mode Button – Switch the display mode of the digital display from voltage value
to amperage to charging time that has lasted. The default mode is voltage value of the
battery.
12V/2A, 12V/12A & 12V/75A engine start
Advertisement
Table of Contents

Related Manuals for Atec 3075?


Summary of Contents for Atec 3075?
- Page 1 • Five charging modes: 6V/2A, 6V/6A 12V/2A, 12V/12A & 12V/75A engine start • Standard, GEL and AGM battery type settings • Built-in digital display showing the voltage, amperage and time on charge • Heavy-duty transformer and rectifier • Built-in circuit protection •...
- Page 2 Note: If no battery is connected, the digital display will show “– – –“; if connecting to an inapplicable battery (e.g. 24V battery), the digital display will show “Er1”; if connecting to a dead battery, the digital display will show “Er2”. Battery Type Button –...
- Page 3 Note: The newer, high-calcium-type 12-volt DC batteries may need pre-charge activation if their charge has been allowed to drop to a very low level. When deeply discharged, this type of battery will provide only a very low voltage output and will draw less than 1 amp during the recharging process, until activated.
- Page 4 terminal (marked POS, P, +) usually has a larger diameter than the negative battery terminal (marked NEG, N, –). For side-mounted battery connections the positive terminal is red, the negative terminal is black. 2. Attach a 24-in. (61 cm) (minimum length) 6 AWG insulated battery cable to the negative battery terminal (marked NEG, N, –).
- Page 5 hours required to recharge the battery. For example, a 50 AH (12-volt) battery is discharged to 10 volts. How long should it be charged at the 12-amp rate? Divide the 50 AH by 12 A. The answer is approximately 4 hours. Always round up the charge time by 25% to ensure full charge.
Need help?
Do you have a question about the 3075? and is the answer not in the manual?
Questions and answers
My charger displays a blinking zero in the window, where the voltage or charge percentage should be displayed
randcswett@ aol.com
A blinking zero on an Atec 3075 charger indicates that the battery is fully charged.
This answer is automatically generated