Table of Contents
Advertisement
Quick Links
Advertisement
Table of Contents

Summary of Contents for Nikon AF-10
-
Page 1: Table Of Contents
Contents Introduction Installing the AF-10 Using the AF-10 Loading Documents Manually Troubleshooting Specifications Paper Limitations Auto Document Feeder AF-10 User’s Manual - 1 -... -
Page 2: Federal Communications Commission (Fcc) Radio Frequency Interference Statement
Modifications The FCC requires the user to be notified that any changes or modifications made to this device that are not expressly approved by Nikon Corporation may void the user’s authority to operate the equipment. Notice for customers in Canada... -
Page 3: Introduction
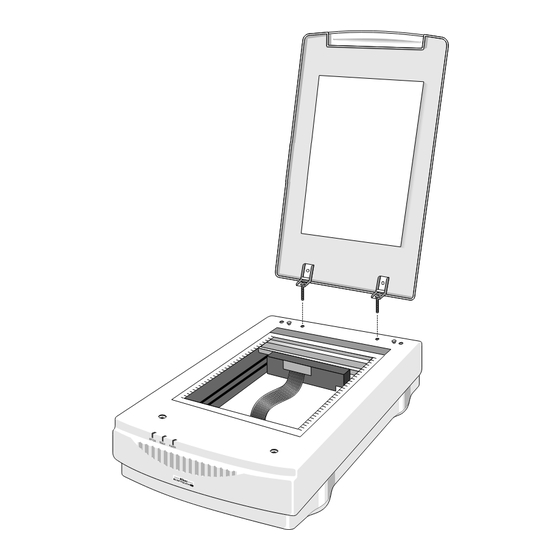
Thank you for purchasing the Nikon Auto Document Feeder AF-10 for the full-color flatbed scanner ScanTouch 110. This manual describes the procedure for setting up the AF-10 and connecting it to the ScanTouch 110. Please read this manual thoroughly to ensure proper installation and operation of the unit. - Page 4 3. Fit the two holes in the hinge plate of the AF-10 over the small supporting posts on the scanner. 4. Gently slide the AF-10 so that the supporting posts move into the narrow sections of the holes. 5. Attach the AF-10 with the two lockdown screws provided.
-
Page 5: Using The
Using the AF-10 Begin by removing any document from the document setting glass of the scanner, and then make sure that the AF-10 is closed. 1. Turn the scanner on. 2. Place the documents in the upper tray, face up, as shown. -
Page 6: Loading Documents Manually
Loading Documents Manually You can still load documents manually, even with the AF-10 installed. 1. Open the front end of the AF-10. 2. Place the document on the document setting glass of the scanner, then lower the AF-10 and initiate the scan. -
Page 7: Removing A Jammed Document
1. Raise the cover of the AF-10. 2. (Condition 1) If the jammed paper is at the exit of the AF-10, lift the upper tray, and slowly pull the jammed paper toward you until it is fully released from the feeder mechanism. - Page 8 3. Insert the transparency edge of the new Transparent Sheet between the paper guide (A or B) of the AF-10, with the white sheet to the lower side. 4. Insert the two hooks of the Transparent Sheet into the AF-10.
-
Page 9: Specifications
Use with ink that will not be transferred to the rollers. Torn, holed, wrinkled, or folded paper, paper with adhesive tape, carbon, or paper clips attached, or paper with wet ink, can cause a paper jam or damage to the AF-10. - 9 -... - Page 10 EC DECLARATION OF CONFORMITY Name: Nikon UK Limited Address: Nikon House, 380 Richmond Road, Kingston, Surrey KT2 5PR, UK declare that the product Product Name: Auto Document Feeder AF-10 Manufacturer’s Name: Nikon Corporation Manufacturer’s Address: Fuji Bldg., 2-3, Marunouchi 3-chome, Chiyoda-...

Need help?
Do you have a question about the AF-10 and is the answer not in the manual?
Questions and answers