Advertisement
Quick Links
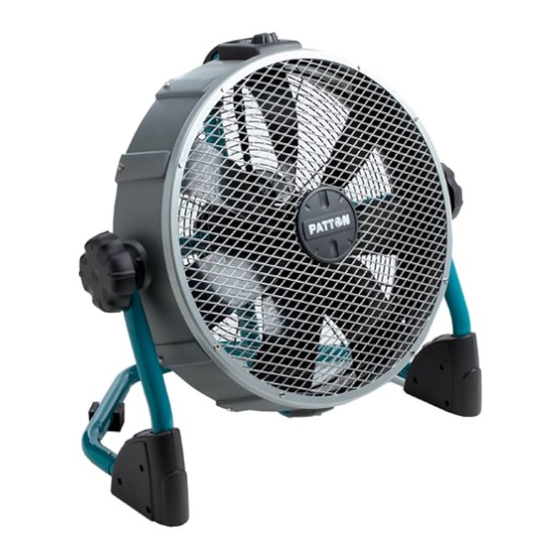
CONTROLLED VELOCITY TECHNOLOGY
HIGH VELOCITY AIR CIRCULATOR
VENTILATEUR À HAUTE VÉLOCITÉ
PX400-UC
ASSEMBLY INSTRUCTIONS
STOP!
Missing a part or having trouble with assembly?
No need to go back to the store.
The store where you made this purchase does not stock parts for
this item. If you need parts, whether they are missing or damaged,
please call our Toll-Free Help Line 1-800-333-1930. Call Monday
through Friday between 8AM -5PM EST.
TM
PX400-UC
ASSEMBLAGE IN'STRUCTIONS
ARRÊTEZ !
Il vous manque une pièce ou vous avez des
problèmes avec l'assemblage?
Vous n'avez pas à retourner au magasin
Le magasin où vous avez acheté ce produit n'a pas en stock
les pièces de rechange pour cet article. Si vous avez besoin
de pièces parce qu'elles manquent ou parce qu'elles sont
endommagées, veuillez appeler notre Ligne d'aide sans frais
au 1-800-333-1930. Vous pouvez appeler du lundi au
vendredi entre 8 h et 17 h HNE.
Advertisement

Subscribe to Our Youtube Channel
Related Manuals for Patton PX400-UC


Summary of Contents for Patton PX400-UC
-
Page 1: Assembly Instructions
CONTROLLED VELOCITY TECHNOLOGY PX400-UC HIGH VELOCITY AIR CIRCULATOR VENTILATEUR À HAUTE VÉLOCITÉ PX400-UC ASSEMBLY INSTRUCTIONS ASSEMBLAGE IN’STRUCTIONS STOP! ARRÊTEZ ! Missing a part or having trouble with assembly? Il vous manque une pièce ou vous avez des problèmes avec l’assemblage? No need to go back to the store. - Page 2 Please make sure you have all the necessary parts before beginning assembly. Veuillez vous assurer que vous avez toutes les pièces nécessaires avant de commencer l’assemblage. Note: Parts are packed within foam corners. Remarque: Les pièces sont emballées dans les coins en mousse. (2) Rubber foot (2) Rubber washer (2) Rubber bushing...
- Page 3 STEP 1 Leg Assembly STEP 2 Handle Assembly ÉTAPE 1 Assemblage des jambes ÉTAPE 2 Assemblage de la poignée Rear Cage Assembly To Fan STEP 3 Rear Cage Assembly STEP 4 ÉTAPE 4 Assemblage de la cage arrière au ventilateur ÉTAPE 3 Assemblage de la cage arrière...
- Page 4 STEP 5 Rear Cage & Leg Assembly To Fan ÉTAPE 5 Assemblage de la cage arrière et des jambes au ventilateur STEP 6 Rear Base Assembly To Legs ÉTAPE 6 Assemblage de la base arrière aux jambes...
Need help?
Do you have a question about the PX400-UC and is the answer not in the manual?
Questions and answers