Advertisement
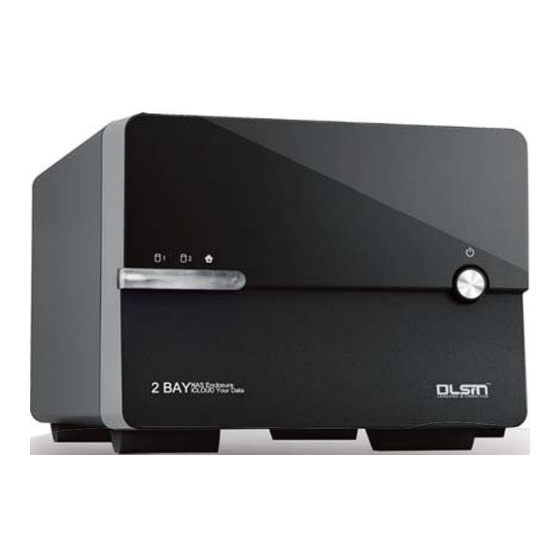
2 Bay NAS / Enclosure
3.5" SATA HDD
Configure RAID
RAID Modes
STANDARD
JBOD (USB only)
COMBINE
Span (Big)
MIRRORING
RAID 1
STRIPING
RAID 0
Set RAID
1. Turn off the unit, pushing the Power button on the front panel.
2. Set the RAID switch to the RAID mode of your choice.
3. Press and hold the set "RAID button" as you power on the enclosure by pressing
the "Power button".
4. Once the enclosure has turned on, release the set "RAID button"..
5. Your Desired RAID configuration is now set.
Note: When changing RAID configuraitons, follow the above steps to set the unit back
to STANDARD (JBOD), before setting to a different configuration.
Access Web GUI
Once the enclosure has been attached to a local area network and your RAID configuration
has been set. You can access additional operation and configuration settings using the built-
in web GUI by accessing the NAS IP address using any web browser.
By default the IP address when connected directly to a PC for the DLA012NAS ecnlosure
is: http://192.254.0.1
Note: In order for any device to access the Built-in web GUI, both the enclosure and that
device must be on the same subnet. Once the web GUI has been accessed the default
IP address can be changed therein.
1
Advertisement
Table of Contents

Summary of Contents for DLSIN DLA012NAS
- Page 1 You can access additional operation and configuration settings using the built- in web GUI by accessing the NAS IP address using any web browser. By default the IP address when connected directly to a PC for the DLA012NAS ecnlosure is: http://192.254.0.1 Note: In order for any device to access the Built-in web GUI, both the enclosure and that device must be on the same subnet.
-
Page 2: Web Gui Operation
Connect the SSI unveil the Professional Hub/Charger series to your existing DHCP router subnet as the NAS enclosure. (For instructions, please contact your network administrator) and DLA012NAS will get IP address from the router automatically. 2. Open the web browser on the connected computer and type the following address into the A. - Page 3 Status-Statis Host/Group Name Host/Group Name STORAGE-10AABC / WORKGROUP Change Click the change button to alter the Network device name, and Work Group. Host/Group Name STORAGE-10AABC / WORKGROUP Change Enter your desired Host Name and Group Name then click the OK button. Identification Host Name STORAGE-10AABC...
-
Page 4: Network Information
Data/Time Language Displays the current language the GUI content is displayed in. Data /Time 2014/07/21 14:49:03 GMT 8:00 Change Web Language English Click the change button to alter the system date, and time. To adjust the GUI content language, select the language you would prefer the GUI to be displayed in using the drop down menu, and click the Apply button. - Page 5 Status-Servoce Inforamtion Media Service Allows you to Enable or Disable specific services supported by the enclosure. Enables you to stream video, music, and pictures to DLNA and UPnP AV supporting devices, such as televisions, gaming consoles, media centers, etc. Server Information ENABLE / DISABLE Status - Disk Status DHCP Server...
-
Page 6: Network-Pppoe
Network-IP Setting Displays Internet Protocol information, and allows you to automatically, or manually set a static Internet Protocol address Information therein. By Default the Internet Protocol Information is set to Automatic IP. If you would prefer to manually set your internet protocol address place a bullet in Static IP address and fill in your information accordingly in the fields below, then click the apply button. -
Page 7: Network-Ddns
By default the service is set to Disabled meaning it will always try to connect automatically. If Click the apply button. you would prefer to only connect manually, change the drop down to Enable. Note: To enable manual connection use the Connect button on the status page. See: Status - PPPoE Address for manual connection instructions. - Page 8 System Manage-Disk manage Port mapping and URL Display The access ports can also be manually assigned and viewed from within the Service Port Enables you to set a sleep timer, format your RAID array, and view S.M.A.R.T (Self- page of the networking section. Monitoring, Analysis and Reporting Technology) data for each of the attached drives.
-
Page 9: Disk Information
Disk Information To Create a new RAID array click the RAID System Manage - RAID Link from the Main menu. Displays the model and capacity of each attached hard drive. Select your desired RAID mode from the RAID mode drop down menu and click the Main menu. - Page 10 System Manage - Default System Manage - Reboot Enables you to restore the enclosure to its default settings (reset) through the web GUI. Enables you to remotely reboot the system through the web GUI. To reboot the enclosure click the Reboot button. To restore default settings click the Reset button.
- Page 11 App Server – WebDAV From the SMB Status section you can enable or disable SMB service. WebDAV enables your local computer, tablet, iPhone or smartphone to access files and Depending on your preference place a bullet in Enable or Disable. play media stored on your NAS Enclosure with any web browser or third party WebDAV file management app.
- Page 12 App Server - FTP Server FTP Server enables you to access and upload files using the FTP protocol and supporting applications. Server Information ENABLE / DISABLE DHCP Server Samba Server WebDAV Server FTP Server Media Server From the FTP Status select you can enable or disable FTP service. Depending on your preference place a bullet in Enable or Disable.
- Page 13 The BT option menu enables you to set the following configurations using the value boxes listed: Note: entering a value of 0 will allocate the maximum amount available resources for each Upload Your Torrent File field. No file chosen Choose File The Download Queue shows the status of currently hosted and downloading files.
- Page 14 Mail Notification From within the drop down menu, select the specific folder you would like pull the selected SMTP Server media type from. Sender (Name) Recipient (Name) User Name Password: Photo Folder Note: To obtain this information please contact your e-mail service provider. To build a iTunes playlist form the music folder, click the build button to create the playlist.
- Page 15 Next specify whether you would like the account to be Read only (can only access files), or Read/Write (Can access save and edit files) by placing a bullet in your preference. Click the add button to complete account creation To create a new account, click the New button. Enter your desired username and password in the specified fields.
- Page 16 To change the settings for any account, select the account from the account box, and The account has now been disabled. click the modify button. To enable an account, select the account from the account box, and click the Enable button.
- Page 17 The user account has now been granted access to the specified folder. If you would like to limit folder access from a specific account, select the account from the account box. Select the folder from the Sharing List box, and click the left facing Arrow button (Red) Johnny - - - - - - ENABLED...
- Page 18 Enter your preferred folder name in the text box, and click the OK Button. The Folder name has now been changed. The folder has now been created and is listed in the Folder List box. To delete a folder select the folder from the Folder List box, and click the Delete button. To rename a folder select the folder from the Folder List box, and click the Rename button.
Need help?
Do you have a question about the DLA012NAS and is the answer not in the manual?
Questions and answers