Advertisement
Quick Links
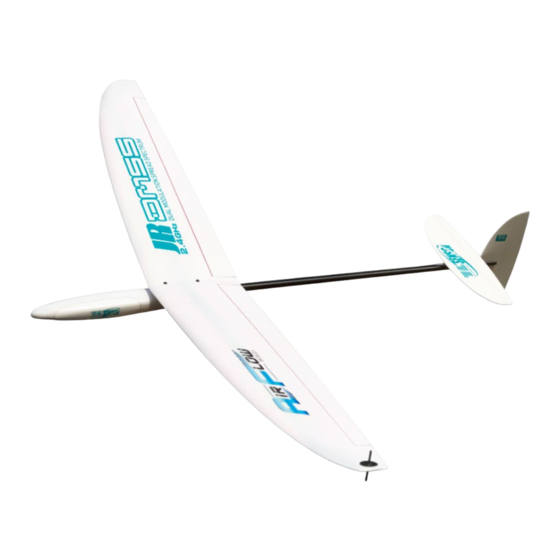
JR's Medium Size Discus Launch Glider
▋JR▋DLG1
▋
Thank you for purchasing this JR product. The JR Discus Launch Glider (DLG) 'Air Flow' is the first in our JR glider series.
This model is the first 'plug and fly' (PNF) DLG on the market. High quality JR servos (DS319HV) are already installed,
and servo linkages are already in place. Only a few simple steps are required before the model can be flown and enjoyed.
▋CAUTION
▋
The Air Flow has been designed and manufactured with high performance as the first priority. The wing and fuselage
are molded from lightweight FRP using as little resin as possible. Occasionally there will be some slight surface
defects in the resin - this will not affect flight performance, and is an indication of the lightest structure possible.
When storing and transporting your Air Flow, please avoid areas of high temperature and humidity, and avoid
pressure on the wing or fuselage.
Even a commercial stand may allow the fuselage to deform - so please pay attention to this.
NEM-B72A
Assembly manual
To become familiar with your Air Flow
DLG, please read this manual throughly
before assembly. Then continue to refer to
this manual during the assembly process.
JAPAN REMOTE CONTROL Co., Ltd
Advertisement

Summary of Contents for Airflow JR-DLG1
- Page 1 JR's Medium Size Discus Launch Glider Assembly manual To become familiar with your Air Flow DLG, please read this manual throughly before assembly. Then continue to refer to this manual during the assembly process. ▋JR▋DLG1 ▋ Thank you for purchasing this JR product. The JR Discus Launch Glider (DLG) 'Air Flow' is the first in our JR glider series. This model is the first 'plug and fly' (PNF) DLG on the market.
- Page 2 ▋Safety▋Precautions In order to protect your feet, wear solid, easy-to-move shoes, ▋ avoiding sandals or high-heel shoes. Do not assemble or fly this glider without seeking expert assistance. Be Wear a cap, gloves, sunglasses or goggles as required. guided by your dealer, shop owner, or R/C flight school instructor who 3) Do not fly the glider in an unnatural posture.
- Page 3 2) Attach t he ma in w ing to t he fuselage using t he Note: included hex bolts. ※ The visible servo lead length gives a hint as to the Caution: servo the lead is connected to. The shortest lead is the rudder, the longest lead is the right aileron.
- Page 4 No.30008 JST battery connector ┃Radio system (XG6 or equivalent) No.30009 JR DLG1 AIRFLOW decal No.00216 DS319HV servo ┃Receiver battery (2 cell Li-Po/180mAh) ※ Pa r t s such a s “pia no w i re” for l i n k age s c a n be purchased at a hobby shop.
Need help?
Do you have a question about the JR-DLG1 and is the answer not in the manual?
Questions and answers