Table of Contents
Advertisement
Advertisement
Table of Contents

Summary of Contents for MOVITEC WL-250
- Page 1 USER MANUAL MOVITEC WL-250...
-
Page 2: Table Of Contents
MOVITEC WL-250 Table of contents 1. Safety..........................3 1.1 Safety instructions ..................... 3 1.2 Operating determinations ..................4 2. Introduction ........................5 2.1 Features ........................5 2.2 Beampath ........................5 2.3 Description of device ....................6 3. Installation ........................7 3.1 Fitting the lamp ...................... -
Page 3: Safety
CAUTION! Keep this device away from rain and moisture! Unplug mains lead before opening the housing! FOR YOUR OWN SAFETY, PLEASE READ THIS USER MANUAL CAREFULLY BEFORE YOU INITIAL START - UP! 1. Safety 1.1 Safety instructions Every person involved with installation and maintenance of this device have to: - be qualilfied - follow the instructions of this manual Caution ! Be careful with your operations. -
Page 4: Operating Determinations
1.2 Operating determinations This device is a moving-head spot for creating decorative effects. This product is only allowed to be operated with an alternating current of 230 V, 50 Hz and was designed for indoor use only. If the device has been exposed to drastic temperature fluctuation (e.g. after transportation), do not switch it on immediately. -
Page 5: Introduction
2. Introduction Unpack your MOVITEC WL-250 and make sure that there are no damages caused by transportation. Should there be any, please consult your local dealer and do not take the device into operation. 2.1 Features Moving-head spot with washlight CMY colour mixture •... -
Page 6: Description Of Device
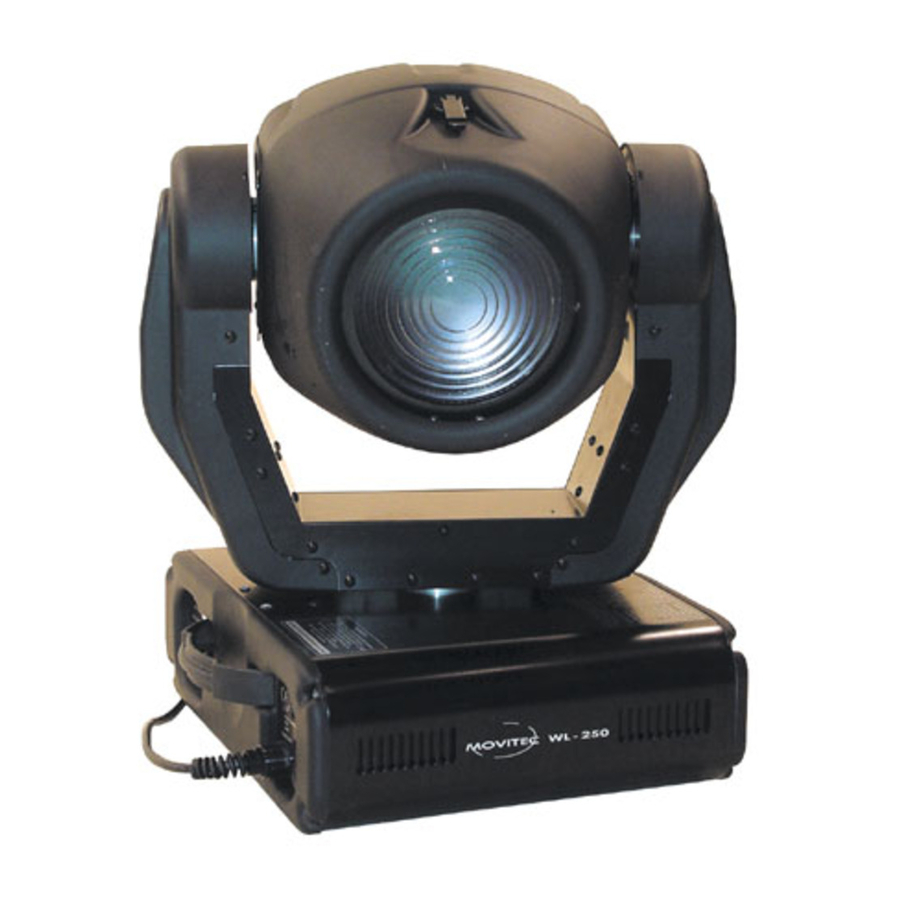
2.3 Description of device 1 - Moving Head 2 - Yoke 3 - Base 4 - Carring handles Rear panel: 5 - Power-switch 6 - DMX output 7 - DMX input 8 - Powercord 9 - Fuseholder Front panel: 10 - Mode-button 11 - Enter-button 12 - Up-button 13 - Down-button... -
Page 7: Installation
2 phillips screws Do not operate this fixture with opened housing-cover! Lamp adjustment of MOVITEC WL-250 The MOVITEC WL-250 lampholder is aligned at the factory. Due to differences between lamps, fine adjustment may improve light performance. Strike the lamp and focus the light on a flat surface (wall). -
Page 8: Rigging The Fixture
Make sure that the device is fixed properly! Ensure that the structure (truss) to which you are attaching the fixtures is secure. The WL-250 can be placed directly on the stage floor or rigged in any orientation on a truss without altering its operation characteristics (see the drawing). -
Page 9: Connection To The Mains
3.3 Connection to the mains Connect the fixture to the mains with the enclosed power-plug. The earth has to be connected! The occupation of the connection-cables is as follows: Cable International Brown Live Blue Neutral Yellow/Green Earth 3.4 DMX-512 connection/connection between fixtures The wires must not come into contact with each other, otherwise the fixtures will not work at all, or will not work properly. -
Page 10: Dmx-Protocol
4. DMX-Protocol 4.1 Function of the control channels - 16 bit protocol 4.1.1 Channel 1 - Pan Push slider up in order to move head horizontally (PAN). Gradual head adjustment from one end of the slider to the other (0-255, 128-center). The head can be turned by 530° and stopped at any position you wish. - Page 11 4.1.7 Channel 7 - Colour wheel 0 - 17 Open/white 18 - 35 36 - 53 Blue 54 - 72 Green 73 - 90 CTF 3200 K 91 - 108 CTF 5600 K 109 - 127 UV filter 128 - 190 Forwards rainbow effect from fast to slow 191 - 192 No rotation...
-
Page 12: Function Of The Control Channels - 8 Bit Protocol
MOVITEC WL-250 will respond to the controller. If you set, for example, the address to channel 5, the MOVITEC WL-250 will use the channel 5 to 20 for control. Please, be sure that you don’t have any overlapping channels in order to control each MOVITEC WL-250 correctly and independently from any other fixture on the DMX data link. -
Page 13: Remotely Controllable Functions
The MOVITEC WL-250 is run with a MSD 250W/200W lamp. A relay inside of the MOVITEC WL-250 allows you to switch On and Off the lamp via itself control board on the top side or via your controller without affecting the rest of the lighting. -
Page 14: Control Board
[Enter]-button. - Power On time By this option you can read the total number of hours that the MOVITEC WL-250 has been powered On. Press [Enter] or [Mode] to return to the main menu. - Switch On/Off the lamp Use the [Up] and [Down] keys to select "On"... -
Page 15: Spec -Special Functions
WL-250 functions and therefore is good for a complete introduction of the fixture. - Reset Function Press [Enter] key to run reset. This option enables the MOVITEC WL-250 to index all effects (functions) and return to their standard positions. - Page 16 MOVITEC WL-250 automatically switch Off the lamp. - low/high speed of the fan operating the fan keeps the adjusted low speed until the temperature exceeds max. inside temp..of the fixture, then the MOVITEC WL-250 automatically switch from low to high the fan speed.
- Page 17 - Default settings Press [Enter] to reset all fixture personalities (not the adjusting functions) to the default values. On the display will appear "rSt” meaning that the fixture makes the reset. See the table of personality setting and their default positions.
-
Page 18: Error And Information Messages
This message appears if you try to switch on the lamp within 5 minutes after having switched it off (the lamp is too hot). The message will appear on the display if the lamp doesn't ignite within 28 seconds. The MOVITEC WL-250 will store this information and automatically ignite the lamp when the 5 minutes period has expired. -
Page 19: Technical Specifications
(PAN-yoke movement error) This message will appear after the reset of the fixture if the yoke’s magnetic- indexing circuits malfunction (sensors failed or magnet missing) or the stepping motor is defective. (Or its driving IC on the main PCB). The yoke is not located in the default position after the reset. (TILT-head movement error) This message will appear after the reset of the fixture if the head’s magnetic- indexing circuit malfunctions (sensor failed or magnet missing) or the stepping motor is defective. -
Page 20: Maintenance And Cleaning
Pan/Tilt Pan movement range 530° Tilt movement range 280° 8/16 bit movement resolution Automatic Pan / Tilt position correction Maximum PAN-movement 530° in 2.65 s Maximum TILT-movement 280° in 1.68 s Rigging Stands directly on the floor Mounts horizontally or vertically with 2 clamps 2 truss orientation Safety chain/cord attachment point Temperatures... -
Page 21: Appendix
Step 4: Replace the fuseholder in the housing and fix it. 11. Appendix We believe you will enjoy your MOVITEC WL-250. We assure you will enjoy this product for years if you follow the instructions given in this manual. If you have any questions and comments, please do not hesitate to contact us.
Need help?
Do you have a question about the WL-250 and is the answer not in the manual?
Questions and answers