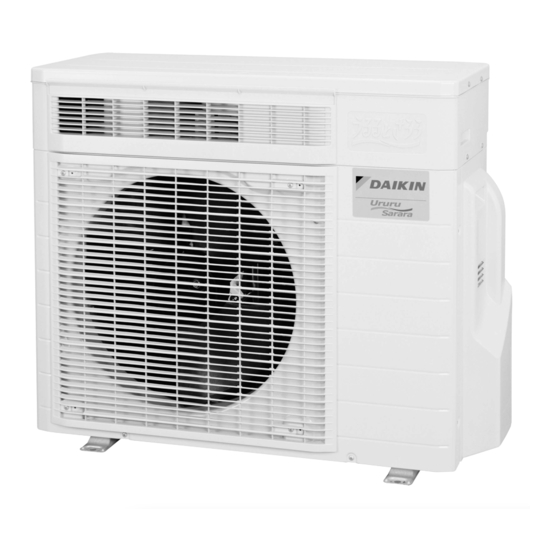
Daikin RXR28EV1B9 Installation Manual
R410a split series
Hide thumbs
Also See for RXR28EV1B9:
- Service manual removal procedure (38 pages) ,
- Installation manual (6 pages)
Advertisement
Table of Contents
- 1 Safety Precautions
- 2 Precautions for Selecting the Location
- 3 Outdoor Unit Installation Drawings
- 4 Precautions for Humidifying Hose Installation Work
- 5 Precautions on Installation
- 6 Outdoor Unit Installation
- 7 Installing Outdoor Unit
- 8 Installation Guidelines
- 9 Refrigerant Piping
- 10 Purging Air and Checking Gas Leakage
- 11 Refrigerant Piping Work
- 12 Pump down Operation
- 13 Connecting the Humidifying Hose
- 14 Test Run and Final Check
- 15 Trial Operation and Testing
- 16 Test Items
- Download this manual
INSTALLATION
MANUAL
R410A Split Series
Models
RXR28EV1B9
RXR42EV1B9
RXR50EV1B9
Installationsanleitung
Split-Baureihe R410A
Manuel d'installation
Montagehandleiding
R410A Split-systeem
Manual de instalación
Manuale d'installazione
Serie Multiambienti R410A
Εγχειρßδιο εγκατÜστασηò
διαιροýìενηò σειρÜò R410A
Manual de Instalação
Рóêоводство по монтажó
Серия R410A с раздельной óстановêой
Installation manual
English
R410A Split series
Deutsch
Français
Série split R410A
Nederlands
Español
Serie Split R410A
Italiano
ΕλληνικÜ
Portugues
Série split R410A
Рóссêий
Montaj kýlavuzlarý
Türkçe
R410A Split serisi
Advertisement
Table of Contents

Subscribe to Our Youtube Channel
Summary of Contents for Daikin RXR28EV1B9
- Page 1 Serie Split R410A Manuale d’installazione Italiano Serie Multiambienti R410A Εγχειρßδιο εγκατÜστασηò ΕλληνικÜ διαιροýìενηò σειρÜò R410A Models Manual de Instalação Portugues RXR28EV1B9 Série split R410A RXR42EV1B9 Рóêоводство по монтажó RXR50EV1B9 Рóссêий Серия R410A с раздельной óстановêой Montaj kýlavuzlarý Türkçe R410A Split serisi...
- Page 2 3SB63838-2...
-
Page 3: Safety Precautions
Safety Precautions • Read these Safety Precautions carefully to ensure correct installation. • This manual classifies the precautions into WARNING and CAUTION. Be sure to follow all the precautions below: they are all important for ensuring safety. WARNING....Failure to follow any of WARNING is likely to result in such grave consequences as death or serious injury. CAUTION....Failure to follow any of CAUTION may result in grave consequences in some cases. -
Page 4: Precautions For Selecting The Location
Accessories Accessories supplied with the outdoor unit: Installation Manual Drain plug Humidifying hose (8m) Elbow Joint Refrigerant charge label Binding band • The standard humidifying hose is 8m. • The extension hose (option) is 2m (KPMH974A402). • An humidifying hose of 10m (KPMH974A42) is also available as an option to replace the standard one (8m). Precautions for Selecting the Location 1) Choose a place solid enough to bear the weight and vibration of the unit, where the operation noise will not be amplified. -
Page 5: Outdoor Unit Installation Drawings
Outdoor Unit Installation Drawings Precautions for humidifying hose installation work. • Moisture on the outdoor unit is brought to the indoor unit together with air around the outdoor unit during humidifying operation. Install the outdoor unit in a clean and calm location. •... -
Page 6: Precautions On Installation
Installation Guidelines • Where a wall or other obstacle is in the path of outdoor unit’s intake or exhaust airflow, follow the installation guidelines below. • For any of the below installation patterns, the wall height on the exhaust side should be 1200mm or less. Wall facing one side Walls facing two sides Walls facing three sides... -
Page 7: Refrigerant Piping
Outdoor Unit Installation Refrigerant piping. 1) Align the centres of both flares and tighten the flare nuts 3 or 4 turns by hand. Then tighten them fully with the torque wrenches. • Use torque wrenches when tightening the flare nuts to prevent damage to the flare nuts and escaping gas. 2) To prevent gas leakage, apply refrigeration oil on both inner and outer surfaces of the flare. - Page 8 1) Connect projection side of charging hose (which comes from gauge manifold) to gas stop valve’s service port. 2) Fully open gauge manifold’s low-pressure valve (Lo) and completely close its high-pressure valve (Hi). (High-pressure valve subsequently requires no operation.) 3) Do vacuum pumping and make sure that the compound pressure gauge reads –0.1MPa (–76cmHg). (The vacuum pump should run for at least 10 min.) 4) Close gauge manifold’s low-pressure valve (Lo) and stop vacuum pump.
-
Page 9: Refrigerant Piping Work
Outdoor Unit Installation Important information regarding the refrigerant used The filled out label must be adhered in the 1 factory refrigerant charge of the This product contains fluorinated greenhouse gases covered by product: proximity of the product charging port (e.g. the Kyoto Protocol. -
Page 10: Pump Down Operation
Pump Down Operation In order to protect the environment, be sure to pump down when relocating or disposing of the unit. 1) Remove the valve cap from liquid stop valve and gas stop valve. 2) Carry out forced cooling operation. Gas stop valve Close 3) After five to ten minutes, close the liquid stop valve with a hexagonal wrench. - Page 11 Wiring WARNING 1) Do not use tapped wires, stranded wires (CAUTION (1)), extension cords, or starburst connections, as they may cause over- heating, electrical shock, or fire. 2) Do not use locally purchased electrical parts inside the product. (Do not branch the power for the drain pump, etc., from the terminal block.) Doing so may cause electric shock or fire.
-
Page 12: Test Run And Final Check
<Ground terminal installation> 1) Use the following method when installing a single core wire. Screw Flat washer A single core wire Arrow view 2) Use the following method when installing the round crimp-style terminal. Screw Screw Flat washer Round crimp- Flat washer Screw style terminal... - Page 13 Two-dimensional bar code is a code for manufacturing. 3P190651-2C M06B104C (0704) HT...


Need help?
Do you have a question about the RXR28EV1B9 and is the answer not in the manual?
Questions and answers