
Subscribe to Our Youtube Channel
Summary of Contents for Comer Top-Kart S60
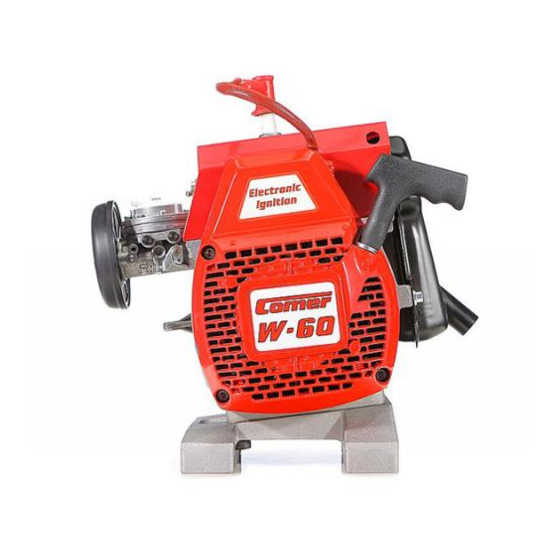
- Page 1 Karting Engines Karting Engines S60 K60 W60 S80 K80 W80 S60 K60 W60 S80 K80 W80 CPP K85 K100 K125 K98 CPP K85 K100 K125 K98 Operation, Operation, mainteance and mainteance and safety manual safety manual...
- Page 2 Comer SpA reserves the right to revise the information and illustrations in this manual without advance notice. Congratulations on your purchase of a precision manufactured Comer engine. It is designed to give you long and dependable service. To obtain maximum performance and satisfaction from your Comer engine, it is important that you read and fully understand the operation, maintenance and safety instructions in this manual before using your engine.
- Page 3 BEFORE THE USE PACKAGING Your engine will arrive in a box marked with the Comer model type and serial number on the outside. Inside will be the engine complete with carburetor, air filter, muffler and clutch. For models using the Veyvey muffler, only the exhaust header is included. The Veyvey muffler is packed separately.
- Page 4 -Align the axle sprocket with the engine sprocket. Install chain of proper length (length varies with type of kart and gear size). See Figure 3. -To adjust chain tension, move the engine ahead until the proper tension is reached. Proper tension allows 1 cm.
- Page 5 -Pull the cable through until it stops at the throttle lever of the carburetor. See Figure 7. -Pass the free end of the throttle cable to the throttle stop near throttle pedal. Make sure that there is a clamp installed on the throttle cable. -Pass the cable through the welded ring on the throttle pedal.
- Page 6 -Fasten the muffler and header pipe using two or three springs (the number of springs needed depends on the model). Use a spring tool to insert one end of a spring in one hole of the exhaust flange. Using the spring tool, pull the other end of the spring through one of the hole on the exhaust flange on the muffler.
- Page 7 Fuel Preparation: -Prepare fuel by mixing one U.S. gallon of gasoline with 7 ounces of oil. The Comer engines use unleaded commercial gasoline (pump gas). Shake the can thoroughly to mix the fuel.
- Page 8 -When the engine starts, release the choke lever. Run the engine and accelerate inter- mittently to higher RPMs. Do not accelerate to full throttle. -After a few minutes of warm up, proceed onto the track. Run the engine by alternating a few seconds on the throttle and off the throttle.
- Page 9 See Figure 15. -To reassemble the carburetor, follow the above steps in reverse order. Comer recommends removing any remaining gasoline from the carburetor at the end of each practice session or race in order to avoid damage to the gasket or...
- Page 10 Clutch: -Remove the spark plug and insert the piston pin stop (Comer part number KACC126). Remove the starter cover. Manually turn the engine until the piston stops. See Figure 18.
- Page 11 Remove the washer, clutch drum, roller bearing and spacer. See Figure 19. -Remove the clutch and/or hub using a clutch extractor tool (Comer part number KACC125). Screw the 3 screws of the clutch extractor evenly into the clutch and/or hub.
- Page 12 Remove muffler (see "Muffler"). Remove cylinder or head. We recommend using a special tool designed for this purpose (Comer part number KACC128). -On engine models that have a separate cylinder and head, remove the 4 screws that support the head.
- Page 13 -Before installing the new piston, place the roller bearing in the rod opening. On the 80cc engine, position the thrust washers using grease. See Figure 26. -Place the piston on the rod with the arrow facing the exhaust. Insert the piston pin and hold everything with the circlips.
- Page 14 Whenever you change the cylinder, we advise you to also change the piston. Check the tolerance between the piston and the cylinder. Comer cylinders and pistons are marked with letters indicating the type (A-B-C-D). To assure proper tolerance, you should assemble only cylinders and pistons with the same letter designations.
Need help?
Do you have a question about the Top-Kart S60 and is the answer not in the manual?
Questions and answers