Advertisement
LIMITED WARRANTY
Quantum Audio warrants any products purchased in the U.S.A.
from an authorized Quantum Audio dealer. All products are warranted
to be free from defects in material and workmanship under normal use
and service for a period of one (1) year. This warranty applies to the
original purchase only.
Quantum Audio will either repair or replace (as its option) any unit
that has been found to be defective and under warranty provided the
defect occurs within the one (1) year warranty period.
This limited warranty does not extend to units have been
subjected to misuse, abuse, neglect, or accident. In Quantum Audio's
judgment, products that show evidence of having been altered,
modi-fied, or serviced without Quantum Audio's authorization, will be
ineligible under this warranty.
To obtain warranty service please contact your retailer or visit our
website at www.quantumaudio.net for more details.
DB Research L.L.P.
302 Hanmore Industrial Parkway // Harlingen, TX 78550
ph: 877.787.0101 // fx: 956.421.4513 // www.quantumaudio.net
TM
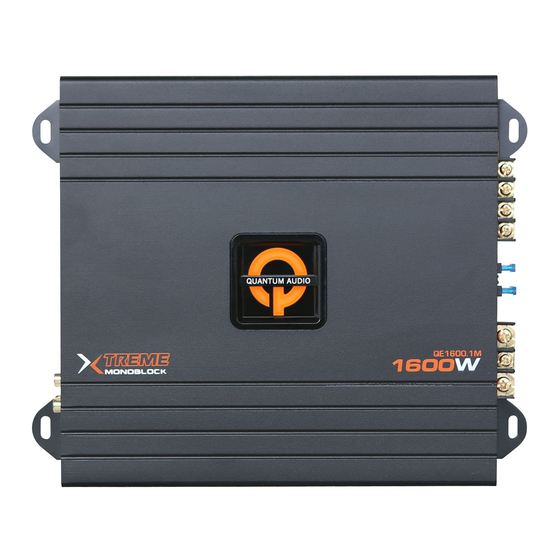
QE1600.1M • QE2400.1D • QE2000.4
QE2400.4 • QE1200.2
Instruction Manual
• Installation Instructions / Owners Manual •
Due to continuous improvement of the product the Specifications are subject to change without notice.
AMPLIFIERS
Advertisement
Table of Contents

Summary of Contents for Quantum Pro QE1600.1M
-
Page 1: Limited Warranty
This limited warranty does not extend to units have been subjected to misuse, abuse, neglect, or accident. In Quantum Audio’s judgment, products that show evidence of having been altered, QE1600.1M • QE2400.1D • QE2000.4 modi-fied, or serviced without Quantum Audio’s authorization, will be QE2400.4 • QE1200.2 ineligible under this warranty. -
Page 2: Safety Precautions
AFETY PRECAUTIONS NTRODUCTION use amplifiers power wire at the battery Congratulations on your purchase of a Quantum Audio state-of-the-art power amplifier. Your selection of a Quantum Audio car audio product indicates a true appreciation of fine musical reproduction. Whether adding to an existing system or including your Quantum Be sure to fuse the power wire within 12”... -
Page 3: Features And Benefits
QE2400.1D – 1 ohm mono Built-in Crossover The QE amplfier feature a state of the art variable crossover. The QE1600.1M and QE2400.1D use a 12db per octave variable low pass crossover to filter all the unwanted high frequencies. The QE1200.2, QE2000.4 and QE2400.4 include both a High pass and... -
Page 4: Mounting Location
OUNTING LOCATION OWER CONNECTIONS Before you start the installation, it will be necessary to find a mounting location for the ampli- fier. Find a location in which the amplifier will receive adequate ventilation in order to dissipate the heat it develops during operation. Two popular mounting locations are in the trunk or under the seat. -
Page 5: Signal Connections
When connecting, make sure that positive (+) from the amplifier is connected to the positive (+) of the speaker, and the same for negative (-). Please note that although the QE1600.1M, QE2400.1D are mono amplifiers, we have SIGNAL CONNECTION: 2 CHANNEL AMP provided two sets of speaker terminals on the amplifier. - Page 6 PEAKER CONNECTIONS PEAKER CONNECTIONS (QE1200.2, QE2000.4, QE2400.4) (Bridged) Quantum Make the speaker connections using speaker wire that is at least 16 gauge or heavier. As with any audio component, proper phasing of the amplifier and speakers is essential for strong bass response. When connecting, make sure that positive (+) from the amplifier is connected to the positive (+) of the speaker, and the same for negative (-).
-
Page 7: Adjustments And Settings
EMOTE BASS CONTROL MODULE DJUSTMENTS AND SETTINGS Before connecting the remote, it will be necessary to find a mounting location that will be The Quantum amplifiers are equipped with built-in variable crossover networks easy to access for adjustment. Once you select your mounting location, you will need to run allowing you to select the crossover mode (i.e. -
Page 8: Troubleshooting The System
+12V at power terminal Check connection +12V at remote terminal Check connection Grounding point clean and tight Check for ground w/meter QE1600.1M QE2400.1D Head Unit’s fader not in center position Set to center position Master & Slave settings Confirm correct setting...
Need help?
Do you have a question about the QE1600.1M and is the answer not in the manual?
Questions and answers