Table of Contents
Advertisement
Quick Links
Advertisement
Table of Contents

Summary of Contents for DeWalt D26676-XE
- Page 1 INSTRUCTION MANUAL D26676-XE PLANER...
-
Page 3: Definitions: Safety Guidelines
SAVE THESE INSTRUCTIONS Definitions: Safety Guidelines 1) WORK AREA SAFETY The definitions below describe the level of severity for each a) Keep work area clean and well lit. Cluttered or dark areas invite accidents. signal word. Please read the manual and pay attention to these b) Do not operate power tools in explosive atmospheres, such as in the symbols. -
Page 4: Planer Safety Rules
c) Prevent unintentional starting. Ensure the switch is in the off position f) Keep cutting tools sharp and clean. Properly maintained cutting tools with before plugging in. Carrying power tools with your finger on the switch or sharp cutting edges are less likely to bind and are easier to control. plugging in power tools that have the switch on invites accidents. -
Page 5: Extension Cords
• Young children and the infirm. This appliance is not intended for use by Your risk from these exposures varies, depending on how often you do this type of young children or infirm persons without supervision. Young children should be work. -
Page 6: Components (Fig. 1)
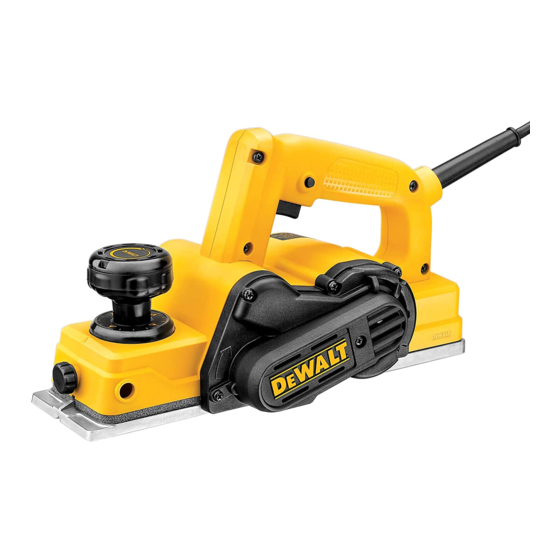
COMPONENTS (FIG. 1) FIG. 1 WARNING: Never modify the power tool or any part of it. Damage or personal injury could result. A. On/Off-switch B. Lock button C. Shavings discharge outlet D. Planing depth adjustment knob E. Planing depth graduation F. - Page 7 Adjusting the Depth of Cut (Fig. 2) FIG. 4 Turn the planing depth adjustment knob (D). One revolution of the adjustment knob equals a 1.5 mm change in depth. Each click of the adjustment knob represents 0.1 mm of depth, and will increase up to 1.0 mm in depth.
-
Page 8: Operation
To turn the tool off from a locked-on position, squeeze and release the trigger once. FIG. 6 Sharpening Blades (Fig. 6) Planing (Fig. 1) 1. Fasten the blade to the sharpening holder (V). Make sure both blade edges are facing the CAUTION: Risk of property damage. - Page 9 Cleaning For warranty repair information, call (AUS) 1800 654 155 or (NZ) 0800 339258. This warranty does not apply to WARNING: Blow dirt and dust out of all air vents with clean, dry air at least once • Accessories a week. To minimize the risk of eye injury, always wear ANSI Z87.1 approved eye protection when performing this.
- Page 12 WALT Industrial Tool Co., 701 East Joppa Road, Baltimore, MD 21286 • 20 Fletcher Road, Mooroolbark, VIC 3138 Australia (MAY09) Part No. N028053 D26676-XE Copyright © 2009 D WALT The following are trademarks for one or more D WALT power tools: the yellow and black color scheme; the “D” shaped air intake grill; the array of pyramids on the handgrip;...


Need help?
Do you have a question about the D26676-XE and is the answer not in the manual?
Questions and answers