Advertisement
Quick Links
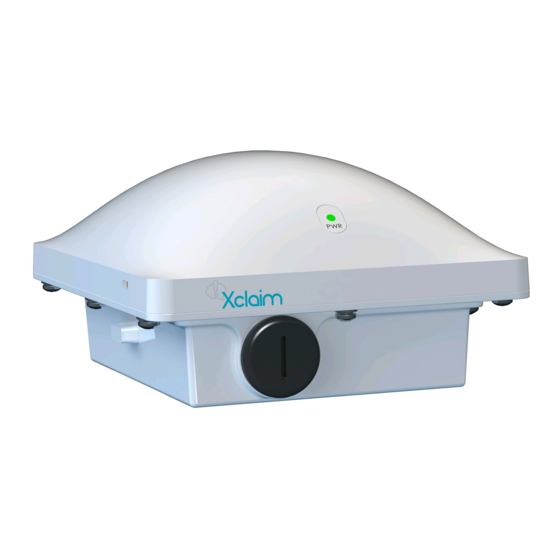
Xclaim Xo-1 802.11ac
Wi-Fi Access Point
Quick Setup Guide
This Quick Setup Guide provides step-by-step instructions
on how to set up one or more Xclaim Access Points. After
completing the steps described in this Guide, you will be
able to install the Access Points (APs) at your site and
provide wireless network access to users.
BEFORE YOU BEGIN
Your Xclaim Access Point can be managed either by the
"CloudManager for Xclaim" web application or the
"Harmony for Xclaim" mobile application.
If you decide to use Harmony to manage your Access
Points locally, you will need to download the Harmony for
Xclaim mobile application. Harmony is supported on iOS
platforms (iPhone, iTouch and iPad) and can be
downloaded for free from Apple store. Harmony is also
available for Android Smartphones and can be downloaded
for free from the Google Play store.
PACKAGE CONTENTS
•
Xclaim Xo-1 Access Point
•
Mounting screws and anchors (2)
•
Security screw
•
Unit removal pin
•
Regulatory flyer
•
Product warranty statement
•
1 x Cat5e Patch Cable
•
1 x 802.3af PoE Injector
•
This Quick Setup Guide
SETUP REQUIREMENTS
You will need:
•
An iOS or Android device with the "Harmony for
Xclaim" application loaded and running
(or)
An account on CloudManager for Xclaim.
•
A modem (DSL or cable), broadband router, or other
device provided by your Internet Service Provider
that brings Internet access to your site.
•
A DHCP server to provide IP addresses to your
Access Point and wireless clients that connect to it.
•
Either a PoE injector (supplied) or an optional 12V
power supply (purchased separately) or your own
802.3af or 802.3at compliant PoE switch.
STEP 1: INITIAL CONFIGURATION
Setting up the Access Point
You can initially set up your Xclaim Access Points in one
location and then later relocate them when you are satisfied
with the configuration
1
Remove the Xclaim Access Point from its
packaging
2
Power up the Access Point
a.
Connect the Access Point to a 802.3af
(PoE) compliant switch.
b.
Alternatively, Plug in the supplied PoE
injector to a convenient and protected
power outlet
3
Connect the "PoE out" port of the PoE injector to
the Xclaim Access Point
4
Connect the remaining Ethernet port on the PoE
injector to a spare port on your Ethernet switch or
DSL/Cable Modem
5
Once power has been supplied to the Xclaim
Access Point, verify that the Power Indicator on
the Xclaim Access Point is illuminated.
Option #1 - Setting up your CloudManager account
1.
Visit
http://www.xclaimwireless.com
for an account. Enter a valid email-ID, username
and password.
2.
Login with either the username or email ID to
access your account.
Copyright © 2015 Ruckus Wireless, Inc.
Published May 2015
Option #2 - Setting up HARMONY
1.
After installing Harmony, open the mobile
application. You will now enter the setup Wizard.
2.
Select the country, which will in turn be pushed to
Access Points and acts as the regulatory domain
for all your Access Points.
3.
Please create the "Admin" password. This
password will be used to login to the mobile
application and will also be synced with the
Access Point.
4.
The next screen allows you to create a network to
assign to Access Points later. You can choose to
skip this if you wish.
5.
Click "Finish". You are now ready to start
configuring your Access Point using Harmony.
STEP 2: Register/Claim Access Point(s)
Option #1 - Via CloudManager
1.
When logging in for the first time, you will be
automatically shown the "Register Access Point"
page.
and register
2.
Please enter the serial number of the Access
Point (found at the back of the Access Point),
configure an Access Point name and other
parameters and click "Save".
3.
Your Access Point is now "claimed/registered"
Advertisement

Related Manuals for Xclaim Xo-1


Summary of Contents for Xclaim Xo-1
-
Page 1: Quick Setup Guide
This Quick Setup Guide provides step-by-step instructions configuring your Access Point using Harmony. on how to set up one or more Xclaim Access Points. After completing the steps described in this Guide, you will be able to install the Access Points (APs) at your site and STEP 1: INITIAL CONFIGURATION provide wireless network access to users. - Page 2 Congratulations! Your wireless network is active and ready for you applied is enabled on the Access Point. use. If you need to configure advanced wireless settings, such as enabling security, see the Xclaim Access Point User Guide. Copyright © 2015 Ruckus Wireless, Inc.
- Page 3 External Customer-Supplied 5GHz Antennas customer-ordered external 5GHz antennas. Step 2a: Attaching the Mounting Bracket to a Flat Instead of the internal omni 5GHz antennas, the Xo-1 can use Internal Omni Antennas Surface one or two external 5GHz antennas in point-to-point and other...
- Page 4 Before completing this step, check your local wiring standards Instructions. for guidance. Refer to the Xo-1 802.11ac Outdoor Access Point Installation Using the factory-supplied ground wire and ground screw, Guide and enable the 5GHz external antennas, and then set connect a good earth ground to the AP chassis ground point (A the 5GHz external antenna gain.
Need help?
Do you have a question about the Xo-1 and is the answer not in the manual?
Questions and answers