
Related Manuals for Hoover 5011 All-Rounder


Summary of Contents for Hoover 5011 All-Rounder
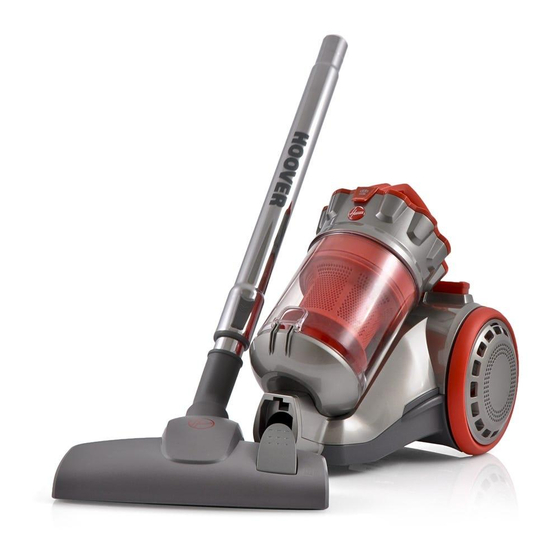
- Page 1 all-rounder Mini Compact Bagless Vacuum Cleaner Cyclonic Bagless Technology all-rounder Washable HEPA Filtration Compact, Lightweight & Stylish Design...
-
Page 3: Specifications
5011 All-Rounder Congratulations on the purchase of your new HOOVER vacuum cleaner. There are many useful features built into your cleaner and we recommend that you carefully read this instruction manual so that you may take best advantage of them. -
Page 4: Before You Begin
Before you Begin This cleaner must be operated in accordance with these instructions and used only for domestic household cleaning to remove DRY dirt and dust from household carpets, flooring, walls and fabrics. This cleaner is not fit to be used as an industrial cleaner hence will void the manufacturer’s warranty if used inappropriately. -
Page 5: Precautionary Measures
Before you Begin Precautionary measures: Do not operate the vacuum cleaner too close to heaters, radiators, and other hot surfaces. Before inserting the plug into the wall, make sure your hand is dry. Before turning on the vacuum cleaner, remove any large or sharp objects from the floor or cleaning surface in order to prevent damage to the filter. -
Page 6: Safety Precautions And Warnings
Safety Precautions & Warnings IMPORTANT! Always switch off the cleaner and remove the plug from the electricity power supply before cleaning your appliance, when not in use or attempting any maintenance task. The cleaner must only be connected to an AC power supply at the voltage shown on the rating label. - Page 7 13. Do not use the appliance to pick up 23. Keep ends of the hose, telescopic tube and flammable items or combustible liquids other openings away from your face and body. (i.e. petrol, hot ashes, cigarettes, matches, 24. Do not use the vacuum cleaner if it is explosive materials or anything burning) or use damaged or breaks down.
-
Page 8: Hose Assembly
Assembly Before assembling the cleaner, confirm all parts and components are included. Ensure the cleaner is not connected to the mains power supply when assembling. Hose Assembly Insert the hose into the dust canister inlet in a horizontal direction. Ensure the two projecting parts align and gently insert. - Page 9 Telescopic Tube and Floor Head Assembly Insert the front end of the hose handle into the telescopic tube. Then insert the other end of the telescopic tube into the rounded inlet of the floor head, and adjust to the proper direction. The cleaner is now ready to use.
-
Page 10: Suction Power Control
Instructions for Use Before using, unwind a sufficient length of power cable and insert the plug into the mains power supply. A yellow mark on the power cable shows the ideal cable length. Do not extend the cable beyond the blue mark. Press the on/off button to operate the cleaner. - Page 11 Motor Protective Features This appliance has been designed with a temperature controller which can automatically cut off the power supply of the motor to prevent overheating. When the air-inlet or air-outlet pipe is overloaded or blocked, the temperature of the motor rises hence the temperature controller cuts off the power supply to the motor automatically allowing the motor to cool, preventing the cleaner from being damaged.
-
Page 12: Maintenance
Maintenance Ensure the cleaner is not connected to the mains power supply when performing any maintenance procedures. Use a damp cloth and mild detergent when cleaning the appliance. Vacuum Cleaner Storage When not in use, ensure the cleaner is not connected to the mains power supply, and pull the power cable gently out of the power socket. -
Page 13: Motor Filter Cleaning
Motor Filter Cleaning Warning: Ensure the cleaner is not connected to the mains power supply when performing any maintenance procedures. Press the dust canister release button to remove the dust canister from the cleaner. Remove the top cover on the canister and then remove the filter. - Page 14 Maintenance (continued) Rear Motor Filter Replacement The rear motor filter is installed behind the air outlet grid, this filter is washable. When dust or dirt is visible on the surface of the filter, the filter should be replaced or washed with warm water to maintain efficient suction.
-
Page 15: Troubleshooting
Turn off the cleaner immediately. sound when switched on. Check the appliance to ensure there are no blockages. Please clear any blockages that may be found. Please contact Hoover Customer Care: 1300 360 845 to find your local spare parts provider. Part Part Number... - Page 16 Mini Compact Bagless Vacuum Cleaner Conditions of Warranty Your Hoover cleaner, in the case of domestic use, has a two year Hoover Floorcare is unable to accept responsibility under this parts and labour warranty against product defects and failures when warranty for any repair work not carried out by an authorised Hoover Service Agent or from the use of non-genuine parts.