
Subscribe to Our Youtube Channel
Related Manuals for Hello Kitty KT2008B


Summary of Contents for Hello Kitty KT2008B
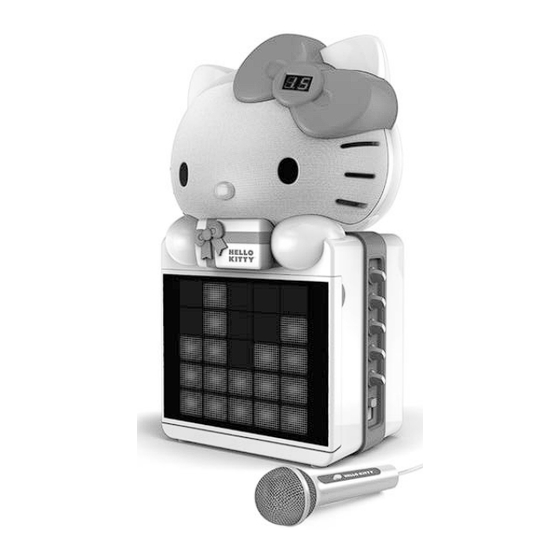
- Page 1 CD+G KARAOKE SYSTEM WITH LED LIGHT SHOW AND MP3/MP3+G PLAYBACK KT2008B USER MANUAL CAUTION: Electrically Operated Product - Please use care when plugging AC Adapter into AC outlet.
-
Page 2: Compliance With Fcc Regulations
COMPLIANCE WITH FCC REGULATIONS This device complies with Part 15 of the FCC Rules. Operation is subject to the following two conditions: This device may not cause harmful interference, and This device must accept any interference received, including interference that may cause undesired operation. -
Page 3: Protect Your Furniture
♦ Do not put anything in the safety slot. If you do, the laser diode will be “ON” when the CD door is still open. ♦ If the unit is not to be used for a long period of time, make sure that the power source is disconnected from the unit. - Page 4 CDGMs (Compact Disc Plus Graphics Multiplex): They are CD’s that contain songs that include the lead singer's voice, which can be removed with a karaoke system that has a balance or multiplex control. The idea is to sing along with the lead singer or replace the lead singer’s voice with yours. Background vocals and backup singers are provided.
- Page 5 Built-in Speakers - lets you share the music with your family or friends. Audio Out Jacks - lets you connect to another audio output component, such as an equalizer/booster or a PA system. Video Out Jacks - lets you connect to your TV/monitor for displaying the lyrics from CD+G discs.
-
Page 6: Control Locations
CONTROL LOCATIONS... -
Page 7: Setting Up For Operation
SETTING UP FOR OPERATION CONNECTING POWER Plug the supplied AC adapter into the DC jack on the rear side of the unit and connect to a standard AC wall socket with 120V~ 60Hz continuous power supply. Note: When the unit is not operated for long periods of time, unplug the AC adapter from the unit and wall outlet. - Page 8 and Red are for left and right audio connections and the Yellow is for video. Modern flat panel digital TV sets and home music systems are usually equipped with corresponding color-coded RCA jacks to assist correct connections. Make sure that you have a CD+G disc in the karaoke system playing when you are making this connection.
-
Page 9: Connecting A Microphone
The setup of your TV is the most difficult part of making the connection for displaying your lyrics. In most homes, the TV has either a cable connected or antenna in use. Once you connect your karaoke system to the TV, you must 'tell' your TV to display the input from the karaoke system instead of the usual input from the cable or antenna. -
Page 10: Stop Button
UNDERSTANDING THE CONTROL FUNCTIONS POWER AND PLAYBACK FUNCTIONS 1. FUNCTION SELECTOR (CDG/AUX IN) Set it to “CDG” to playback a CD, CD+G, CD-R/CD-RW disc or USB flash drive with MP3/MP3+G files. Set it to “AUX IN” to playback audio output from an external audio device that is connected to the AUX IN JACK. - Page 11 tap again to cancel Repeat mode (REPEAT INDICATOR will be OFF). PROGRAM function In stop mode, tap once to enter PROGRAM mode: For CD/CD+G tracks: tap NEXT or PREV BUTTON to select the desired song; tap the 10+ BUTTON to skip forward by 10 songs at one time. ...
-
Page 12: Input Functions
Tap PLAY BUTTON to resume program play. Note: if you tap the STOP BUTTON twice consecutively, you will cancel program play and erase the program list permanently. The PROG INDICATOR in the LED DISPLAY and TV screen will go OFF. Program Review: In stop mode, you can review the program list by pressing the NEXT or PREV BUTTON. -
Page 13: Output Functions
14. AUX IN JACK Connect the 3.5mm stereo plug of a stereo audio cable (not included) to this jack and the other end to an external audio player for audio playback. 15. MIC 1 / MIC 2 JACKS Connect the microphone (one included) to either one of the jacks to sing. ... -
Page 14: From Cd+G, Cd, Cd-R/Cd-Rw Or Usb Flash Drive With Mp3/Mp3+Gfiles
♦ Plug in the included MICROPHONE into either the MIC 1 or MIC 2 JACK. Note: Always set the mic to OFF before you are ready to sing to avoid possible sharp feedback noises. FROM CD+G, CD, CD-R/CD-RW OR USB FLASH DRIVE WITH MP3/MP3+G FILES Set the FUNCTION SELECTOR to “CDG”. - Page 15 Notes on playing self-compiled CD-R/RW or USB flash drive with MP3/MP3+G songs: If you try to play a self-compiled CD-R/RW disc or USB flash drive with MP3/MP3+G songs (both are not included), you will see the following menu instead. On the top line of the menu, “T: 011/118 means track #11 out of total 118 tracks is now playing.
-
Page 16: From Aux Input
PLEASE READ THIS IMPORTANT INFORMATION CD mechanisms used in devices like this are designed to fully read all commercial CDs. They will also read self-compiled CD-R/CD-RW discs but it may take up to 10 seconds for playback to start. If playback does not start, it is likely due to the quality of the CD-R/CD-RW disc and/or the compatibility of the CD compilation software. -
Page 17: Troubleshooting Guide
Turn on your microphone and start singing. Adjust the MASTER VOLUME and/or MIC VOLUME if necessary. You may also use the BALANCE and ECHO CONTROLS to enhance your singing experience. Turn off both devices after use. USING THE UNIT AS A PUBLIC ADDRESS SYSTEM This unit can also be used as a PA (Public Address System). - Page 18 PROBLEM POSSIBLE CAUSE SOLUTION Clean the optical pickup with a Lens is dirty. CD lens cleaner. Moisture has condensed Wait about 20 to 30 minutes to inside the CD deck. let it dry out. Karaoke system needs to be Disconnect the machine from reset.
-
Page 19: Care And Maintenance
CARE AND MAINTENANCE Clean your unit with a damp (never wet) cloth. Solvent or detergent should never be used. Avoid leaving your unit in hot, humid or dusty places. Keep your unit away from heating appliances and sources of electrical noise such as fluorescent lamps or motors. - Page 20 90 DAY LIMITED WARRANTY AND SERVICE VALID IN THE U.S.A. ONLY SPECTRA MERCHANDISING INTERNATIONAL, INC. warrants this unit to be free from defective materials or factory workmanship for a period of 90 days from the date of original customer purchase and provided the product is utilized within the U.S.A. This warranty is not assignable or transferable.
- Page 21 SPECTRA MERCHANDISING INTERNATIONAL, INC. 4230 North Normandy Avenue, Chicago, IL 60634, USA. 1-800-777-5331 To register your product, visit the link below to enter your information. http://www.spectraintl.com/wform.htm Licensed by: Marino Andriani, LLC Distributed by: Spectra Merchandising International, Inc. 4230 North Normandy Avenue Chicago, IL 60634, USA www.spectraintl.com 0515...
Need help?
Do you have a question about the KT2008B and is the answer not in the manual?
Questions and answers