Table of Contents
Advertisement
Quick Links
Advertisement
Table of Contents

Related Manuals for Panasonic MC-E8021


Summary of Contents for Panasonic MC-E8021
-
Page 1: Vacuum Cleaner
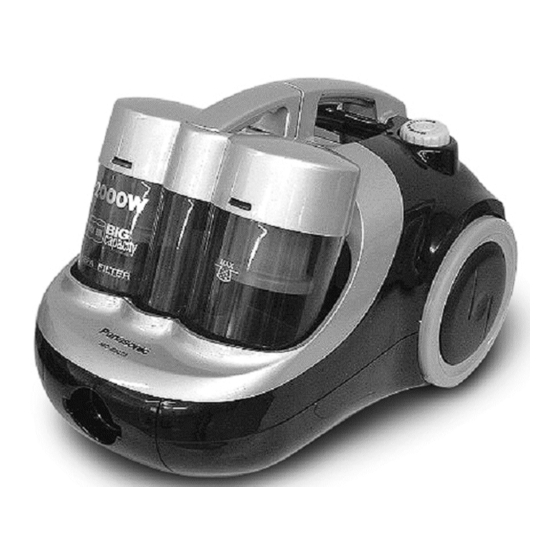
ORDER NO.ECD0502001C2 Vacuum Cleaner MC-E8021 MC-E8021K MC-E8023 MC-E8023K MC-E8024 MC-E8024K Destination : Europe © 2005 Matsushita Electric Industrial Co., Ltd. All rights reserved. Unauthorized copying distribution is a violation of law. -
Page 2: Replacement Of Main Parts
MC-E8021 / MC-E8021K / MC-E8023 / MC-E8023K / MC-E8024 / MC-E8024K 3 REPLACEMENT OF MAIN PARTS IMPORTANT: Before replacing any part always DISCONNECT THE CLEANER FROM THE ELECTRICITY SUPPLY. 3.1. MOTOR 1. Lift up dust compartment and take it out. (Fig.1) 2. - Page 3 MC-E8021 / MC-E8021K / MC-E8023 / MC-E8023K / MC-E8024 / MC-E8024K 3. Remove screws from upper body and take out front cover 4. Lift up cord reel unit and remove the two lead wires and upper body. (Fig.3) (provided with quick-connect terminal) from the contact springs.
-
Page 4: Carbon Brushes
MC-E8021 / MC-E8021K / MC-E8023 / MC-E8023K / MC-E8024 / MC-E8024K 6. Disconnect the two lead wires (provided with quick-connect 3.2. CARBON BRUSHES terminals) from the motor tabs. (Fig.6) Note: Replace both carbon brushes at the same time. 1. Take out motor unit and remove motor cover as explained previously in paragraph 3.1 Motor, points 1-6. - Page 5 MC-E8021 / MC-E8021K / MC-E8023 / MC-E8023K / MC-E8024 / MC-E8024K 3.4. CORD REEL UNIT 3.5. BRAKE LEVER UNIT 1. Remove upper body and take out cord reel ass`y as 1. Remove upper body and cord reel assembly as explained explained previously in paragraph 3.1 Motor, points 1-4.
- Page 6 MC-E8021 / MC-E8021K / MC-E8023 / MC-E8023K / MC-E8024 / MC-E8024K 4. Remove from PCB the two lead wires provided with quick- connect terminal. (Fig.14) *The fuse is replaceable at the same time. 6. Replace P.C.B. Ass’y with a new one and control Axis.
-
Page 7: Trouble Shooting Guide
MC-E8021 / MC-E8021K / MC-E8023 / MC-E8023K / MC-E8024 / MC-E8024K 8 TROUBLE SHOOTING GUIDE CONDITION CHECKPOINT METHOD OF INSPECTION CAUSE / REMEDY Motor fails to rotate Power supply cord Check power supply cord If there is no continuity, replace (no noise is heard at all) continuity. -
Page 8: Packing Instructions
MC-E8021 / MC-E8021K / MC-E8023 / MC-E8023K / MC-E8024 / MC-E8024K 9 PACKING INSTRUCTIONS 10 PACKING LIST *( )Within Remarks indicates parts number of instruction book for the UK Ref. No. Part Name & Description Part No. Q´TY Remarks Individual Carton AMC61Z-XJ00E MC-E8021.E8021K...
Need help?
Do you have a question about the MC-E8021 and is the answer not in the manual?
Questions and answers