Sign In
Upload
Download
Table of Contents
Contents
Add to my manuals
Delete from my manuals
Share
URL of this page:
HTML Link:
Bookmark this page
Add
Manual will be automatically added to "My Manuals"
Print this page
×
Bookmark added
×
Added to my manuals
Manuals
Brands
Texas Instruments Manuals
PDA
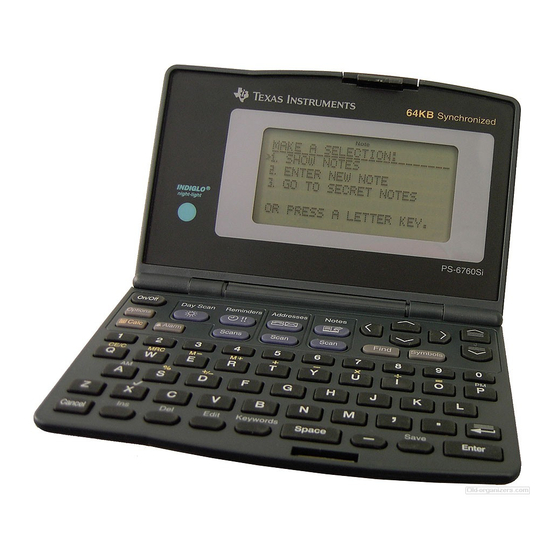
PS-6760Si
Manual book
Texas Instruments PS-6760Si Manual Book
Hide thumbs
1
Table Of Contents
2
3
4
5
6
7
8
9
10
11
12
13
14
15
16
17
18
19
20
21
22
23
24
25
26
27
28
29
30
31
32
33
34
35
36
37
38
39
40
41
42
43
44
45
46
47
48
49
50
51
52
53
54
55
page
of
55
Go
/
55
Contents
Table of Contents
Bookmarks
Table of Contents
Table of Contents
Get Started
Change the Display Language
Set the Display Contrast
Turn on the INDIGLO® Night-Light
Select from a Menu
Set the Date and Time
Enter an Appointment Reminder
Set the Key Tone
Important Information about Reminders
Enter a Reminder
Enter an Appointment Reminder
Enter a Task Reminder
Check off Tasks
Set up Task Reminders
Enter a Yearly Reminder
Set Alarms
Set Reminder Alarms
Set Daily Alarms
Turn All Alarm Sounds off or on
Acknowledge Alarms
View Reminders
Display Reminders for the Current Date
Display Reminders for Another Date
Change the Date on the Reminders Menu
About the Calendar
Change the Date Using the Calendar
Scan Reminders
Use the Key
Use the $ Key
Move from the Summary List to an Entry
Enter an Address
Name the Address Lists
Assign Default Address Lists
View Addresses
View the Master Address List
Use the Addresses Key
Move between the Scan List and an Entry
View the Custom Address Lists
Enter a Note
View Notes
View the Master Notes List
Use the Notes Key
Move between the Scan List and an Entry
Secret Notes
Enter a Secret Note
View Secret Notes
Find Words in an Entry
Enter and Select Keywords
Enter or Edit Keywords
Select a Keyword
Select a Symbol to Use in an Entry
Edit and Delete Entries
Edit an Entry
Delete an Entry
The Calculator
Protect Information
Set the Password
Change the Password
Lock and Unlock the Organizer
Set up Cities and Times List
Select Cities and Times
Choose from the City List
Enter an Unlisted City
View Cities and Times List
Memory Space
Check Memory Space
Optimize Memory Space
Linking to a Personal Computer
Linking the Organizer to a PC
Synchronizing the Organizer to a PC
Battery Information
Check the Batteries
Warning to Change the Batteries
When to Replace the Batteries
How to Replace the Batteries
Set Automatic Power down
TI Product
TI Product Service and Warranty Information
TI Product and Services Information
Service and Warranty Information
Appendix: Display Indicators
Advertisement
Quick Links
1
Table of Contents
2
Get Started
3
Change the Display Language
4
Turn on the Indiglo® Night-Light
5
How to Replace the Batteries
Download this manual
Table of
Contents
Previous
Page
Next
Page
1
2
3
4
5
Advertisement
Table of Contents
Need help?
Do you have a question about the PS-6760Si and is the answer not in the manual?
Ask a question
Questions and answers
Subscribe to Our Youtube Channel
Related Manuals for Texas Instruments PS-6760Si
PDA Texas Instruments PS-6860Si Manual Book
(55 pages)
PDA Texas Instruments PS-6960Si Manual Book
(55 pages)
This manual is also suitable for:
Ps-6860si
Ps-6960si
Table of Contents
Print
Rename the bookmark
Delete bookmark?
Delete from my manuals?
Login
Sign In
OR
Sign in with Facebook
Sign in with Google
Upload manual
Upload from disk
Upload from URL


Need help?
Do you have a question about the PS-6760Si and is the answer not in the manual?
Questions and answers