Table of Contents
Advertisement
ELECTRIC SCOOTER
OWNER'S MANUAL
FOR USE WITH THE FOLLOWING PULSE PERFORMANCE PRODUCTS™ SCOOTERS
•
Bolt
•
G-Plus
DO NOT RETURN TO STORE! QUESTIONS OR COMMENTS?
CALL (866)-434-6067
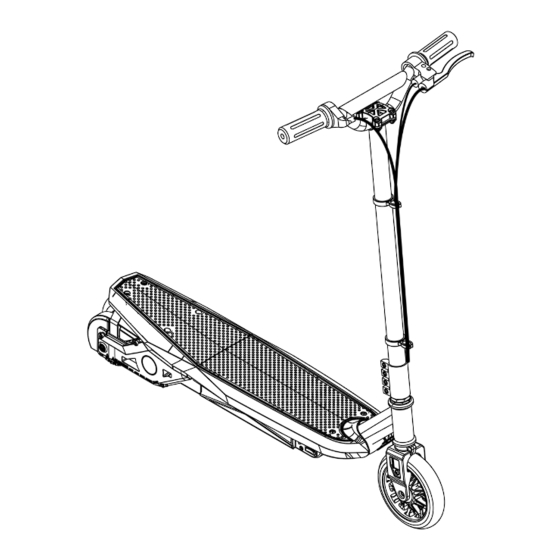
NOTE: Manual illustrations are for reference purposes only. Illustrations may not reflect the exact appearance of the actual product.
Specifications are subject to change without notice.
05.24.13
Advertisement
Table of Contents

Summary of Contents for Pulse Performance Products Bolt
- Page 1 ELECTRIC SCOOTER OWNER’S MANUAL FOR USE WITH THE FOLLOWING PULSE PERFORMANCE PRODUCTS™ SCOOTERS • Bolt • G-Plus DO NOT RETURN TO STORE! QUESTIONS OR COMMENTS? CALL (866)-434-6067 NOTE: Manual illustrations are for reference purposes only. Illustrations may not reflect the exact appearance of the actual product.
-
Page 2: Table Of Contents
Pulse Performance Products™ advises that you periodically review and reinforce all information in this manual with all riders, and that you inspect and maintain your scooter to insure their safety. -
Page 3: Safety And Warnings
Safety and Warnings Maintain a hold with both hands on the handlebars at all times. Never allow more than one person at a time to ride the scooter. Never use near steps, water, or swimming pools. Keep your fingers and other body parts away from the chain, motor, steering system, wheels and all other moving components. Never ride while using a cell phone or wearing headphones. -
Page 4: Before You Start
Before You Start WARNING: Remove all packing and items from the display box. Make sure that the power switch is turned “OFF” before assembling the scooter. Estimated Assembly Time • Allow up to 25 minutes for assembly, not including initial charge time. •... -
Page 5: Assembly
Assembly Handlebar Steer Tube Assembly Tools required: 5mm hex wrench, 10mm wrench 1. Depress the push button located on the 2. Tighten the bolts with the 5mm hex 3. Align handlebars both vertically and rear of the fork and insert the handlebar wrench, evenly and securely. - Page 6 Assembly Charging the Battery WARNING: Batteries must be fully charged before you ride your electric scooter. Required components: Battery charger • Initial battery charge time - 14 hours • Recharges after initial charge - Up to 10 hours • When scooter is not in regular use batteries need to be charged on a monthly basis to maximize performance. 1.
-
Page 7: Hardware Maintenance
Hardware Maintenance Brake Check the brakes for proper function. When you squeeze the lever, the brake should provide positive braking action. When you apply the brake with the speed control on, the brake cut off switch should stop the motor. Make sure that the brakes are not rubbing when lever is not being applied. Frame, Fork and Handlebars Check for cracks or broken connections. -
Page 8: Repair And Maintenance
(loosen) or counter clockwise (tighten) too loose use a 10mm wrench to loosen the the adjuster barrel on the brake lever. brake cable pinch bolt for further adjustment Only turn the barrel in small increments on the cable. Ensure that the 10mm nut is until the desired adjustment is reached. - Page 9 Tools required: 4mm hex wrench, 5mm hex wrench, 14mm wrench, 12mm wrench, 10mm wrench, Phillips screwdriver 1. Using a 4mm hex wrench remove the 4 2. Loosen brake cable pinch nut with 10mm 3. Remove the brake arm bolt with a Phillips bolts from the rear axle cover on both sides wrench.
- Page 10 Wheel should spin freely and easily. 8. Retighten the brake arm bolt with a 9. Retighten brake cable pinch nut with 10. Reinstall side covers with a 4mm hex Phillips screwdriver & 8mm wrench.
- Page 11 Repair and Maintenance Front Wheel Replacement Tools required: Two 5mm hex wrenches 1. Remove the fork covers by unscrewing the 2. Using two 5mm hex wrenches loosen 3. Reinstall new replacement wheel 4 screws with a Phillips head screwdriver. and remove the front axle by turning the ensuring to note the order and location of all wrenches counter clockwise.
- Page 12 Battery Care and Disposal Do not store the battery in temperatures above 70°F (21°C) or below 32°F (0°C). THIS SCOOTER CONTAINS SEALED LEAD ACID BATTERIES WHICH MUST BE RECYCLED IN AC- CORDANCE TO YOUR LOCAL AND STATE LAWS. PLEASE CAREFULLY READ AND UNDERSTAND THE FOLLOWING DISPOSAL INSTRUCTIONS: Disposal: This product contains sealed lead acid batteries which must be disposed or recycled in an environmentally safe manner.
-
Page 13: Troubleshooting
Troubleshooting Problem Possible Cause Solution Scooter will not run. Battery is not charged. Fully charge the battery. First charge should be 14 hours and up to 10 hours for recharges. Wires or connectors are Check to ensure that charger is tightly plugged into both the wall loose or unplugged. -
Page 14: Scooter Components
Scooter Components part description Frame Motor Front Fork Headset Clamp Right Side Cover Kickstand Battery Box Deck Rear Wheel Left Side Cover Front Wheel Chain Brake Throttle Brake Lever Controller Battery Steer Tube Handlebar Handlebar Clamp Charger Port Reset Button On/Off Switch Chain Wheel Chain Tensioner... -
Page 15: Warranty
Warranty does not cover normal wear and tear, tires, cables, or any damage, failure or loss caused by improper assembly, maintenance, storage or use of this Pulse Performance Products™ electric scooter. This Limited Warranty will be void if the product is ever: •... - Page 16 Pulse Performance Products™ A Division of Bravo Sports™ 12801 Carmenita Rd. Santa Fe Springs, CA 90670 © 2012-2013 Pulse Performance Products™ - All Rights Reserved...


Need help?
Do you have a question about the Bolt and is the answer not in the manual?
Questions and answers