Sign In
Upload
Download
Table of Contents
Contents
Add to my manuals
Delete from my manuals
Share
URL of this page:
HTML Link:
Bookmark this page
Add
Manual will be automatically added to "My Manuals"
Print this page
×
Bookmark added
×
Added to my manuals
Manuals
Brands
Rain Bird Manuals
Network Router
STP4PL
Installation, programming & operation manual
Rain Bird STP4PL Installation, Programming & Operation Manual
Stp plus controller
Hide thumbs
1
Table Of Contents
2
3
4
5
6
7
8
9
10
11
12
13
14
15
16
17
18
19
20
21
22
23
24
25
page
of
25
Go
/
25
Contents
Table of Contents
Troubleshooting
Bookmarks
Table of Contents
Table of Contents
Safety and Regulatory Information
Introduction
Welcome to Rain Bird
Controller Features
Controller Functions
Programming
Set Clock
Set Date
Schedule Watering
Manual Water Zone
Manual Water All
Rain Delay
Adjust Water
Normal Operations
Installation
Mount Controller
Connect Field Valve Wires
Install Master Valve or Pump Start Relay
Connect Rain Sensor
Connect Power
Troubleshooting
Watering Issues
Electrical Issues
Reset
Programming Chart
Declaration of Conformity
Advertisement
Quick Links
1
Controller Features
2
Set Clock
3
Programming
4
Schedule Watering
5
Manual Water Zone
6
Manual Water All
Download this manual
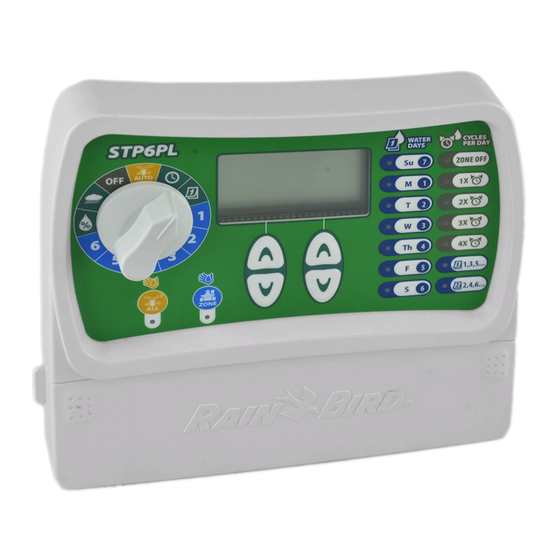
STP Plus Controller
Installation, Programming
& Operation Guide
Table of
Contents
Previous
Page
Next
Page
1
2
3
4
5
Advertisement
Table of Contents
Need help?
Do you have a question about the STP4PL and is the answer not in the manual?
Ask a question
Questions and answers
Related Manuals for Rain Bird STP4PL
Network Router Rain Bird STP6PL Installation, Programming & Operation Manual
Stp plus controller (25 pages)
Network Router Rain Bird STP9PL Installation, Programming & Operation Manual
Stp plus controller (25 pages)
Network Router Rain Bird E-3 Installation, Programming & Operation Manual
(18 pages)
Network Router Rain Bird Gold LINK 900 Owner's Manual
(35 pages)
This manual is also suitable for:
Stp6pl
Stp9pl
Table of Contents
Save PDF
Print
Rename the bookmark
Delete bookmark?
Delete from my manuals?
Login
Sign In
OR
Sign in with Facebook
Sign in with Google
Upload manual
Upload from disk
Upload from URL


Need help?
Do you have a question about the STP4PL and is the answer not in the manual?
Questions and answers