
Subscribe to Our Youtube Channel
Summary of Contents for Sierra NS-1N30-00
- Page 1 REVERSE OSMOSIS DRINKING WATER SYSTEM 42445 Avenida Alvarado, Temecula, CA 92590 (800) 451-9343, www.nimbuswater.com 42445 Avenida Alvarado, Temecula, CA 92590 0216 (800) 451-9343, www.nimbuswater.com...
- Page 2 Please fill out the following information at the time of installation. Save for future reference. Sierra NS-1N30-00 Model: Date Code: Install Date: Sold by: Installed By: Service Center Phone Number: 42445 Avenida Alvarado, Temecula, CA 92590 (800) 451-9343, www.nimbuswater.com...
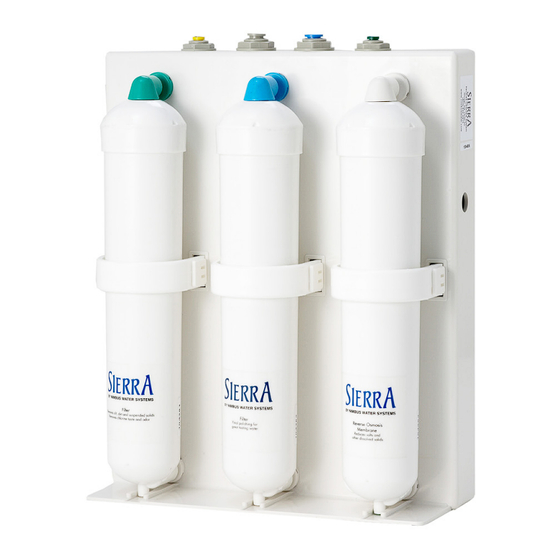
- Page 3 Introduction To The Sierra Congratulations on your purchase of the Nimbus Sierra reverse osmosis system. When properly maintained, this system will provide you with years of trouble-free service. The next sections contain important information on proper care and mainte- nance. Please take a few minutes to read through this information.
-
Page 4: Warranty
Warranty This Limited Warranty extends to the original purchaser of the system only. This warranty covers all Manufacturer-supplied items only that prove to be defective in material, workmanship or factory preparation. This warranty covers parts only; all labor is excluded from this war- ranty, including, but not limited to, services related to the removal, replacement, installation, adjustment, maintenance and/or repair of the unit or its components items. -
Page 5: Installation Overview
Installation Overview The following instructions outline a typical water treatment system installation. Consult local plumbing codes and building regulations as they may pose different or additional requirements for the installation. The installer is responsible for ensuring that the installation is in compliance with all applicable state and local regulations. This system has been designed for installation by a licensed professional such as a contractor or plumber. - Page 6 Feed and Drain Connections Feed Connection 1. Locate and turn off the angle stop valve on the cold water line feeding the sink. This valve will usually be located under the sink on the pipe coming out of the wall. 2.
- Page 7 Push Handle Airgap Faucet Note: This faucet requires a 1¼" opening in the sink or countertop. 1. Locate the faucet parts bag and arrange the parts on the countertop in the sequence shown. 2. The last part in the sequence, the quick connect adapter (6), will be found in the smaller parts bag.
-
Page 8: Manifold Installation
7. Obtain the Shutoff Warning label and affix it to the manifold unit so that it is directly visible. The Sierra system is now con- nected and ready for initial test and preparation. - Page 9 System Activation and Flushing System Activation 1. Check all tubing connections to ensure they are firmly seated. CHECK TO SEE THAT THE CARTRIDGE RETAINER CLIPS AND LOCKS ARE PROPERLY ENGAGED. Failure to keep the retaining clips in place could result in accidental leaks and flood- ing.
- Page 10 Checklist 1. System is located where it will not be subject to physical impacts or rough contact by heavy objects. 2. Feed water pressure to the unit is no less than 40 psi and no greater than 80 PSI. 3. Ensure the plastic retainer clips that holds the cartridges in place are fully engaged and locked in place. The slide locks must snap into place in the slots.
-
Page 11: Cartridge Replacement
Cartridge Replacement 1. Close the feed water shut-off valve. 2. Close the tank shut-off valve. 3. Open the dispensing faucet to relieve system pressure. Close dispensing faucet when flow has stopped. 4. Pull the unit from the installed location. 5. Remove the retaining clip from the front of the unit. Pull the cartridge off the unit evenly at top and bottom. Dispose of used cartridge.
Need help?
Do you have a question about the NS-1N30-00 and is the answer not in the manual?
Questions and answers