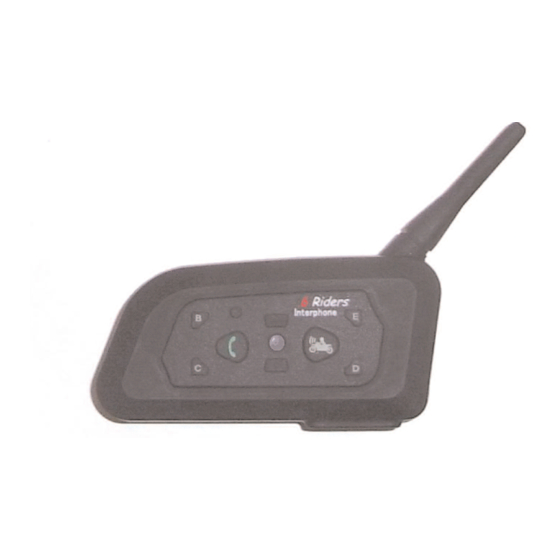
Summary of Contents for Bike-Comm M1
-
Page 1: User Manual
Bike-Comm M1 Bluetooth Motorcycle Intercom For your nearest dealer; Please visit us at User Manual http://www.bike-comm.com... - Page 2 ............03 Charging ...........04 Attaching main unit ...........05 Attaching speakers ...........06 Pairing with Bluetooth ...........07 Basic operation ...........07 Hands-free calls ...........07 Intercom ...........08 Group communications ...........08 Listening to audio ...........09 T roubleshooting ...........09 Copyright ‘©’ and all rights reserved 2010 Bike-Comm.com...
- Page 3 2x Speaker •When charging is completed the LED will switch off microphone sets & Sticky pads 2x AC / USB Chargers 2x 2.5mm- 3.5mm Audio Tip: To protect your battery life please charge the Bike-Comm M1 adaptors every month...
- Page 4 Attaching to a Helmet Positioning the Speakers & Microphone •Find your prefered position to mount the intercom T o achieve the best sound quality; the speakers must on the left side of the helmet be placed directly in line with your ears •Insert the clip between the shell and foam liner •Put your helmet on but do not close it secure to the mounting plate...
- Page 5 Pairing to a phone: Intercom function Each Bike-Comm Unit can pair with up to five other Bike •Press the reset button on the intercom for 1 second Comm headsets. By assigning each one to a rider key. •Place the intercom into pairing mode by holding the Make sure that you only have two units switched on at a power button until the red and blue LED’s begin to...
- Page 6 Local Suppliers devices Listen to Audio with A2DP Bluetooth profile •Pair your Bluetooth Audio with the Bike-Comm by holding down the Phone/Play Key until the Blue & red LED’s flash •If pairing is successful the blue LED will flash Slowly •Push the Phone/Play key so start &...

Need help?
Do you have a question about the M1 and is the answer not in the manual?
Questions and answers