
Related Manuals for Esport Phoenix

Summary of Contents for Esport Phoenix
-
Page 1: Assembly Instructions
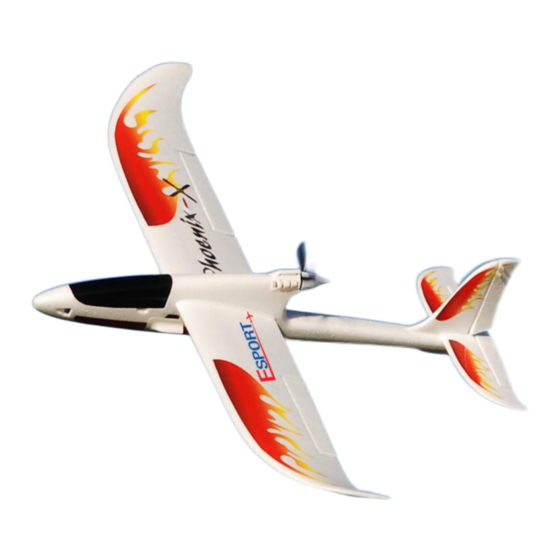
With Brushless Motor and 4-Bladed Prop Assembly InstructIons specIfIcAtIons: Wingspan: 54 in. (1380mm) length: 36 in. (920mm) Weight (inc. battery): 24 oz. (690g) -
Page 2: Table Of Contents
& spares Do not dispose of this product with other household The Phoenix has been designed to be strong and very waste. Instead, it is your responsibility to dispose of easy to repair, however, it is not invulnerable and most your waste equipment by handing it over to a designated people will break parts during their flying career. -
Page 3: Kit Contents
ADDItIonAl Items requIreD 4 x AA transmitter batteries 5-minute epoxy Glue small phillips screwdriver Hobby Knife nb. If purchasing the rtf version excluding tX/rX/charger/power supply you will need to purchase these separately phoenix Instruction manual... -
Page 4: Lithium Polymer Battery Safety
WArnInG! Do not short circuit—battery may explode! If you HAVe not Done so AlreADy pleAse reAD tHe lItHIum polymer bAttery sAfety InstructIons AboVe before proceeDInG Any furtHer. phoenix Instruction manual... -
Page 5: Charging The Flight Battery
If the charge leD is solid red when you plug in the battery no charge is needed. 3. When the battery is fully charged disconnect the battery from the charger. Disconnect the 12V power source from the charger. your li- po is ready for use. phoenix Instruction manual... -
Page 6: Assembling The Phoenix
Gently push the carbon fibre spar into the left hand main wing panel until it is fully inserted. Insert the other end of the carbon fibre spar into the wing opening of the fuselage. - Page 7 If the horizontal tail does not line up, now is the time to remove a small amount of foam from the high side of the fuselage. Dry fit again to confirm correct alignment. rIGHt phoenix Instruction manual...
- Page 8 90 degrees to the horizontal tail. 15. clip the elevator pushrod clevis onto the servo horn. note: you may need to adjust this later to ensure a neutral setting for the elevator once the transmitter and the phoenix are turned on. phoenix Instruction manual...
- Page 9 17. the flight battery slides in place in the hollow compartment in the nose of the fuselage.
-
Page 10: Assembling The Propeller
23. tighten the grub screws on either side of the spinner with your wrench/hex key. phoenix Instruction manual... -
Page 11: Switch On The Transmitter
Always turn your plane off before you turn your transmitter off. note: ensure the throttle stick and trim slider are in the down position (mode 1 shown). the other trim sliders should all be centered as shown. phoenix Instruction manual... -
Page 12: Transmitter Layout
39. With the throttle stick at its lowest position, turn on the transmitter and then plug the flight battery into the esc. note: photo shows a mode II transmitter phoenix Instruction manual... -
Page 13: Control Checks
48. Adjust the position of the pushrod to get approx. 3/4” (19mm) movement in each direction measured at the trailing edge. note: ensure that the clevis is clipped securely onto the servo horn so that it will not come loose in flight. phoenix Instruction manual... - Page 14 52. the cG (center of Gravity) for the phoenix is located 2-1/2” to 2-3/4” (65-70mm) behind the leading edge of the main wing at the root of the wing.
-
Page 15: Preflight Checks
Ask another person to launch the phoenix into the wind horizontally with the nose slightly up, but no more than 15 degrees. smoothly advance the throttle. After a few feet apply a small amount of up elevator and the model will begin to climb. -
Page 16: Model Engines' Warranty Information
european agents: J perkins Distribution, lenham, england www.jperkinsdistribution.co.uk 06.12...
Need help?
Do you have a question about the Phoenix and is the answer not in the manual?
Questions and answers