Table of Contents
Advertisement
Advertisement
Table of Contents

Summary of Contents for Orchid Telecom XL220
- Page 1 XL220 Feature Phone User Guide...
-
Page 2: Table Of Contents
Index Page Contents Feature List of the Orchid XL220 Installing the XL220 Curly Cord and Line Cord Telephone Stand Wall Mounting Key Pad Layout Programming Setting the Date Setting the Time Ring Tones & Volume VIP Numbers & Ring Tones... -
Page 3: Contents
Index Cont…. Call Back Function Pause Recall ( Flash / R) One Touch Memories Incoming Caller ID Message Waiting Contents XL220 Telephone Base Handset Handset Curly Cord 3M Telephone Line Cord Telephone Stand Printed User Guide... -
Page 4: Feature List Of The Orchid Xl220
Feature List Line Powered, no batteries or mains power required Full Duplex Speaker Phone with 5M Range – Ideal for conferencing Unique Desk Top Stand – Phone can be mounted at 30 or 50 degree angle, giving a better view, easier access and reducing desk foot print. -
Page 5: Installing The Xl220
For illustration purposes we are using the 50 degree angle set up. Place the XL220 telephone base face down on your lap or other soft surface so as not to damage the key pad, insert the notches in to the corresponding slots and push up. To remove push down: the diagram below illustrates removal. -
Page 6: Wall Mounting
Wall Mounting 1. Remove the handset hook switch on the telephone base by sliding up and lifting out. Rotate 180 degrees and re-insert. This will ensure the handset remains securely in the cradle when not in use. Picture shows hook-switch in wall mounting position------------------------------ 2. -
Page 7: Key Pad Layout
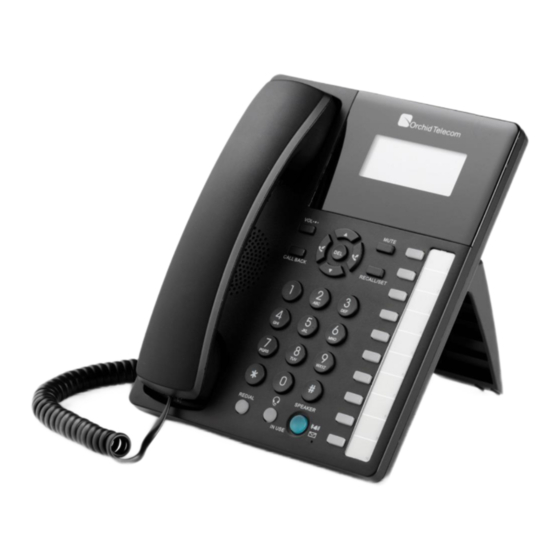
Key Pad Layout ---------------------------- LCD Display ------------------------------- UP Key -------------------------------------- ------------------------------ Left Wheel Right Wheel (For Caller ID) 10 Last Number Redials) -------------------------------- Down Key ------- 10 One Touch Memory Buttons Headset Button------------------------------------------------------ -----------------------------------Speaker Button (Lights up when in use and on incoming calls) -
Page 8: Programming
Press SET key, dial 12, the HOUR: MINUTES will flash, enter HOUR, MINUTES then press SET and then press the Speaker Phone button Please note – Most Orchid Telecom PBX systems will automatically set the XL220 time upon receiving its first call – refer to PBX user guide. -
Page 9: Recall Break Time
To Program Recall Break Time The Recall Button (also known as Flash or R) is used in PBX functions and network services, different countries have different timings for these functions. If not set correctly some PBX functions and network services will not operate properly. In the UK the Recall Break Time is 100 ms in Europe it is 300 ms in the US it’s 600ms. -
Page 10: Using The Orchid Xl220
To release the mute, press the MUTE button again. Your caller / called party can hear you after this. Redial function. The XL220 holds the last 10 numbers dialled into memory. If you just want to just dial the last number press the Redial button and then either lift the handset or press the Speaker Phone button. -
Page 11: Pause
To redial one of the previous 10 numbers: Press the Right Wheel Button Press the Up arrow until the number you want is displayed. Press the Speaker Phone button to dial or alternatively press the Call Back button. See below. -
Page 12: Call Back Function
Operator will apply a 100v signal to the extension to indicate they have a message waiting – the LED will come on . When they pick up the handset the message waiting led will go off. Check with your PBX supplier for compatibility. Manufactured by Orchid Telecom Ltd – www.orchid-telecom.com...

Need help?
Do you have a question about the XL220 and is the answer not in the manual?
Questions and answers