Table of Contents
Advertisement
Available languages
Available languages
Advertisement
Table of Contents

Related Manuals for Lorell LLR33568


Summary of Contents for Lorell LLR33568
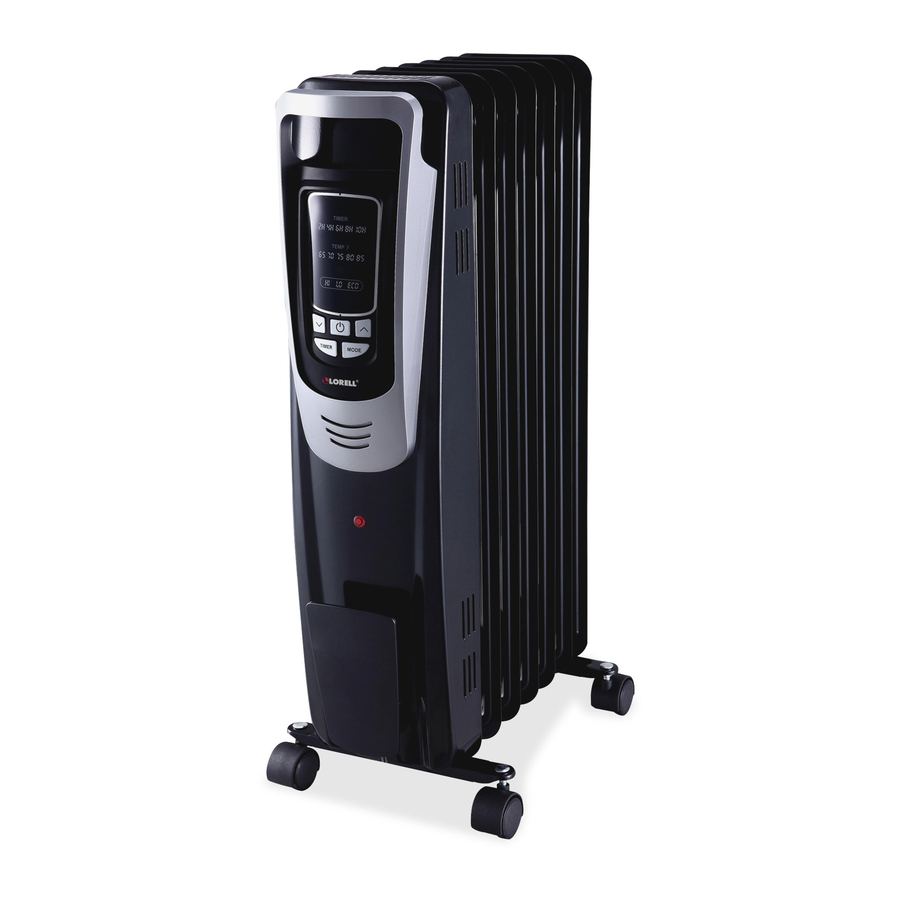
- Page 1 LLR33568 Radiator Heater Radiateur Radiador OWNER’S MANUAL Please Read And Save These Instructions MANUEL DU PROPRIÉTAIRE Lire Et Conserver Ces Instructions MANUAL DEL PROPIETARIO Lea Y Conserve Este Instructivo LLR33568_Assembly_Instructions.indd 1 5/26/15 5:33 PM...
-
Page 2: Important Instructions
IMPORTANT INSTRUCTIONS PLEASE READ AND SAVE THESE IMPORTANT SAFETY INSTRUCTIONS When using electrical appliances, basic precautions should always be followed to reduce the risk of fire, electric shock, and injury to persons, including the following: Read all instructions before using this heater. This heater is hot when in use. -
Page 3: Assembly Instructions
ASSEMBLY INSTRUCTIONS Unpack your heater and find the wheel-holding plate and butterfly nuts between the fins assemblies . Make sure the heater is unplugged and in the "OFF" position. TURN THE HEATER UPSIDE DOWN. Attach the wheel-holding plates onto the heater as Fig.1 shows . The U plate is fixed between the last tow fins and the other one is fixed under metal control box. -
Page 4: Operation Instructions
OPERATION INSTRUCTIONS : Temperature decrease : ON/OFF button : Temperature increase : Timer button : Mode button Control Panel Functions Timer Display Temperature Display Mode Display Function Button Check that neither the appliance nor the power cable has been damaged in any way during transportation when first using the heater. -
Page 5: Using The Remote Control
Temperature setting (65 °F-85 °F). When the heater is in operation, press the (Temperature Increase) or (Temperature Decrease) button to raise or lower the set temperature. The heater will automatically set the temperature to default mode (85 °F), If the temperature is not set within 2 minutes after turning on the heater. -
Page 6: Safety Features
SAFETY FEATURES The heater is equipped with an over-heat device which cause the unit to stop operating in the event that the internal temperature exceeds the normal operating temperature. If the heater shuts down, 1. Turn off and unplug the heater. 2. -
Page 7: Troubleshooting
TROUBLESHOOTING Problem Reason Solution Be sure it is plugged in and that the electrical 1. There is no power. outlet is working. 2. The set temperature is Set the desired temperature higher than the lower than the current room current temperature to restart the heater. temperature. -
Page 8: One (1) Year Limited Warranty
(1) year from the date of original purchase. This one (1) year warranty is limited to the heating elements, motor, and electric control circuit board. In the event of malfunctions or failure of your Lorell Product, simply deliver ®... -
Page 9: Instructions Importantes
INSTRUCTIONS IMPORTANTES VEUILLEZ LIRE ET CONSERVER CES INSTRUCTIONS IMPORTANTES RELATIVES À LA SÉCURITÉ Lors de l'utilisation d'appareils électriques, vous devez toujours observer les précautions élémentaires suivant afin d'éliminer les risques d'incendie, de décharges électriques et de lésions corporelles : Lisez toutes les instructions avant d'utiliser ce radiateur. Ce radiateur devient chaud lorsqu'il est en marche. -
Page 10: Instructions De Montage
INSTRUCTIONS DE MONTAGE Déballez votre radiateur et trouvez la plaque servant à maintenir les roues et les écrous à papillon entre les assemblages à ailettes. Assurez-vous que l'interrupteur de marche/arrêt est en position d'arrêt (off). RETOURNEZ LE RADIATEUR. Fixez les plaques servant à maintenir les roues sur le radiateur comme en Fig. 1. - Page 11 UTILISATION : Diminution de la température : Bouton Marche/Arrêt (ON/OFF) : Augmentation de la température : Bouton de minuteur : Bouton de mode Fonctions du panneau de commande Affichage de la minuterie Affichage de la température Affichage des modes Bouton de fonction Avant la première utilisation, vérifiez que ni l'appareil ni le câble d'alimentation n'a été...
-
Page 12: Utilisation De La Télécommande
ECO: Le radiateur sélectionnera automatiquement le réglage de puissance (HI ou LO) en fonction de la température réglée. Réglage de la température (65 °F - 85 °F). Quand le radiateur fonctionne, appuyez sur le bouton (Augmentation de la température) ou (Diminution de la température) pour augmenter ou diminuer la température programmée. -
Page 13: Dispositifs De Sécurité
DISPOSITIFS DE SÉCURITÉ Le radiateur est équipé d'un dispositif contre la surchauffe qui arrête l'appareil si la température interne dépasse la température de fonctionnement normale. Si le radiateur s'arrête, 1. Éteignez et débranchez le radiateur. 2. Attendez au moins 10 minutes que le radiateur soit refroidi. 3. -
Page 14: Résolution De Problèmes
RÉSOLUTION DE PROBLÈMES Problème Raison Solution Assurez-vous que le radiateur est branché et que 1. Le radiateur n'est pas alimenté en électricité. la prise électrique. 2. La température réglée est Réglez la température désirée sur une valeur plus élevée que la température actuelle pour inférieure à... -
Page 15: Dépannage
DÉPANNAGE Si votre radiateur ne fonctionne pas, veuillez suivre les instructions suivantes : • Veillez à ce que votre disjoncteur ou coupe-circuit à fusible fonctionne correctement. • Assurez-vous que le radiateur est branché et que la prise électrique fonctionne correctement. • Vérifiez que l'appareil n'est pas bouché. Si vous découvrez que l'appareil est bouché, mettez le radiateur en position « OFF » (Arrêt). Débranchez le radiateur et attendez quelques minutes pour qu'il refroidisse. Retirez les corps bouchant l'appareil avec précaution. -
Page 16: Garantie Limitée D'un (1) An
Lorell , livrez ou envoyez simplement le produit, port payé, ainsi ® qu'une PREUVE D'ACHAT, dans la période de garantie d'un (1) an, à Lorell ® Lorell se réserve le droit d'inspecter la ou les pièces défaillantes faisant ®... -
Page 17: Instrucciones Importantes
INSTRUCCIONES IMPORTANTES LEA Y CONSERVE ESTAS IMPORTANTES INSTRUCCIONES DE SEGURIDAD. Cuando use aparatos electrodomésticos, siempre debe tomar precauciones básicas para reducir el riesgo de incendio, choque eléctrico y lesiones personales, incluyendo las siguientes: Lea todas las instrucciones antes de usar este calefactor. Este calefactor se calienta con el uso. -
Page 18: Instrucciones De Montaje
INSTRUCCIONES DE MONTAJE Desempaque su calentador y busque Ia placa de soporte de rueda y las tuercas de mariposa entre los conjuntos de aletas. Asegure que el calentador este desenchufado yen Ia posicion "APAGADO" GIRE EL CALENTADOR AL REVES. Sujete las placas de soporte de rueda al calentador como se muestra en Ia Figura 1. -
Page 19: Operación
OPERACIÓN : Reducción de temperatura : Botón ENCENDIDO/APAGADO : Aumento de temperatura : TEMPORIZADOR: Botón Temporizador : Botón Modo Funciones del Panel de Control Visualización de Temporizador Visualización de Temperatura Visualización de Modo Botón Función Verifique que ni el aparato ni el cable de alimentación se ha danado de ninguna forma durante el transporte al utilizar el calentador par primera vez. -
Page 20: Uso Del Control Remoto
Ajuste de temperatura (65°F-85°F). Cuando el calentador esta en funcionamiento, pulse el botón (Aumento de Temperatura) o (Reducción de Temperatura) para aumentar o reducir Ia temperatura configurada. El calentador ajustara Ia temperatura al modo par defecto de forma automatica (85°F), si Ia temperatura nose ajusta dentro de 2 minutos tras encender el calentador. -
Page 21: Características De Seguridad
CARACTERÍSTICAS DE SEGURIDAD El calentador esta equipado con un dispositivo de protección contra sobrecalentamiento, lo que hace que Ia unidad deje de funcionar en caso de que Ia temperatura interna exceda Ia temperatura operativa normal. Si se apaga el calentador, 1. -
Page 22: Solucion De Problemas
SOLUCION DE PROBLEMAS Problema Causa Solution Asegure que este enchufado y el tomacorriente 1. No hay alimentación. etectrico este funcionando. 2. La temperatura configurada Ajuste Ia temperatura deseada superior a Ia es inferior a Ia temperatura temperatura actual para rearrancar el calentador. ambiente actual. -
Page 23: Limpieza Y Almacenamiento
DIAGNQSTICO DE AVERiAS Si su calentador no funciona, por favor siga estas instrucciones: • Asegurese de que su interruptor de circuito o fusible este funcionando adecuadamente. • Asegurese de que el calentador este enchufado y el tomacorriente este funcionando adecuadamente. • Verifique que no haya ninguna obstruccion. Si encuentra alguna obstruccion, coloque el calentador en Ia posicion "OFF". Desenchufe el calentador y espere unos minutos hasta que se enfrfe. Retire cuidadosamente Ia obstruccion. - Page 24 GARANTÍA LIMITADA A 1 (UN) AÑO • L ea todas las instrucciones antes de intentar usar este producto. En caso de un mal funcionamiento o falla de su Producto Lorell , simplemente ® entregue o envíe a Lorell el calefactor, con porte prepagado, junto con su ® COMPROBANTE DE COMPRA, dentro del periodo de garantía de 1 (un) año.
- Page 25 SERVICE & SUPPORT In the event of a warranty claim or if service is required for this product, please contact us at the following: Toll Free: 1-866-646-4332 Email us at: customersupport@mideaamericacorp.com For questions or comments, please write to: Midea America Corporation Customer Care Center 11800 NW100th Rd.
Need help?
Do you have a question about the LLR33568 and is the answer not in the manual?
Questions and answers