Table of Contents
Advertisement
Keep these instructions for future use
REV. 2016-01
REV. 2016-01
LES FOYERS
DON-BAR
FIREPLACES
WOOD STOVES
Shop and Showroom: 741, St-Vallier Ouest, Quebec (Quebec) G1N 1E2
Website: www.don-bar.com - Email: don-bar@don-bar.com
Installation, Operation
and Maintenance Manual
CFS
Series
CFS SERIES
Les foyers DON-BAR Fireplaces, inc.
Phone: (418) 686-9114 - Fax: (418) 686-9117
Advertisement
Table of Contents

Related Manuals for Les Foyers Don-Bar CFS 69-52


Summary of Contents for Les Foyers Don-Bar CFS 69-52
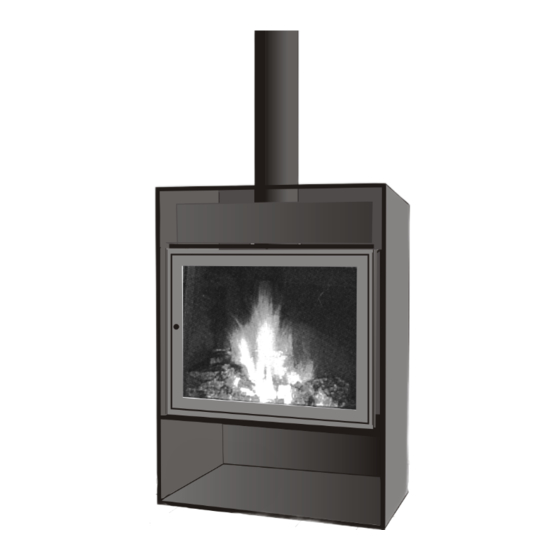
- Page 1 LES FOYERS DON-BAR FIREPLACES Series CFS SERIES WOOD STOVES Les foyers DON-BAR Fireplaces, inc. Shop and Showroom: 741, St-Vallier Ouest, Quebec (Quebec) G1N 1E2 Phone: (418) 686-9114 - Fax: (418) 686-9117 Website: www.don-bar.com - Email: don-bar@don-bar.com REV. 2016-01 REV. 2016-01...
-
Page 2: Table Of Contents
Page 20 PART 5: Warranty ........... This document in its entirety is the intellectual property of Les Foyers Don-Bar inc. Any unauthorized use will expose its author or authors to legal and financial penalties. Copyright © 2014 - Les Foyers Don-Bar inc. -
Page 3: Part 1: Installation
PART 1: INSTALLATION 1. Warnings and cautions 7. Heating duct installation (Optional) 7.1 Basement heating 7.2 Duct installation 2 .Important 7.3 Axial fan installation 1.1. Modifications 7.4 Recommended heating ducts 1.2 Installation instructions 8. Floor protection installation 1.3 Applicable Codes 8.1 Non-combustible floor protection 1.4 Professional installation 8.2 Removing the existing resilient flooring... - Page 4 PART 1: INSTALLATION 1. Warnings and cautions DO NOT USE GRATE TO ELEVATE FIRE. DO NOT OVERIFRE THE UNIT. BUILD FIRE DIRECTLY ON TH HEARTH. D O N O T O B S T R U C T S P A C E U N D E R PROVIDED WITHOUT DETACHABLE LEGS.
- Page 5 PART 1: INSTALLATION Typical installation with a ceiling outlet 2. IMPORTANT 2.1 Modifications: Any modification, change, or substitution of any fireplace component and/or not following the installation, operation, and maintenance instructions will void the warranty and can put your security at risk. Round top Factory-built 2.2 Installation instructions: Before installation...
- Page 6 4. Before beginning the installation NOTES Before 3.1 Choosing the best location: beginning the installation, make sure the spot you have in mind for the fireplace and the chimney meet the following requirements: 3.1.1 Chimney: Position the chimney to avoid, as much as possible, offsets, elbows and cutting-out of structural elements.
- Page 7 5. Factory-built chimney installation Chimney minimum height above the roof 5.1 Ceiling support installation: Use and install only parts furnished by the manufacturer of the chimney. 10 feet (3 m) Radius Chimney lengths installation: Continue with the installation of the chimney by positioning lengths with the male end up.
- Page 8 basement is not in line with the telescopic duct, Stove pipe minimum complete the installation with a length of flexible clearances insulated duct. Mandatory: Double wall 14 "(356 mm) from Fitting the axial fan: The axial fan for stove pipe approved by ULC/UL the wall in the case of a heating the basement is installed at the end of the 8”...
- Page 9 8.2 Removing the existing resilient flooring: Protection for combustible Prior to installing the floor protection, remove floors any existing resilient flooring. (carpet, etc.) 9. Installation of optional accessories 8" (200 mm) 9.1 Anti-smoke flap (optional): For installation minimum details, see Drawing 27. 18"...
-
Page 10: Minimum Clearances
69-52 69-61 69-69 69-80 69-90 80-60 80-69 80-80 98-78 98-87 27-1/4” 27-1/4” 27-1/4” 27-1/4” 31-1/2” 31-1/2” 31-1/2” 31-1/2” 36-3/4” 36-3/4” 48-1/4” 1226 48-1/4” 1226 48-1/4” 1226 48-1/4” 1226 48-1/4” 1226 48-1/4” 1226 48-1/4” 1226 48-1/4” 1226 48-1/4” 1226 48-1/4” 1226 19-3/4”... - Page 11 CFS-R 69-61 CFR-S 69-69 CFR-S 80-69 CFR-S 27-1/4” 27-1/4” 31-1/2” 48-1/4” 1226 1226 48-1/4” 48-1/4” 1226 19-3/4” 19-3/4” 24” 19-3/4” 13” 16” 20-3/4” 20-3/4” 22-3/4” 6-7/8” 6-7/8” 6-7/8” 15”min 15”min 15”min Outlet 8” Outlet 8” Outlet 8” reducible reducible reducible to 6”...
-
Page 12: First Fire
PART 2: SECURITY, OPERATION AND MAINTENANCE 1. General operation 7. Glass firescreen maintenance 1.1 Combustion control 7.1 Glass maintenance 1.2 Air intake control 7.2 Replacing a glass pane 1.3 Smoke outlet control 7.3 Door gaskets 1.4 Danger of burns 8. BBQ installation 8.1 BBQ grill installation 2. -
Page 13: Part 2: Security, Operation And Maintenance
PART 2: SECURITY, OPERATION AND MAINTENANCE 1. General operation Using the removable handle to control the air intake 1.1 Combustion control: Two valves are used to control combustion. The first one (Drawing 20), controls the air intake in the combustion chamber. - Page 14 supply to maintain the combustion. If the room is Using the handle to control the under a negative pressure, if the house is too HE sliding smoke deflector airtight, or if a ventilation device is in operation it Open fully the smoke damper may be necessary to open a door or a window to Close the smoke damper Close the smoke damper...
- Page 15 the air intake control must be fully open. Always Recommended wood species: For an use a firescreen with an open fire. Note that the efficient and economical operation, use only dry air intake control is inoperative when the door is hardwood such as maple, oak, wild cherry, birch, open.
- Page 16 4.7 Forbidden flammable liquids: Never use potash, phosphorus, and ideal for acidic soils. flammable liquids or accelerators such as gas, lamp oil, kerosene, BBQ starters, or other flammable substances to start or stir up a fire. Always keep these products away from the fire 6.
- Page 17 back of the fireplace (Drawing 25). Glass Pane Replacement 9. Chimney maintenance 9.1 Creosote build-up and removing: When 5 mm ceramic glass wood burns slowly, tar and organic vapors are released. These combustion by-products combine Insert door with moisture to form creosote. When creosote vapor comes in contact with a relatively cold surface, such as a chimney flue during a slow burning fire, it condensates.
- Page 18 Soot build-up on the HE smoke sliding Cleaning of the HE smoke deflector deflector (Drawing 26): During the chimney cleaning, be sure to remove any creosote or soot To prevent soot build-up the build-up over the HE smoke deflector. The build- smoke deflector must be up of soot on the deflector can prevent the flow of cleaned at regular intervals...
-
Page 19: Part 3: Parts List
PART 3: REPLACEMENT PARTS LIST To order a part: 1) Check the replacement part required 2) Specify the year of the fireplace installation _________________ 3) Fax this list with your coordinates to 418-686-9117 HE Combustion System Sliding damper Deflector (without the sliding damper) Rod and plate assembly for the sliding damper Chimney adaptor Standard Parts... -
Page 20: Part 4: Chimney Fires
PART 4: CHIMNEY FIRES DIRECTIVES IN CASE OF A CHIMNEY FIRE How to detect a chimney fire What to do - Odour: Smell of smoke in the air. - Immediately alert the occupants of the building about - Sight: The colour of the pipe change. Flames at the potential danger. -
Page 21: Part 5: Warranty
LES FOYERS DON-BAR 25 YEAR LIMITED WARRANTY FIREPLACES 1. The first 5 years: If, during this 5- year period, and in the course of a normal 1.4 Gaskets: Fireplace gaskets are 8. The duration of the warranty on any use, a component part of the fireplace warranted for 90 days following the part that is the object of a claim must becomes defective due to a material or...
Need help?
Do you have a question about the CFS 69-52 and is the answer not in the manual?
Questions and answers