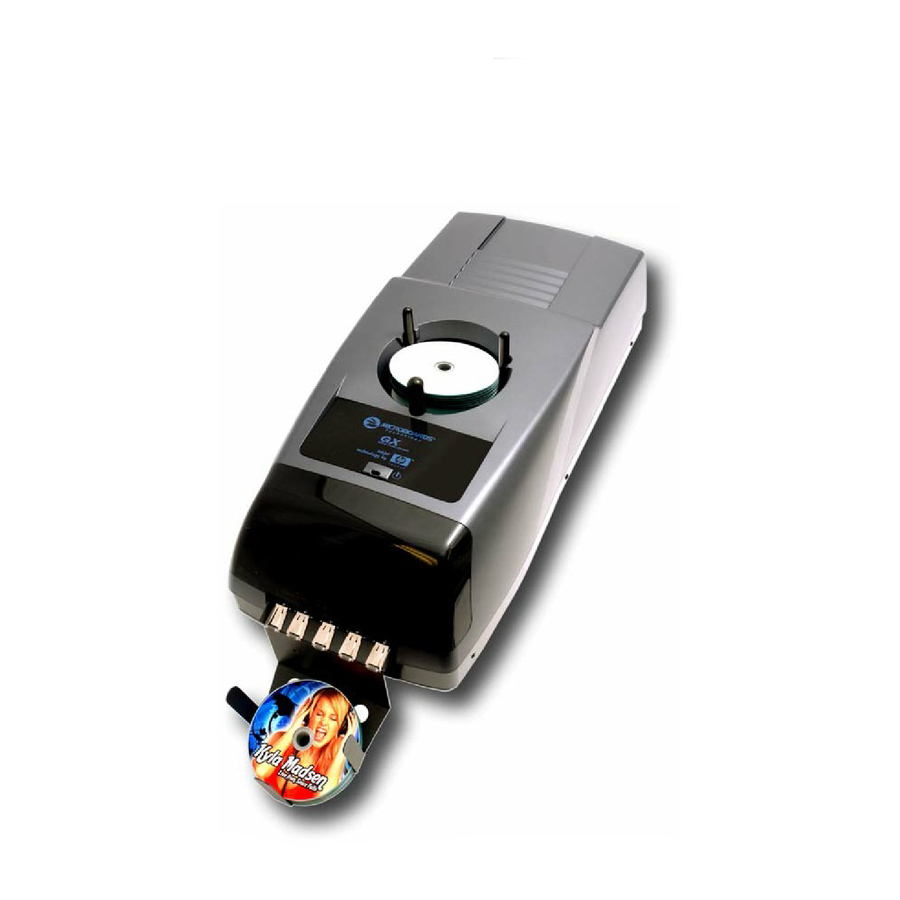
Summary of Contents for MicroBoards Technology GX Auto Printer
- Page 1 GX Auto Printer ® For Microsoft Windows 7, Vista, and XP Users Manual Microboards Technology LLC Version 1.3...
-
Page 3: Table Of Contents
...6 SSEMBLY NSTRUCTIONS GX Auto Printer Assembly...6 ...7 NSTALLING ARTRIDGES Supported Ink Cartridges ...7 Loading / Replacing Ink Cartridges ...7 GX AUTO PRINTER INSTALLATION ...8 PC ...8 ONNECTING TO A 7 & V INDOWS ISTA ARDWARE XP H INDOWS ARDWARE NSTALLATION SETTING PRINTER ALIGNMENT...11... - Page 4 Any unauthorized modification to this equipment may result in the revocation by the FCC of the user’s authority to operate this equipment. NOTE: This equipment has been tested and found to comply with the limits for a Class B digital device, pursuant to Part 15 of the FCC Rules.
-
Page 5: What' Included
MICROBOARDS TECHNOLOGY, LLC Introduction The Microboards GX Auto Printer is a CD, DVD, and BD auto-loading disc printer with a 50 disc capacity. Microboards and HP co-developed the printer technology, allowing up to 4800 x 1200 dpi printing. SureThing Disc Labeler is packaged with the GX Auto Printer, providing you with an easy tool for designing and printing your labels. -
Page 6: System Requirements
Remove the GX Auto Printer system from the shipping box and confirm you received all of the items. Place the GX Auto Printer on a stable, flat surface. You will need room in front and to the left of the system, as discs will be accessed from both locations. -
Page 7: Installing Ink Cartridges
Printer system. Use of these types of cartridges will cause the printer to fail. Use of these Loading / Replacing Ink Cartridges Cartridges can be changed while the GX Auto Printer is on, but it should never be turned on without an ink cartridge in place. -
Page 8: Gx Auto Printer Installation
1. Confirm that the power is turned OFF on the GX Auto Printer and on your PC. 2. Plug in the AC power cord to the back of the GX Auto Printer. Do not turn on power to the GX Auto Printer until an ink cartridge has been installed. -
Page 9: Windows 7 & Vista Hardware Installation
Insert the Microboards GX Auto Printer CD into a drive in your computer. Follow the instructions provided by the Installer. Connect the GX Auto Printer to the PC only when you are prompted to. Once the GX Auto Printer is connected, the operating system will next display the following screen: 1. - Page 10 5. Select No, not this time and click Next. 6. Click Next. 7. Click Continue Anyway. 8. Click Finish for the next screen. 9. Select No, not this time and click Next. 10. Click Next. 11. Click Continue Anyway. 12. Click Finish.
-
Page 11: Setting Printer Alignment
Setting Printer Alignment Alignment The GX Auto Printer system has been aligned at the factory. The factory alignment values are on a label on the back of the GX Auto Printer. Follow these steps to enter the factory values: •... -
Page 12: Using The Gx Auto Printer
50 discs in the system, as this may cause the discs to feed incorrectly. SureThing Disc Labeler SureThing Disc Labeler is included with the GX Auto Printer and will be installed during the GX Installation. For more information on using SureThing, please refer to the SureThing Help menu. -
Page 13: Printing Preferences
More Color Options Saturation, Brightness Color Tone allow you to fine tune your print image. The four ink settings allow you to change the volumes used of each specific ink cartridge. Microboards G Series GX AUTO PRINTER icon, then select... -
Page 14: Advanced Tab
The Outer and Inner Diameters will change the size of the area to be printed. To avoid excessive ink buildup, these values should never be set so that the GX Auto Printer is printing off the media. The Parameter Unit should remain on 0.1mm setting precision. -
Page 15: Ink Tab
To avoid excessive ink buildup, these values should never be set so that the GX Auto Printer is printing off the media. The default diameter settings are 1180 for the Outer and Inner when the Resolution is at .1mm. -
Page 16: Print Quality Tab
Print Quality Tab The Print Quality tab controls the print resolution. Print Quality • Best • Normal Print Modes • Text and Graphics • Photo Printing Recommendations Text and Graphics mode is used for printing mainly text information and small, simple graphics. Below are some examples for images in Fast, Normal and Best Modes: Text and Graphics –... -
Page 17: Manual Software Re-Installation
This section will only apply to a manual re-installation of the SureThing software package. If you have not yet installed the GX Auto Printer using the Installer, it is recommended that you do so. There are 3 methods of reinstalling SureThing should the need arise: A. -
Page 18: Troubleshooting
Also check to make sure the correct printer port is selected. Red LED Flashing This indicates an out of media state. Load media and press the OK button on the GX Auto Printer to clear the error state. If a dialog appears on the PC stating that the printer did not recognize any media, you will need to press the OK button on the printer and click the OK button in the dialog to clear the error state. -
Page 19: Printing Specifications
For technical questions or support issues, contact Microboards Technology technical support: United States PH: 952-556-1639 FAX: 952-556-1628 support@microboards.com www.microboards.com Please have the Model and Serial Number of your GX Auto Printer available when contacting Technical Support. Power Supply: Auto Detect AC Power: 90VAC – 240VAC, 47Hz – 63Hz Warranty:...


Need help?
Do you have a question about the GX Auto Printer and is the answer not in the manual?
Questions and answers