Table of Contents
Advertisement
Advertisement
Table of Contents

Subscribe to Our Youtube Channel
Summary of Contents for OXX Digital Coffeeboxx
- Page 1 User Guide...
-
Page 3: Important Safeguards
Important Safeguards (continued on next page) 7. Do not operate any appliance with a damaged 18. This appliance is not intended for use by persons WARNING cord or plug or after the appliance malfunctions with reduced physical, sensory or mental To reduce the risk of fire, electric shock or other injury, read or has been damaged in any manner. -
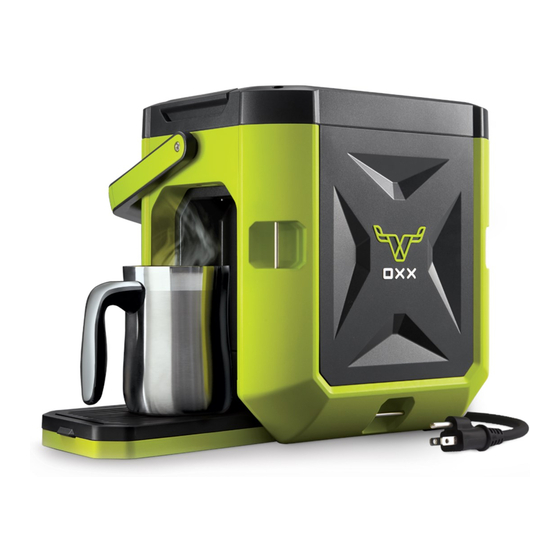
Page 4: Product Specifications
Important Safeguards (continued) EXTENSION WIRE CORD LENGTH GAUGE 16 Gauge 25ft. (7.6m) (light duty) 16 Gauge 50ft. (15.2m) (light duty) 14 Gauge 100ft. ( 30.5m) (medium duty) Minimum Gauge Requirements for Extension Cords Product Specifications Cord Instructions • Compatible with all K-Cup® pods This appliance is fitted with a short power supply cord When using an extension cord, it's important to choose •... - Page 6 User Guide Content...
-
Page 7: Table Of Contents
Get to Know Your Machine Setting Up the Machine Using the Machine Cleaning & Maintenance Troubleshooting Warranty... -
Page 10: Get To Know Your Machine
Get to Know Your Machine... - Page 11 (continued on next page) Machine Overview Water Filter Cap Water Filter Water Filter Holder Water Tank Cap Water Tank (2.5L) Water Tank Compartment Door Brewing Compartment Door Handle Drip Tray Removable Grate Tie Down Anchor Power Cord...
- Page 12 Get to Know Your Machine (continued) Control Panel Overview Power Button Descale Indicator 8 oz. Cup Button Heating Indicator Brew Button 10 oz. Cup Button Refill Indicator Hot Water Button 12 oz. Cup Button...
-
Page 14: Setting Up The Machine
Setting Up the Machine... -
Page 15: Cleaning The Water Tank
(continued on next page) Cleaning the Water Tank Preparing the Water Filter Filling the Water Tank Remove the Water Tank. Remove the Water Filter Remove the Water Filter from the package and rinse Fill the Water Tank to the Maximum Fill Line (2.5 L). package from inside the Water Tank and set aside. -
Page 16: Turning The Machine On
Setting Up the Machine (continued) Turning the Machine On Plug the machine into an outlet and press the The Heating Indicator will remain on until operating Power Button. temperature is reached. Once the machine is ready all three Cup Size Buttons will begin to blink. Note: Be sure to push the Water Tank Compartment Door firmly closed to ensure a good connection. - Page 17 Opening the Drip Tray Flushing the Brewing System Flushing the Hot Water Dispenser Lower the Drip Tray and place coffee cup (8 oz. Make sure the Brew Button is lit and press the 8 oz. Press the Hot Water Button and then the 8 oz. Cup minimum) toward the back of the Drip Tray.
-
Page 18: Using The Machine
Using the Machine... - Page 19 (continued on next page) Placing the K-Cup in the ® Brewing Compartment Starting the Brewing Cycle Open the Brewing Compartment and set a K-Cup ® To start the brewing cycle, close the Brewing CAUTION: To reduce the risk of injury from inside the K-Cup Holder.
-
Page 20: Dispensing Hot Water
Using the Machine (continued) Pausing & Restarting Dispensing Hot Water Using Larger Travel Mugs the Brewing Cycle Your machine can also dispense hot water. It uses a Remove the Drip Tray to make room for larger travel During the brewing cycle, your selected Cup Size Button separate dispensing system to ensure your water is mugs. - Page 21 The machine will automatically shut off after 30 Warning: Do not brew Hot Cocoa or powdered cycle to cancel. minutes of non-use. drink capsules in the COFFEEBOXX. We recommend making hot cocoa by using tear packets and the direct hot water line.
-
Page 22: Cleaning & Maintenance
Cleaning & Maintenance... - Page 23 (continued on next page) 32° F (0° C) Cleaning External Parts Cleaning the Water Tank Do Not Allow Water to Freeze in the Water Tank. Unplug the machine before cleaning. Clean the Brewing Unplug the machine, remove the Water Tank, and Use care in cold weather.
- Page 24 Cleaning & Maintenance (continued) Resetting the Descaling Descale Indicator Descale every 3 months and/or after the Descaling 5. Press the 8 oz. Cup Button to run a descaling To reset the Descale Indicator press and hold the Brew Indicator turns on. Descaling helps remove calcium cycle.
-
Page 26: Troubleshooting
Troubleshooting... - Page 27 The Machine Does Not Turn On Longer Than Normal Brewing Time The Brewing Cycle Starts, but Coffee/Water Flow is • Make sure the Power Cord is plugged in securely. • Descale the machine. Follow the Descaling Inconsistant • Make sure the outlet has power. instructions on page 20.
-
Page 28: Warranty
Warranty... -
Page 29: One Year Limited Warranty
One Year Limited Warranty OXX warrants that your OXX appliance will be free of Some states or Provinces do not allow the exclusion Obtaining Limited Warranty Service defects in materials or workmanship under normal use for or limitations of incidental or consequential damages, OXX branded products, with proper care, are intended one year from the date of purchase. - Page 30 OXX builds premium products for people who work and play outside. We build for the most extreme situations, so that our products out-perform people’s expectations in any situation.
- Page 32 Model: CBK250 12o Ionia Ave SW, Suite 201 Grand Rapids, MI 49503 K-Cup is a registered trademark of Keurig, Inc. ® Use of K-Cup trademark does not imply any OXX Customer Call Center: affiliation with Keurig, Inc. 1-866-233-4714 ® is a registered trademark of OXX LLC www.oxx.com...
Need help?
Do you have a question about the Coffeeboxx and is the answer not in the manual?
Questions and answers