
Subscribe to Our Youtube Channel
Summary of Contents for Prozeda Solareg II BASIC HE
-
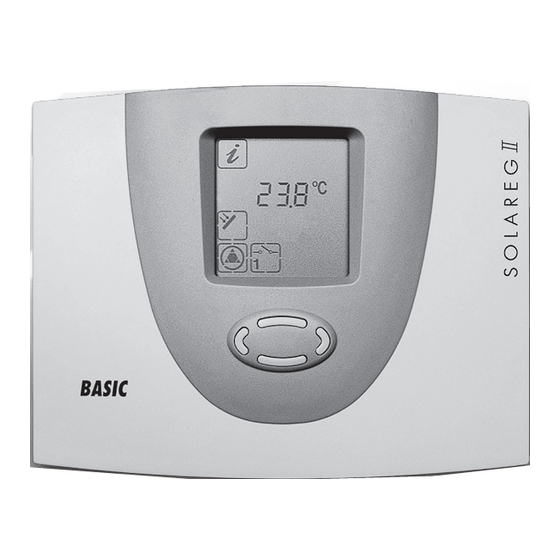
Page 1: Operating Manual
Operating manual Solareg II BASIC HE Microcontroller-controlled temperature difference controller for solar thermal sys- tems with high-efficiency pumps... -
Page 2: Table Of Contents
Table of content Explanation of icons Application area/device features 1.1 Application area Warning! 1.2 Device features Icon indicates pos- Safety instructions sibility of hazard Mounting the device or error 3.1 Opening the device Warning: 230 V AC 3.2 Wall mounting current! 3.3 Connections Icon indicates... -
Page 3: Application Area/Device Features
SOLAREG II BASIC HE is the ideal controller for systems with one collector array and one storage tank. The controllers are designed for use in dry areas and for residential, business and commercial applications. -
Page 4: Mounting The Device
Mounting the device Only install the control unit in dry interiors not 3.1 Opening the device subject to a risk of explosions. Do not install the unit onto Before opening the device, disconnect mains power and ensure that it cannot be flammable surfaces switched back on! The upper part of the housing is locked to the lower part using two latches. -
Page 5: Short Descriptions And Device Operation
0-10 V analogue signal and pumps with PWM control via a PWM signal at a freq. of 2 kHz. 3.4 Temperature sensor connection SOLAREG II BASIC HE devices use PT1000 precision platinum temperature sensors. 2 sensors are required, the third sensor is optional. Mounting / wiring the temperature sensors: ■... -
Page 6: Operation
4.2 Operation The SOLAREG II can be operated simply and easily by using the four control but- tons. You can use the control buttons to: Access display values ■ Make changes to unit settings ■ The icons on the display let you navigate easily through the various control func- tions. -
Page 7: Menu Structure 5.1 "Info" Menu
Menu structure 5.1 "Info" menu The number of values The Info menu shows the following readings and yield values: displayed depends on the additional functions activated. Display Can be Meaning e.g. reset 75 °C Displays current collector temperature Displays minimum collector temperature. 12 °C Can be reset to current temperature. -
Page 8: Manual Operation" Menu
5.3 "Manual Operation" menu Settings and changes in Automatic operation is switched off during manual operation. The solar pump this menu must only be can be manually switched on and off for servicing and test purposes. carried out by a specialist techni- Automatic operation is reactivated after exiting the menu or after 8 hours have cian. -
Page 9: System Diagrams
System diagrams Operational safety for the controller/system is only 1 collector, 1 storage tank guaranteed if these are used for the intended purpose and if no wiring errors have been made. Failure to follow the connection diagrams and safety instruc- tions can endanger the pump/ system and human life. -
Page 10: Controller Functions
Controller functions 7.1 General controller functions The controller compares the temperatures of the various measuring points and charges the storage tank optimally. If the collector temperature exceeds the storage tank temperature, the solar circuit pump is switched on. Monitoring and protective functions ensure safe system operation. -
Page 11: Control Of The Solar Circuit Pump Via Pwm Signal
Control of the solar circuit pump via PWM signal Selections are made via The controller emits a PWM signal at connection O1 for the control of PWM the jumper on the connec- pumps (jumper position PWM). tion assembly. Base frequency = 2 kHz, approx. 12 V, approx. 5 mA PWM position: t in µs PW M = 25 %... -
Page 12: Drain-Back Function
Control output PWM Typ B ANALOG Typ A Analogue Type A PWM Type B 230 V AC bei nmin = 30 % bei nmin = 30 % nSoll in % nSoll in % A1 no RPM control, only switched operation on/off. Minimum switch-on time 5 sec. -
Page 13: Protective Functions
7.2 Protective functions The controller is equipped with the following protective functions. 7.2.1 Collector protection If the storage tank has reached the set maximum temperature and the collector temperature exceeds the set collector protection temperature (line 1), the solar circuit pump is switched on. The solar circuit pump is switched off once the col- lector temperature is 10 K below the maximum value. -
Page 14: System Monitoring
System monitoring The occurrence of errors is generally indicated by a flashing symbol. 8.1 Sensor monitoring The connected sensors and sensor cables are monitored for interruptions and short-circuits. Errors are indicated by the symbol. The source of the error can be found by paging up or down in the Info menu. -
Page 15: Troubleshooting
Troubleshooting In principle, all system errors can be placed in one of two categories: Faults that the controller can detect automatically and for which error mes- ■ sages can be shown Faults that cannot be reported by the controller ■ 9.1 Faults with error messages Error displayed Possible causes... -
Page 16: Faults Without Error Messages
9.2 Faults without error messages Important: any faults involving the 230 V AC For faults and malfunctions that cannot be displayed, you can use the following mains power supply must only table to identify them, plus evaluate the possible causes and sources of such be rectified by a technician! errors. -
Page 17: Solareg Ii Technical Data
10 SOLAREG II technical data Casing Specifications subject to Material 100% recyclable ABS casing for wall mounting change as technical Dimensions (L x W x H) in mm, improvements are made. 175 x 134 x 56; approx. 360 g weight Protection class IP20 according to DIN 40050 Electrical specifications... -
Page 18: Guarantee Terms And Conditions
PROZEDA GmbH will honour claims by choosing, at its discretion, between: - Repair (overhaul); or - Supplying a fully-functional replacement. Repairs will take no longer than 1 month from receipt of the unit by PROZEDA GmbH. If the fault has not been remedied on the second repair attempt, then the purchaser has the right to be supplied with a fully-functional replacement. - Page 20 Operating manual for SOLAREG II BASIC HE 1332BED001-10B-E, last revised 06/2009...
Need help?
Do you have a question about the Solareg II BASIC HE and is the answer not in the manual?
Questions and answers