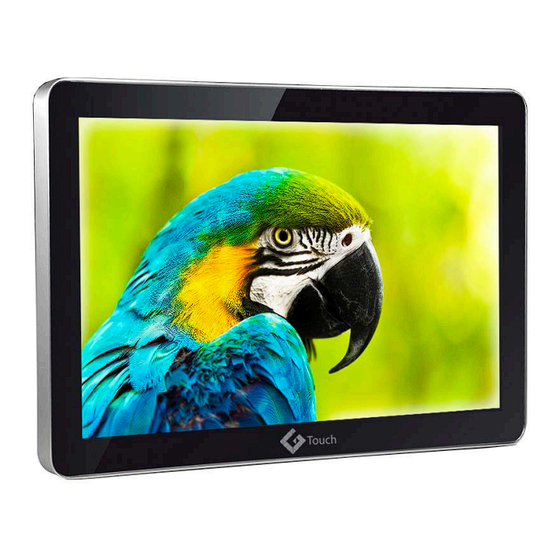
Summary of Contents for Genee World G Touch Pro
- Page 1 Digital Signage User Manual Please retain this manual properly for future reference...
-
Page 2: Table Of Contents
Table Of Contents Chapter 1 Introduction ........................3 Chapter 2 Each part of the navigation ..................4 2.1 Front View ........................4 2.2 Back View ........................4 2.3 Under View ........................4 2.4 Connect Machine .......................4 Chapter 3 Getting Started .......................7 3.1 Connect the AC adapter ..................7 3.2 Power On ........................7 3.3 Install operating system.. -
Page 3: Chapter 1 Introduction
Chapter 1 Introduction Thank you for your choice of purchase. Please read this user manual before using your product and refer to this or a professional technician for any queries related to the product. Disclaimer This product has been tested in accordance with the provisions of FCC Rules Part 15 and complied with Class B digital device regulations. -
Page 4: Chapter 2 Each Part Of The Navigation
Chapter 2 Each part of the navigation 2.1 Front View 2.2 Back View 2.3 Under View 2.4 Connect Machine When connecting the machine, please note the following information: • In the back of the machine, please find the interface of small icons that match the interface and icon. - Page 5 2.4.3 Display adjustable angle When configuring the bracket, you can tilt the angle to suit your viewing angle This model can be mounted on the wall This model can be mounted on the wall, please purchase a standard wall bracket (please select VESA of 100mm * 100mm, M4 screw holes for standard bracket), and mount the machine on the wall through bracket 2.4.4 If you have an audio device, please use the following...
- Page 6 2.4.4 Connect to any other existing equipment HDMI Port This interface is for HDMI connection VGA Port This interface is for VGA connection LAN Port This interface is for LAN connection 2.4.5 If you want to use the machine as “All in One PC”, please connect the cables as follows: 2.4.6 If you want to use the machine as “Touch Monitor”, please connect the cables as follows:...
-
Page 7: Chapter 3 Getting Started
Chapter 3 Getting Started 3.1 Connect the AC adapter The power adapter is an international universal power adapter, power supply input voltage ranges from 100V ` 240V. The following is the correct installation steps: • Connect the power cord to the AC adapter •... -
Page 8: Driver Installation
Use the arrow keys to select the “Exit”, select “Exit Saving Changes”. 3.3.2 Follow the prompts to install the operating system 3.3.3 Driver Installation The driver should be properly installed on the operation. -
Page 9: Chapter 4 Touch Screen Instructions
Detailed installation steps are as follows: • Open the Driver File • Gradually install all drivers (such as chipset, VGA, Sound, Lan). • Click “Install” Chapter 4 Touch screen instructions Touch screen is an accessory of computer like a mouse. The user can manually deliver information to the computer via the touch screen. -
Page 10: Touch Screen Gestures Description
• Double Click “HidCalib” • Press red cross on the screen followed by clicking • Click “OK’ button to complete the calibration 4.2 Touch screen gestures Description The touch screen can support single-point or multi-point touch (depending on the model), it can support click, double click, right click, rotate, zoom in and out. 4.3 Cautions of Using Touch Screen It is important to note when using do not use anything sharp or hard on the screen which can cause damage... -
Page 11: Chapter 5 Troubleshooting
Chapter 5 Troubleshooting Failure Possible Reasons • Check whether all cables are Power cannot be turned on connected correctly and the power socket is turned on • You can use another equipment connecting with power socket to check whether the power is on No images or sound •... - Page 12 Leaders In Learning Technology Libra House, Tel: +44(0) 1902 390878 Upper Zoar Street, Fax: +44(0) 870 405 0188 Wolverhampton, Email: enquiries@geneeworld.com West Midlands WV3 0LA Web: www.geneeworld.com...

Need help?
Do you have a question about the G Touch Pro and is the answer not in the manual?
Questions and answers